
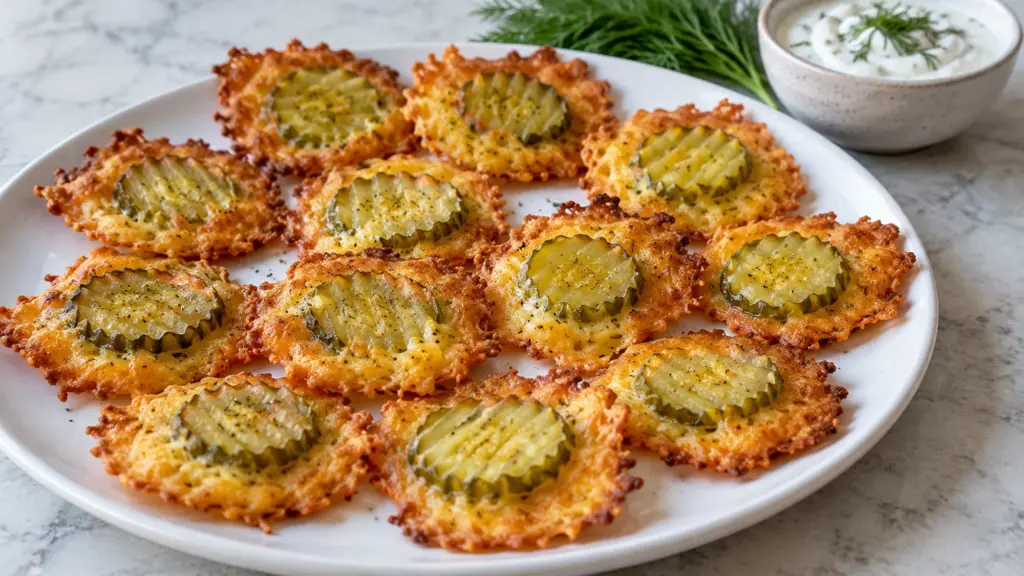
A wet pickle and a pile of cheese can turn into either a crisp little snack or a stubborn puddle. These cheesy pickle chips aim for golden cheddar edges and a tender, tangy center. The useful details are simple: dry the pickle slices, keep the cheese layer thin, and give the finished rounds a little cooling time before lifting.
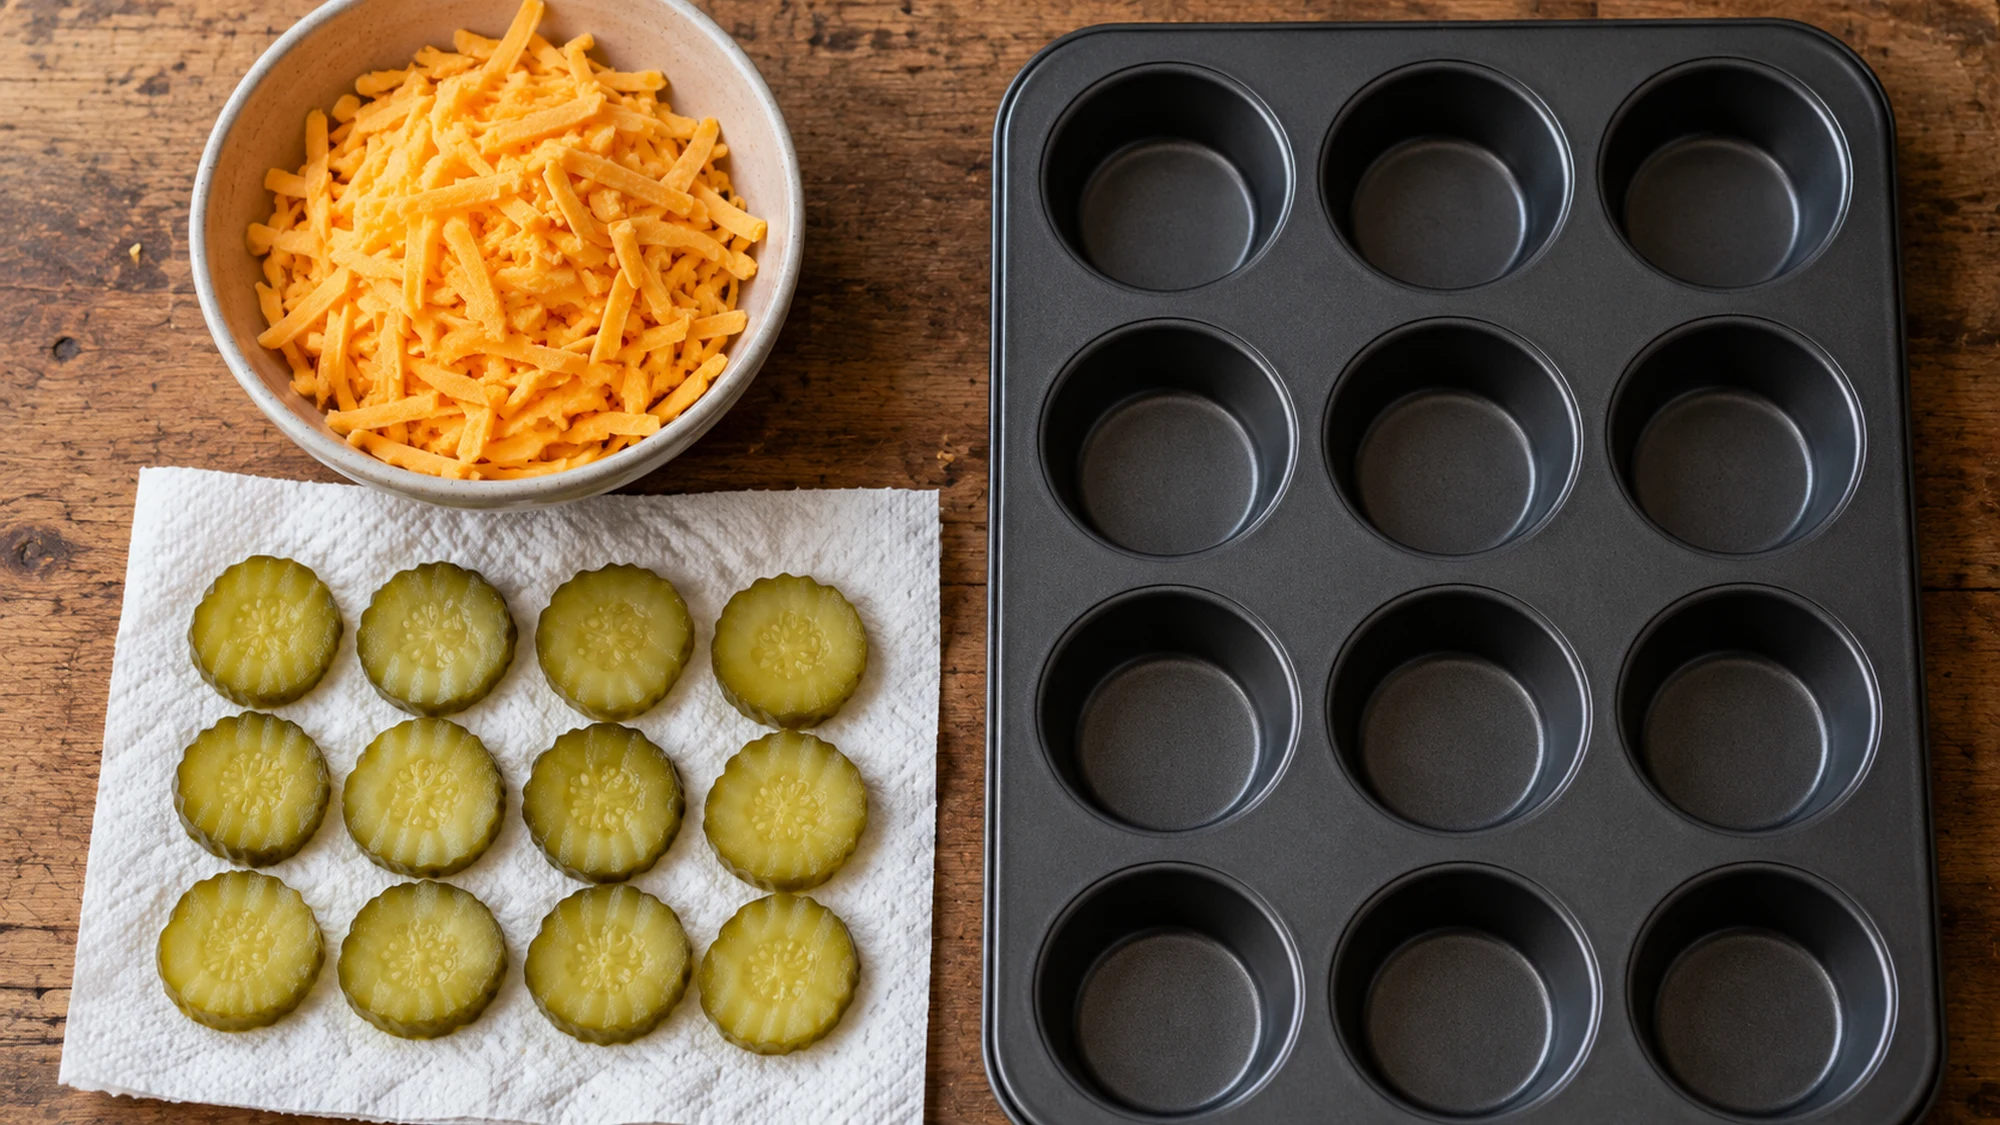
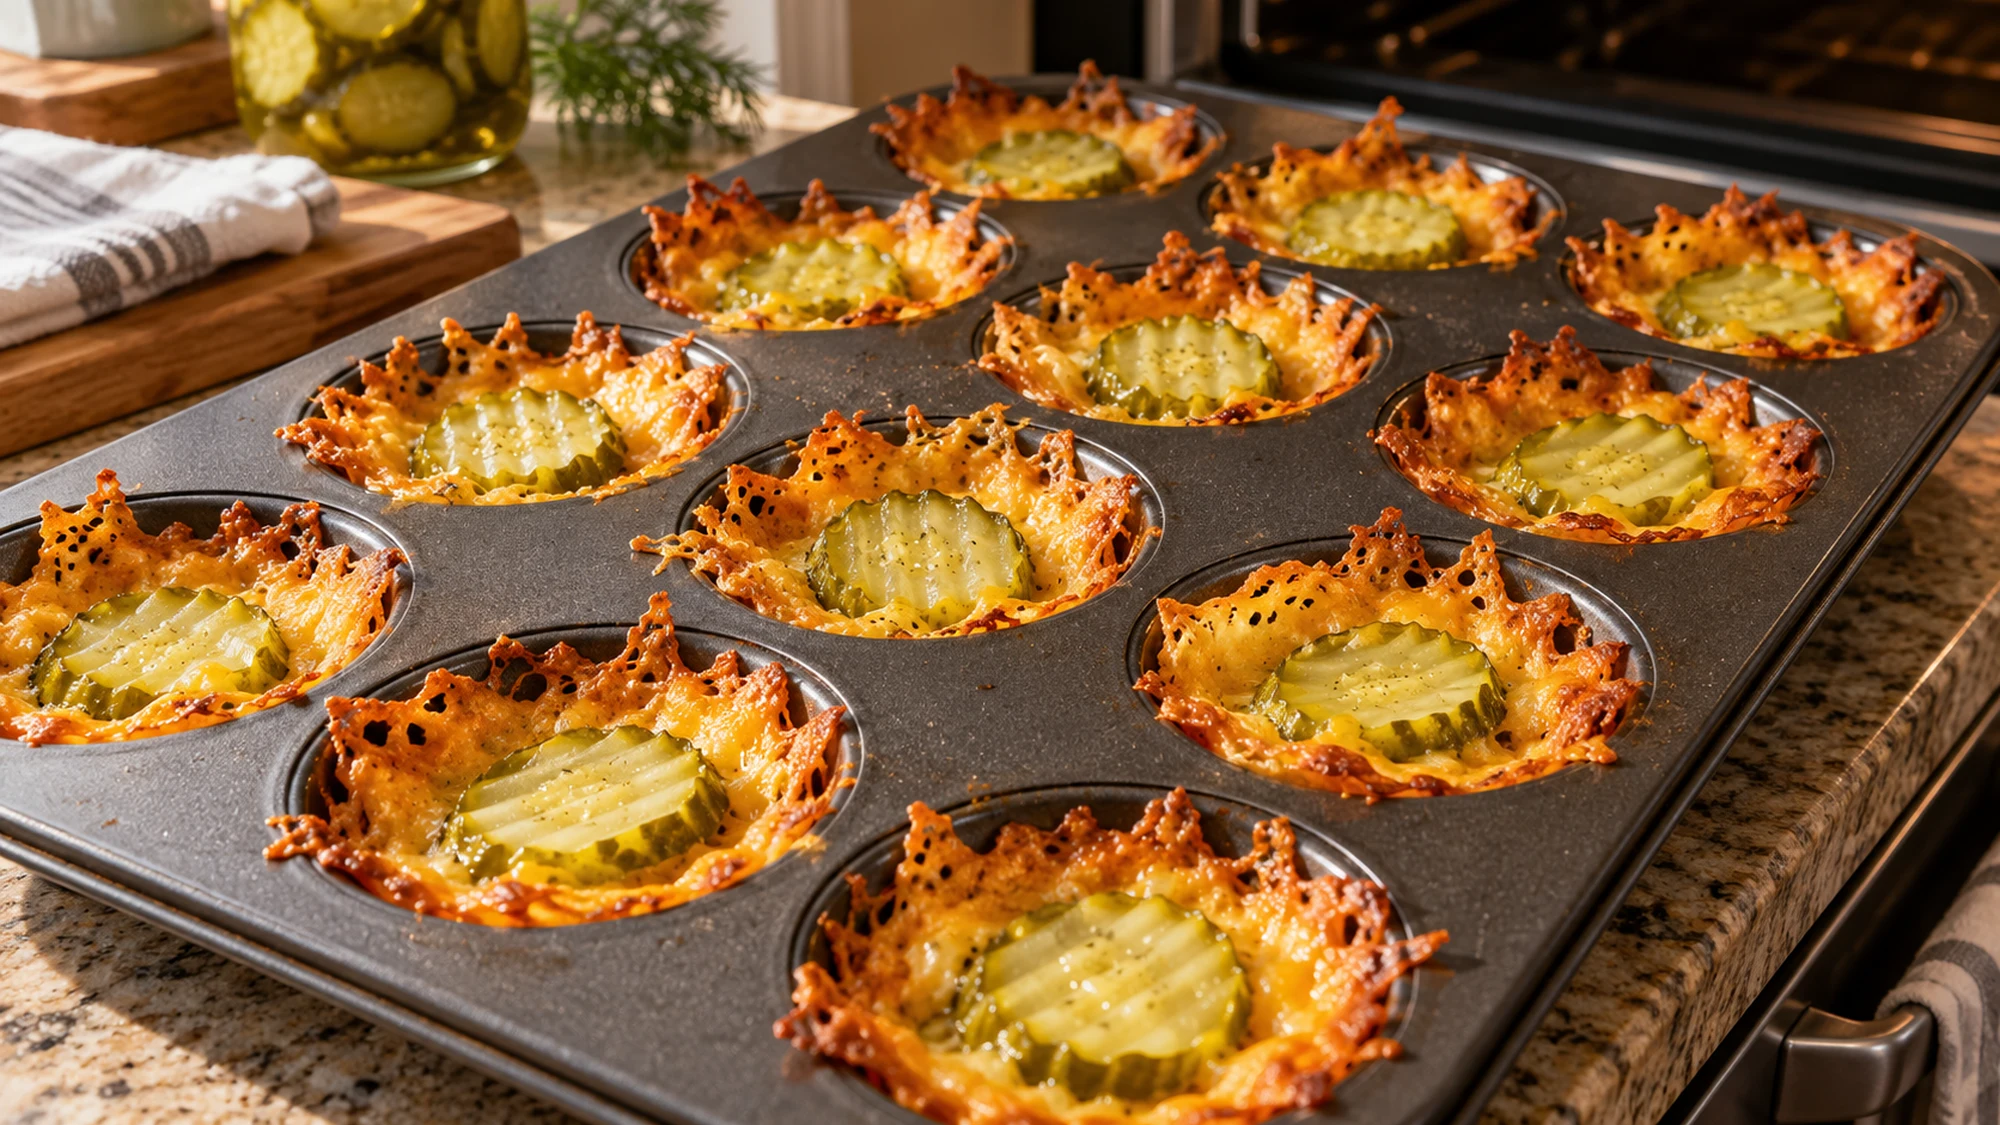
Use a standard nonstick muffin pan to contain each portion, then watch the exposed cheese for deep golden edges. The pickle stays tender; the cheese supplies the crunch.
Serving Suggestions for Cheesy Pickle Chips
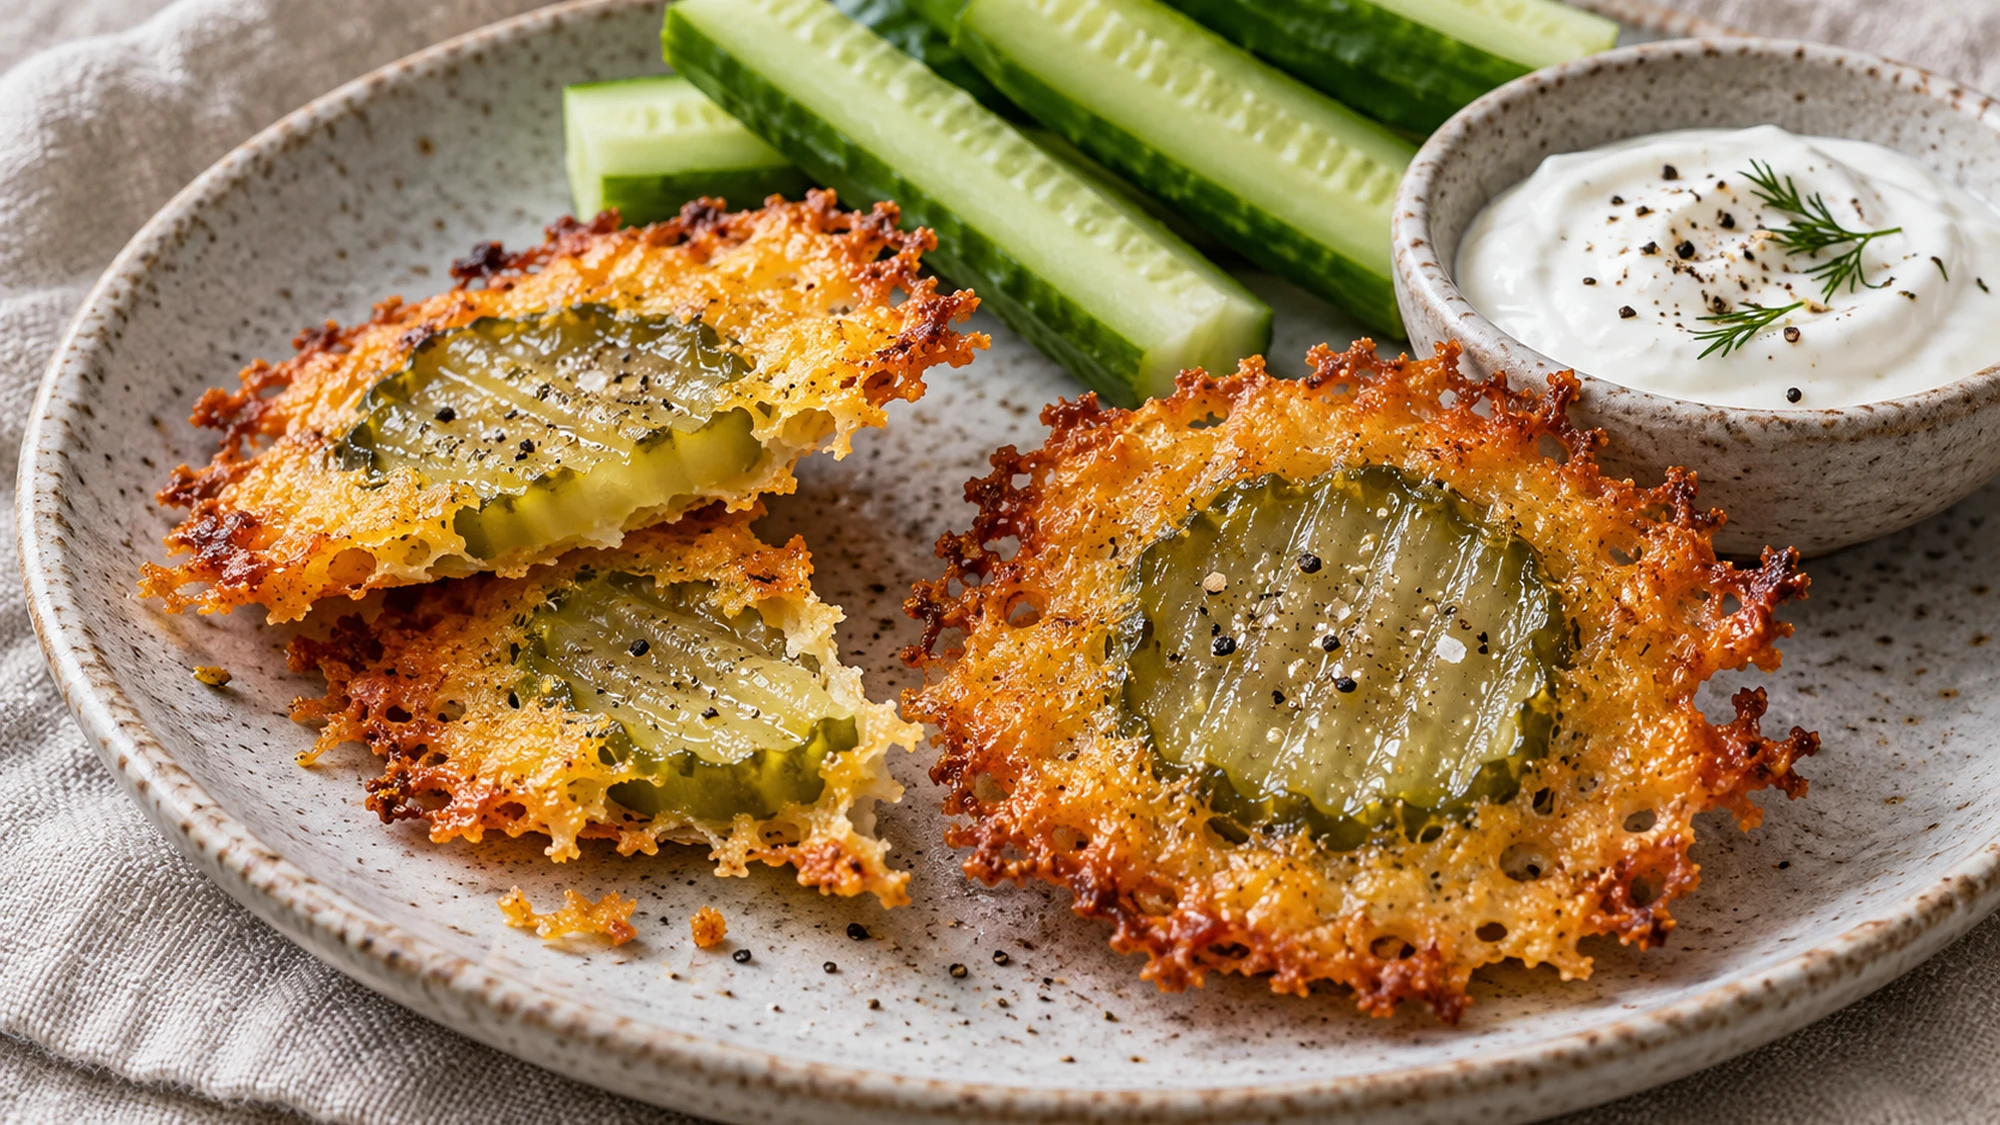
Serve the chips warm after their brief rest, when they are firm enough to lift without folding. I’d put the dip in a separate bowl: a generous drizzle looks inviting, but it also wets the very edges you waited to crisp. A small plate of these alongside sliced cucumber or cherry tomatoes gives the rich, salty bites some fresh company.
- Set out a mild yogurt dip or ranch dressing, with the understanding that neither is included in the card’s nutrition estimate.
- Offer the rounds beside burgers or sandwiches as a small appetizer. Three chips make the estimated serving here; they are an accompaniment rather than a complete meal.
- For a warm potato pairing, Recipes360’s jacket potato in air fryer offers a fluffy center and an entirely different sort of crisp edge.
- Arrange the chips in a single layer. Stacking warm rounds traps steam, and crisp cheese does not enjoy a steam bath.
| Setup | What to expect | Useful adjustment |
|---|---|---|
| Single layer, dip alongside | Best chance of crisp edges | Bring out small batches |
| Stacked while warm | Steam softens the cheese | Spread out before serving |
| Dip spooned over | Wet patches soften quickly | Dip individual bites instead |
Let the chips do their cooling in one layer and keep wet accompaniments alongside. A simple serving setup preserves more crunch than extra garnish.
Variations and Common Texture Problems
Sharp cheddar gives this version a clear cheese flavor without another salty seasoning blend. I’d start there before experimenting with a cheese drawer assortment. Different cheeses shed fat and brown differently, so a substitution needs attention to color and texture rather than blind trust in the original timer.
- For gentle heat, add a small pinch of smoked paprika or cayenne to the cheese. Avoid adding more salt before tasting your actual pickles.
- Try thinly sliced dill pickles rather than thick sandwich slabs. A large, wet center can stay soft while the surrounding cheese overbrowns.
- If the rounds tear, let them stand a little longer and loosen the rim with a thin silicone spatula. Do not scrape a nonstick coating with metal.
- If the edges darken unevenly, rotate the pan and check earlier next time. Muffin pan materials and ovens vary.
- A sheet-pan version will spread farther. Do not assume the muffin-pan timing or spacing transfers unchanged.
The visible pickle is part of the texture contrast, not a problem to eliminate. Pat away surface brine with clean paper towels; there is no need to squeeze the slice into a dry rag. Skip a heavy coating of ranch powder unless you have checked its salt content, because both main ingredients already contribute sodium.
Change one variable at a time. Thin pickle slices, modest cheese portions, and a watched oven are more useful than chasing a promise of identical results from every cheese.
Health Benefits and Portion Perspective
Cheddar supplies protein and calcium, but this is also a concentrated cheese snack with saturated fat and sodium. Sargento’s published cheddar label illustrates why the cheese portion matters: the nutrition changes with every extra handful. The card estimates the actual ingredient amounts rather than borrowing another recipe’s macros or treating low carbohydrate content as a health guarantee.
- Pair a small serving with vegetables or a balanced meal instead of expecting cheese and pickles to cover every food group.
- Check the pickle jar and cheese package for sodium. Brand differences can be large enough to change the estimate meaningfully.
- Contains milk. Check seasoning blends, dips, and product labels for additional allergens.
- Refrigerate leftovers within two hours, or one hour above 90°F (32°C), at 40°F (4°C) or below. Use within three days; expect softer texture.
FoodSafety.gov recommends prompt refrigeration of perishable food in shallow containers. These moist pickle-and-cheese rounds are not shelf-stable crackers. A brief oven reheat may firm the edges, but a refrigerator-softened center will not turn into a dry packaged chip.
Treat the nutrition as an estimate and the portion as a choice. The ingredients offer useful nutrients alongside meaningful sodium and saturated fat.
Bottom Line
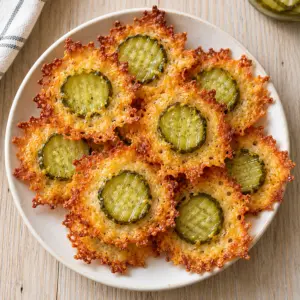
Cheesy pickle chips work best as thin cheese crisps with a tangy, tender middle. Dry the slices, watch the browning, and pause before lifting. Serve a small batch promptly, with the dip waiting beside it.
Cheesy Pickle Chips Recipe

Ingredients
- 168 g shredded sharp cheddar cheese about 1 1/2 cups; weigh for a closer estimate
- 12 thin dill pickle slices about 60 g drained; pat dry
- 1/4 teaspoon garlic powder about 1 g
- 1/2 teaspoon neutral oil about 2 g, for the pan
Equipment
- Standard 12-cup nonstick muffin pan
- Paper towels
- Kitchen scale
- Silicone spatula
Instructions
- Heat the oven to 375°F (190°C). Lightly brush the muffin wells with the oil.
- Drain the pickle slices and blot both sides well with clean paper towels. Divide the cheese into 12 portions and mix with the garlic powder.
- Spread half of each cheese portion in a muffin well. Place one pickle slice over it, then scatter the remaining cheese over and around the slice in a thin layer.
- Bake for 12–16 minutes, checking at 10 minutes, until the exposed cheese is golden brown and the bubbling has slowed. Rotate the pan if needed; remove before the edges turn black.
- Cool in the pan for 5 minutes, then gently loosen the edges with a silicone spatula and lift onto a plate in one layer. If a round bends or tears, let it cool a little longer. Serve promptly; the pickle centers remain tender.
Nutrition
Video
Notes
Tried this recipe?
Let us know how it turned out!Hi, I’m Emily Pocker! I share recipes and food guides here at Recipes360 to help you find everyday meal inspiration and feel more confident in the kitchen. My goal is to make cooking approachable, enjoyable, and full of flavor.