
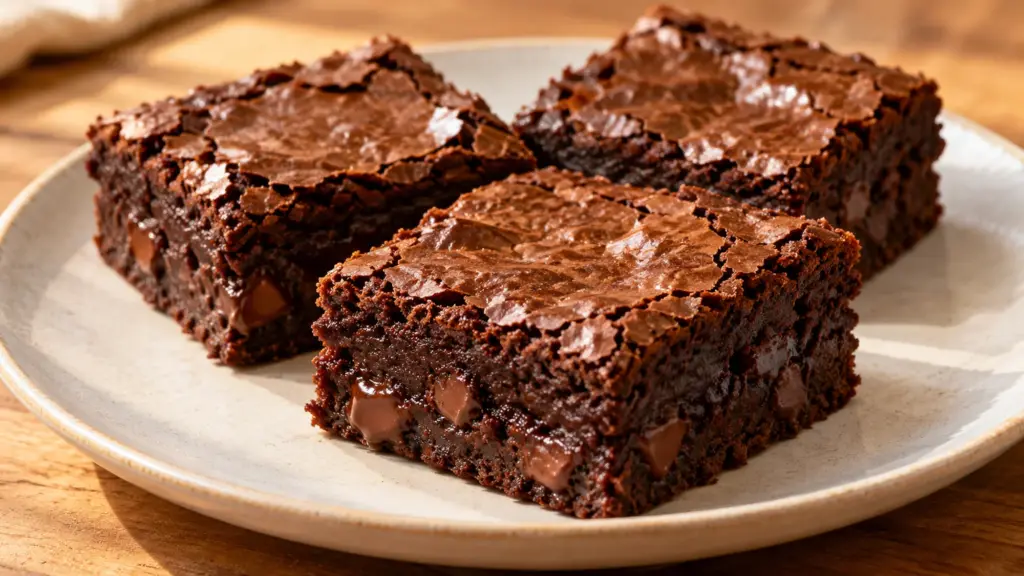
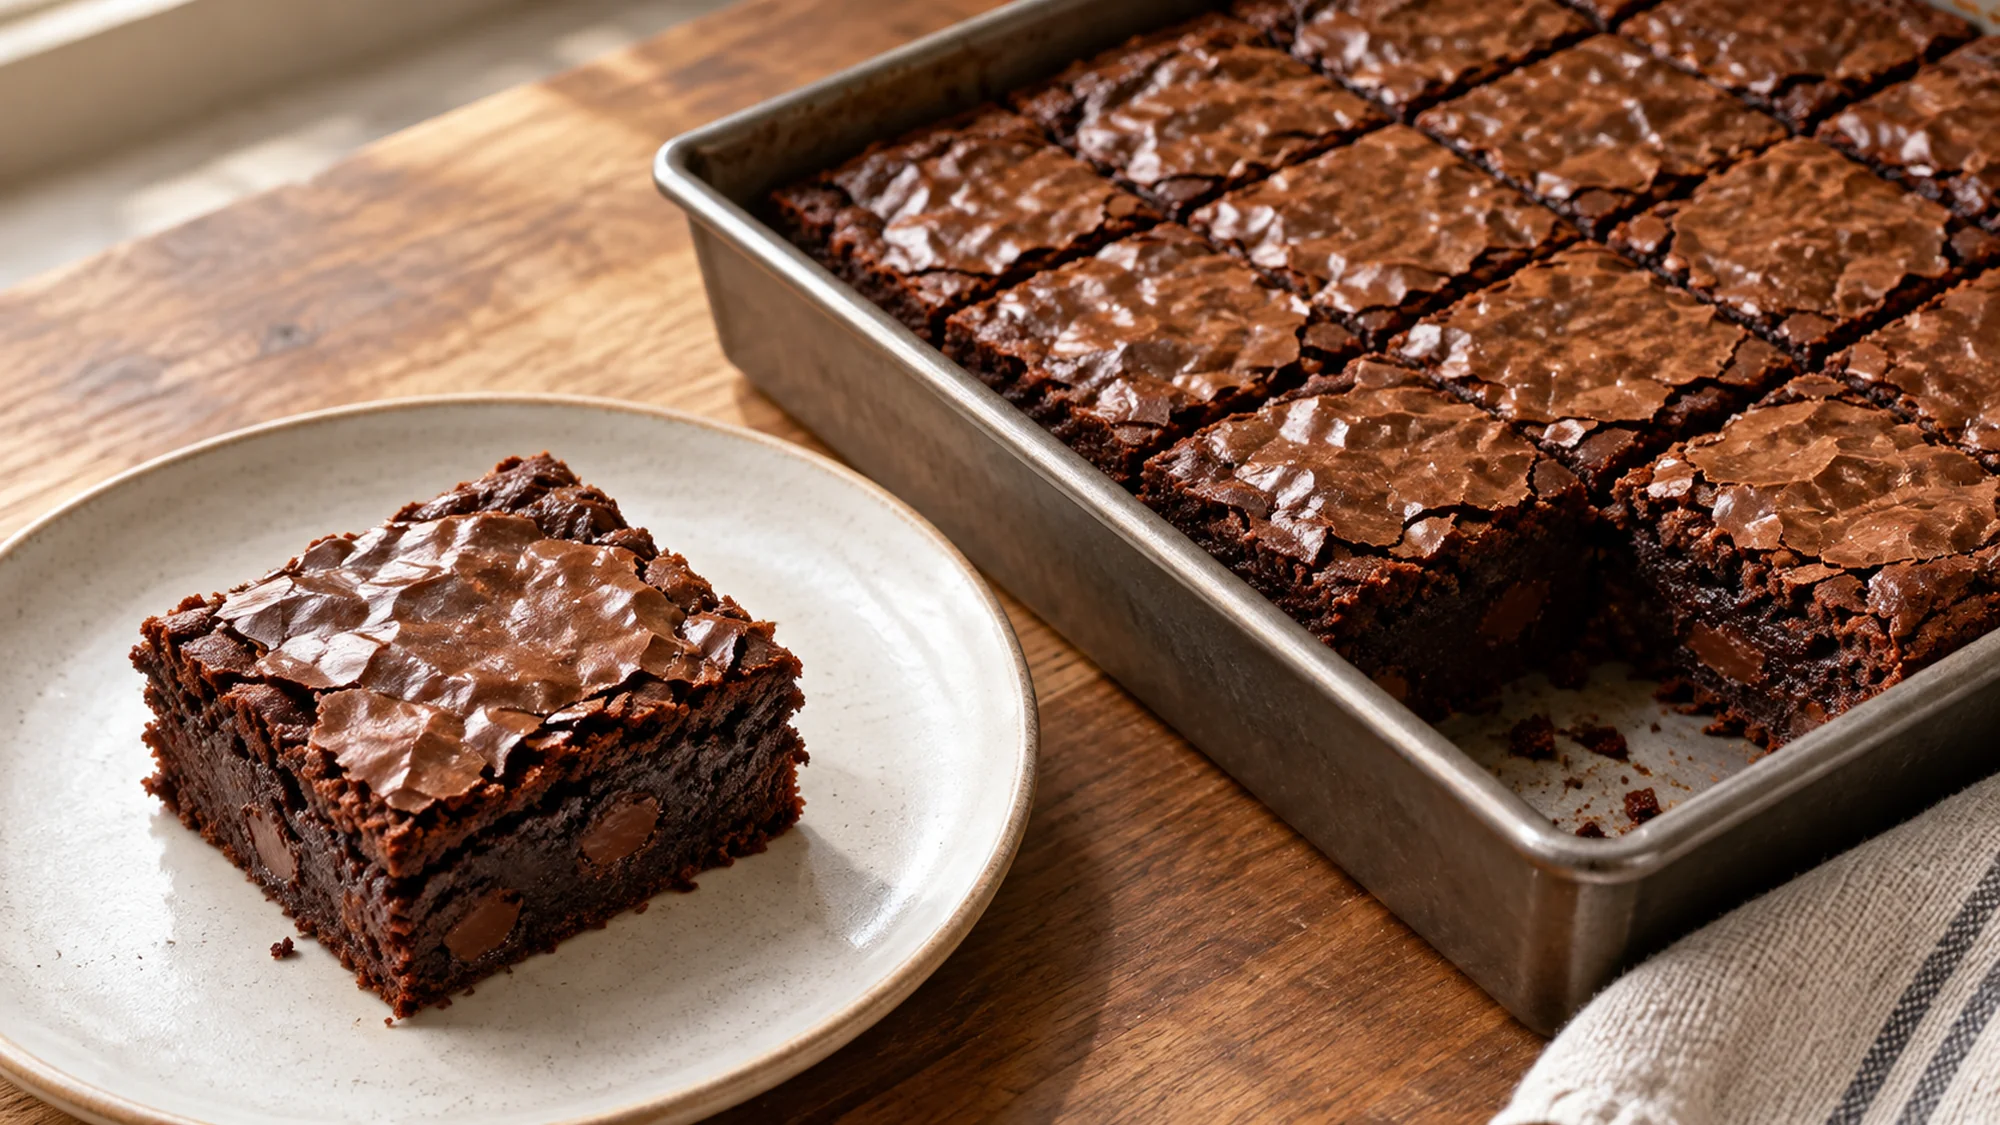
A brownie can look ready around the edges while the middle still needs time. This cocoa-and-butter version aims for a dense, moist center that is fully baked, with small pockets of dark chocolate and a thin crackly surface. An eight-inch metal pan keeps the batch compact and the portions easy to divide.
Bake until the center is set and a tester shows moist crumbs rather than raw batter, then cool the slab completely before slicing.
I prefer a small square with a strong chocolate flavor to an oversized piece that depends on frosting. Cocoa supplies the main flavor here, and chocolate chips add pockets of richness without a separate melting step. Waiting for the pan to cool is the less glamorous part of the recipe, but it makes a substantial difference when cutting.
Serving a brownie neatly, with room for extras
Cut the cooled slab into a four-by-four grid for sixteen small squares. Use a long knife, wiping it between cuts, and lift the slab by the parchment sling only after it is cool enough to hold together. Warm brownies can be pleasant to eat with a spoon, but they rarely provide the tidy edges promised by a sharp knife.
Serve plain with coffee or milk, or add a small scoop of ice cream at the table. The card estimate covers the brownie alone. If you are choosing a dessert for a group that prefers a softer, taller crumb, the chocolate cake recipe offers a different texture with cocoa frosting.
| How you serve it | Texture to expect | Practical detail |
|---|---|---|
| Fully cooled | Firm enough for clean squares | Wipe the knife between cuts |
| Briefly chilled | Firmer chocolate pockets | Let the portion stand briefly before eating |
| Warm with ice cream | Softer edges and melting chocolate | Serve on a plate with a spoon |
Cool first for clean slices; warm a single portion later if that is how you want to serve it.
Cocoa, pan choices and the crackly surface
Use unsweetened cocoa rather than a sweetened drinking-chocolate mix. This recipe has no chemical leavener, so Dutch-process cocoa is a straightforward choice for a dark flavor and color. Natural cocoa can work, with a sharper flavor; changing cocoa should not become an excuse to change every other ingredient at the same time.
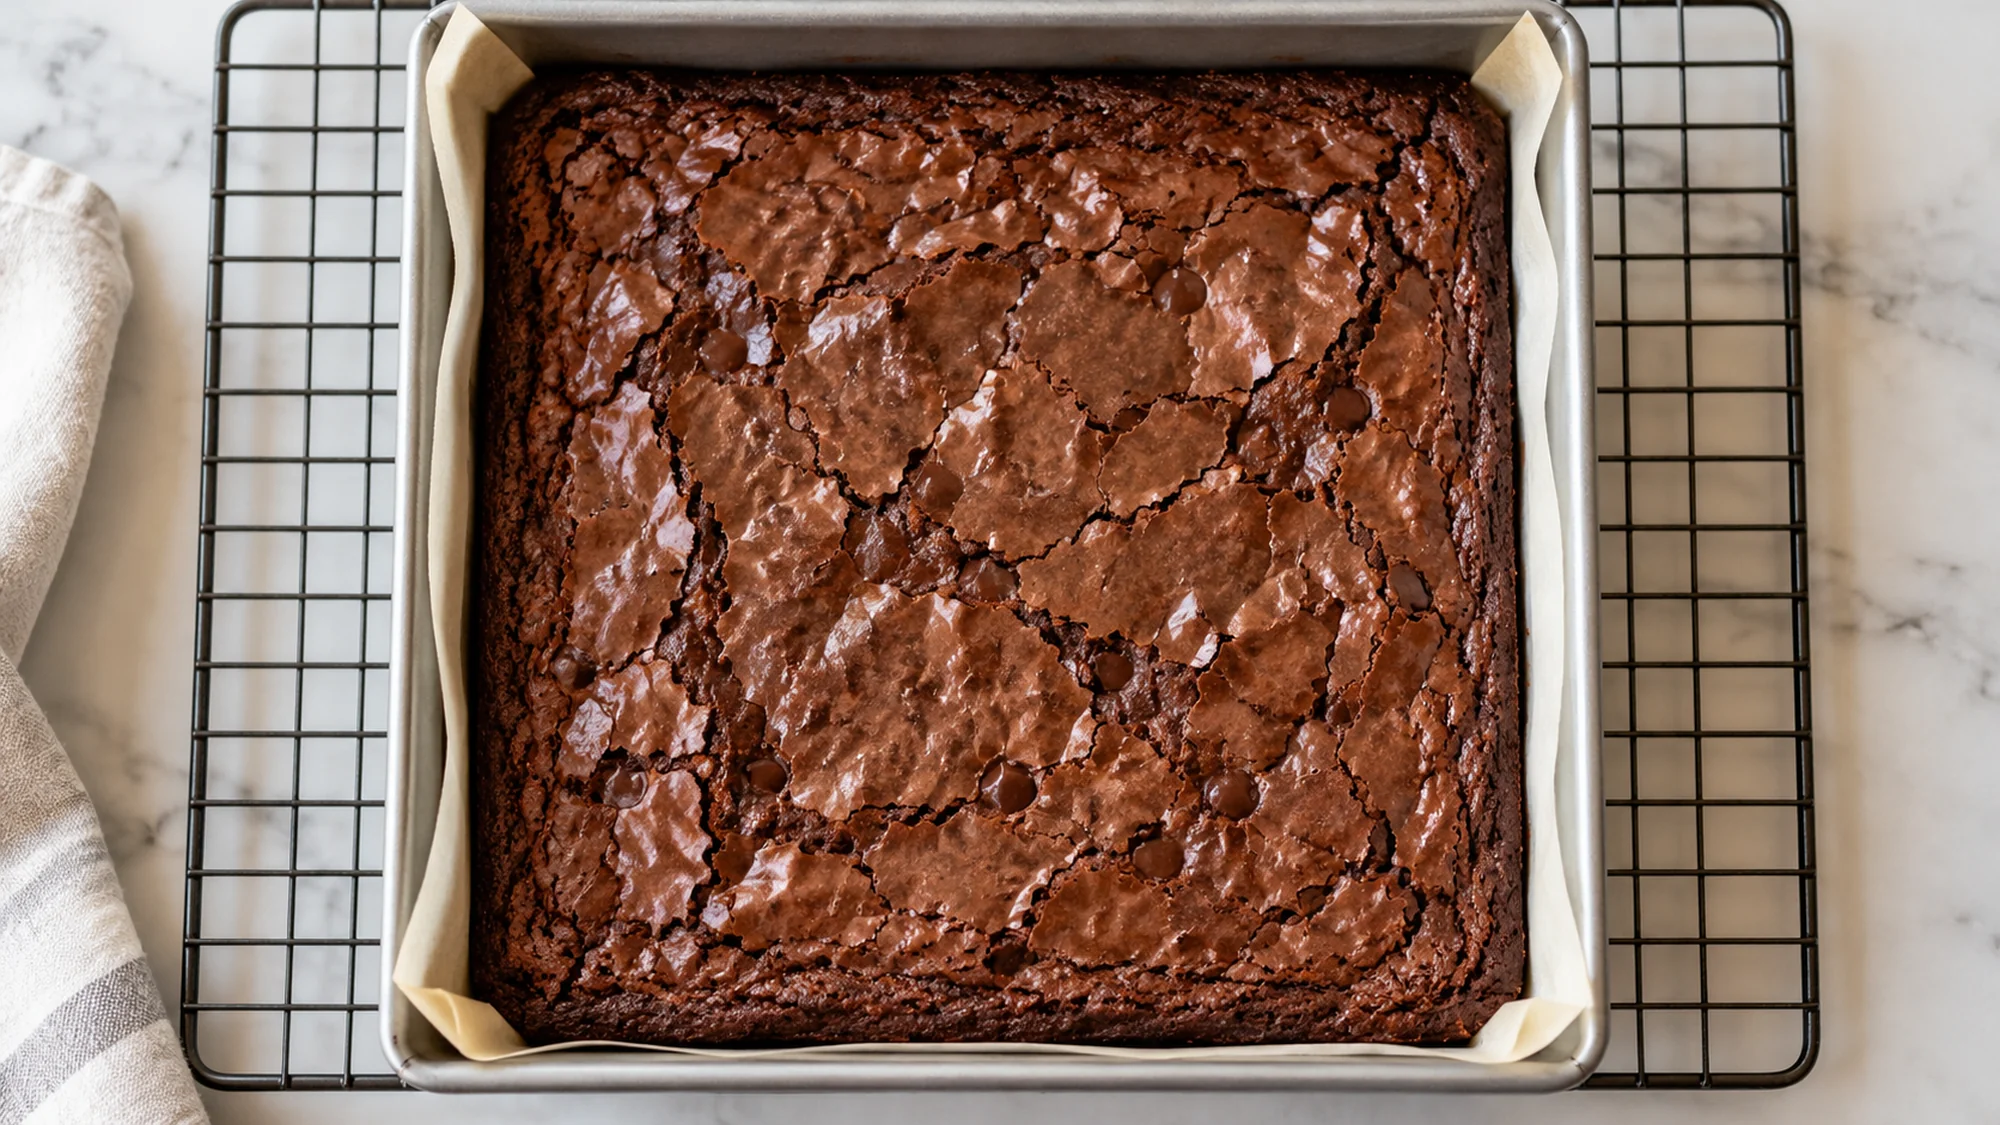
The surface depends on the formulation and mixing, not on a guarantee that every oven produces an identical shine. King Arthur Baking’s brownie crust investigation found that chocolate chips affected shine in its comparisons. Here, the chips stay in the batter and the sugar is whisked into warm melted butter before the eggs are added.
- Keep the pan size: a larger pan makes a thinner slab that can finish sooner. I would keep the specified metal pan for a first batch rather than guessing a new baking time.
- Measure flour lightly: use the gram weight when possible. Packing a cup tightly adds flour and can move the crumb toward dry and cakey.
- Mix after flour gently: stop when the dry streaks disappear. Scrape the bottom of the bowl so no pocket of flour remains.
- Check the center: test away from an obvious melted chocolate chip. A chocolate smear and liquid batter are different things; check a second spot when uncertain.
Use the specified pan and weights, then let the center’s texture guide the final few minutes of baking.
Health benefits, portions and safe batter handling
Cocoa brings concentrated chocolate flavor, but this remains a dessert containing butter and added sugar. It does not need a health halo to earn a place on a plate. The useful nutrition information is a clearly defined serving and an estimate that includes the chips, rather than describing a rich brownie as a substitute for nutrient-dense everyday foods.
The card divides all measured ingredients among sixteen squares. Cutting nine larger pieces instead would increase the amount per piece; serving sizes are part of the calculation, not a decorative number. Extra nuts, frosting or ice cream also need to be counted separately.
- Do not taste raw batter: flour and eggs need cooking. The FDA’s flour safety guidance explains that ordinary flour is a raw food, even after milling.
- Keep utensils clean: wash hands, bowls and surfaces after contact with the uncooked mixture. Set aside a clean knife and plate for the baked slab.
- Store after cooling: keep plain squares airtight in a cool room for up to three days, or wrap and freeze. Add perishable toppings only when serving.
Enjoy a clearly portioned dessert, bake the center fully and keep raw batter away from ready-to-eat food.
Bottom Line
A brownie needs enough structure to slice and enough moisture to stay tender. Weigh the flour, keep the chips in the batter and wait for the slab to cool; the chocolate flavor can do the rest without a layer of frosting.
Brownie Recipe
Ingredients
- 115 g unsalted butter cut into pieces
- 180 g granulated sugar
- 45 g unsweetened Dutch-process cocoa powder sift if lumpy
- 2 large eggs about 100 g without shells
- 1 teaspoon vanilla extract 5 ml
- 1/4 teaspoon fine salt
- 60 g all-purpose flour weighed rather than packed into a cup
- 75 g dark chocolate chips small chips or chopped dark chocolate
Equipment
- 8-inch (20 cm) square metal baking pan
- Parchment paper
- Microwave-safe mixing bowl
- Whisk and flexible spatula
- Kitchen scale
- Wire rack
- Toothpick or thin skewer
Instructions
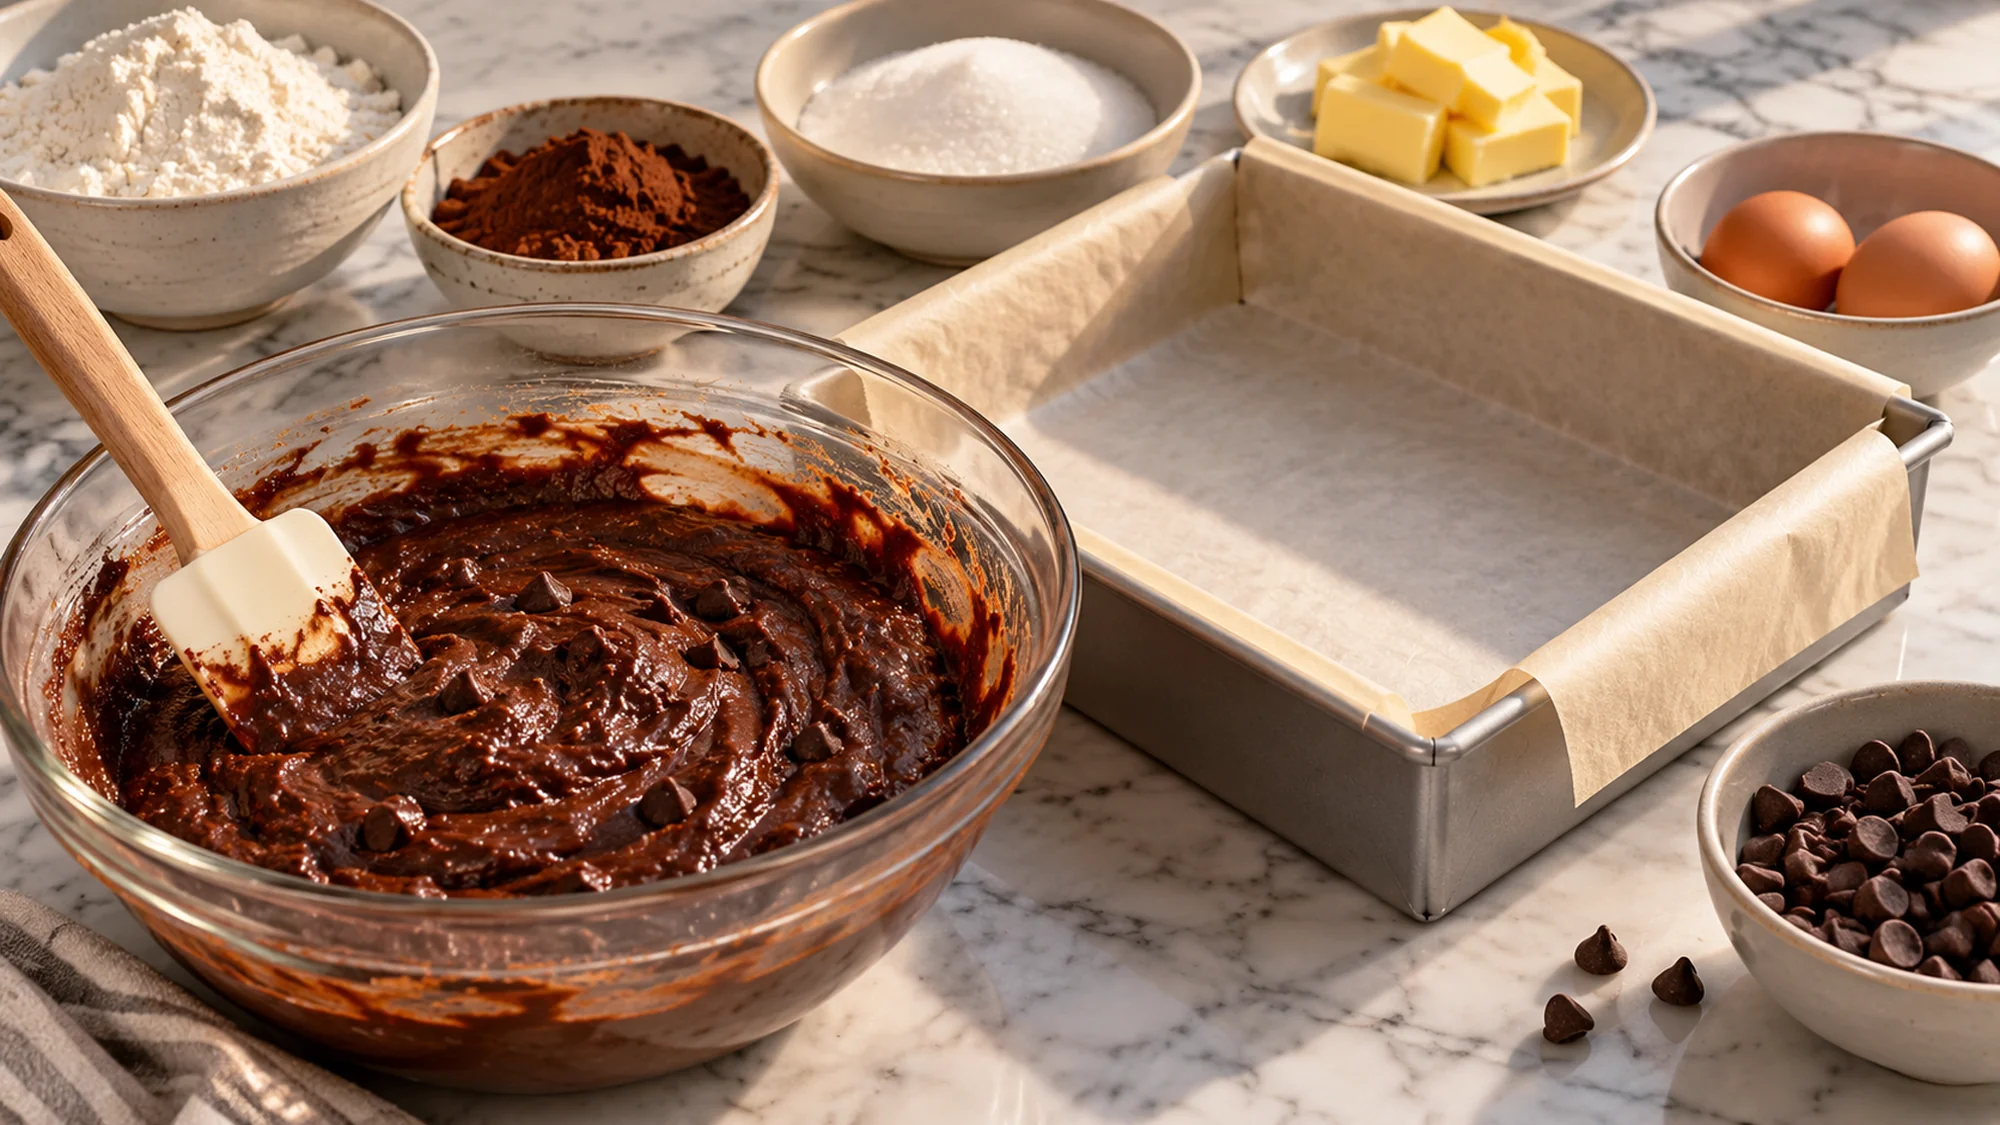
- Heat a conventional oven to 350°F (175°C), with a rack in the center. Line an 8-inch (20 cm) square metal pan with parchment, leaving an overhang on two opposite sides. Do not substitute a larger pan without expecting a thinner slab and different baking time.
- Melt butter in a microwave-safe bowl in short bursts, stirring between them, until just melted and warm rather than sizzling. Whisk in sugar for about 1 minute, then cocoa until evenly combined. Let the mixture cool if it feels hot; it should be warm, not hot enough to cook the eggs.
- Whisk in eggs one at a time, then vanilla and salt, until the mixture is smooth and slightly glossy. Add flour and fold with a spatula only until no dry streaks remain, scraping the bottom of the bowl. Fold in dark chocolate chips. Do not eat or taste the raw batter.
- Spread the batter evenly in the prepared pan. Bake about 25–30 minutes, checking toward the end; ovens and pans vary, so allow longer if necessary. The edges and center should be set, and a toothpick inserted in the center should show moist crumbs but no liquid raw batter. If the tester hits a chocolate chip, check a nearby spot. Do not use a shiny top alone as proof of doneness.
- Set the pan on a wire rack and cool completely, at least 90 minutes or longer if still warm. Lift out with the parchment sling. Cut into a 4 × 4 grid for 16 small squares, wiping the knife between cuts. Optional ice cream, nuts or frosting are excluded from the estimates.
- Keep cooled plain brownies airtight in a cool room for up to 3 days, or wrap individual squares and freeze for up to 1 month for quality. Thaw wrapped portions before serving. Add perishable toppings only when serving.
Nutrition
Video
Notes
Tried this recipe?
Let us know how it turned out!Hi, I’m Emily Pocker! I share recipes and food guides here at Recipes360 to help you find everyday meal inspiration and feel more confident in the kitchen. My goal is to make cooking approachable, enjoyable, and full of flavor.