
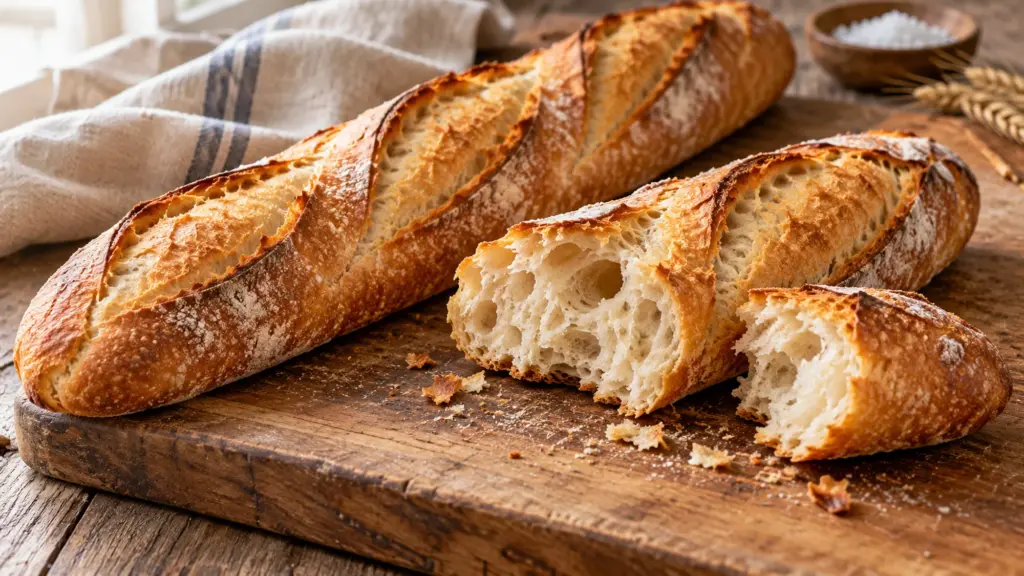
The sound of a knife meeting a crisp baguette crust is a good argument for baking bread at home. Getting there starts with a fairly wet dough, gentle handling and enough time for the yeast to work. This same-day version makes two modest loaves with a soft, irregular crumb; it does not promise the flavor of a long-fermented bakery baguette in a hurried afternoon.

Weigh the flour and water, let the dough become visibly puffy between folds, and avoid pressing out every bubble when shaping. A hot oven sets the loaf, while a short covered start helps the surface expand before the crust firms. Let the bread cool before cutting so the crumb can settle.
Serving Suggestions for baguette
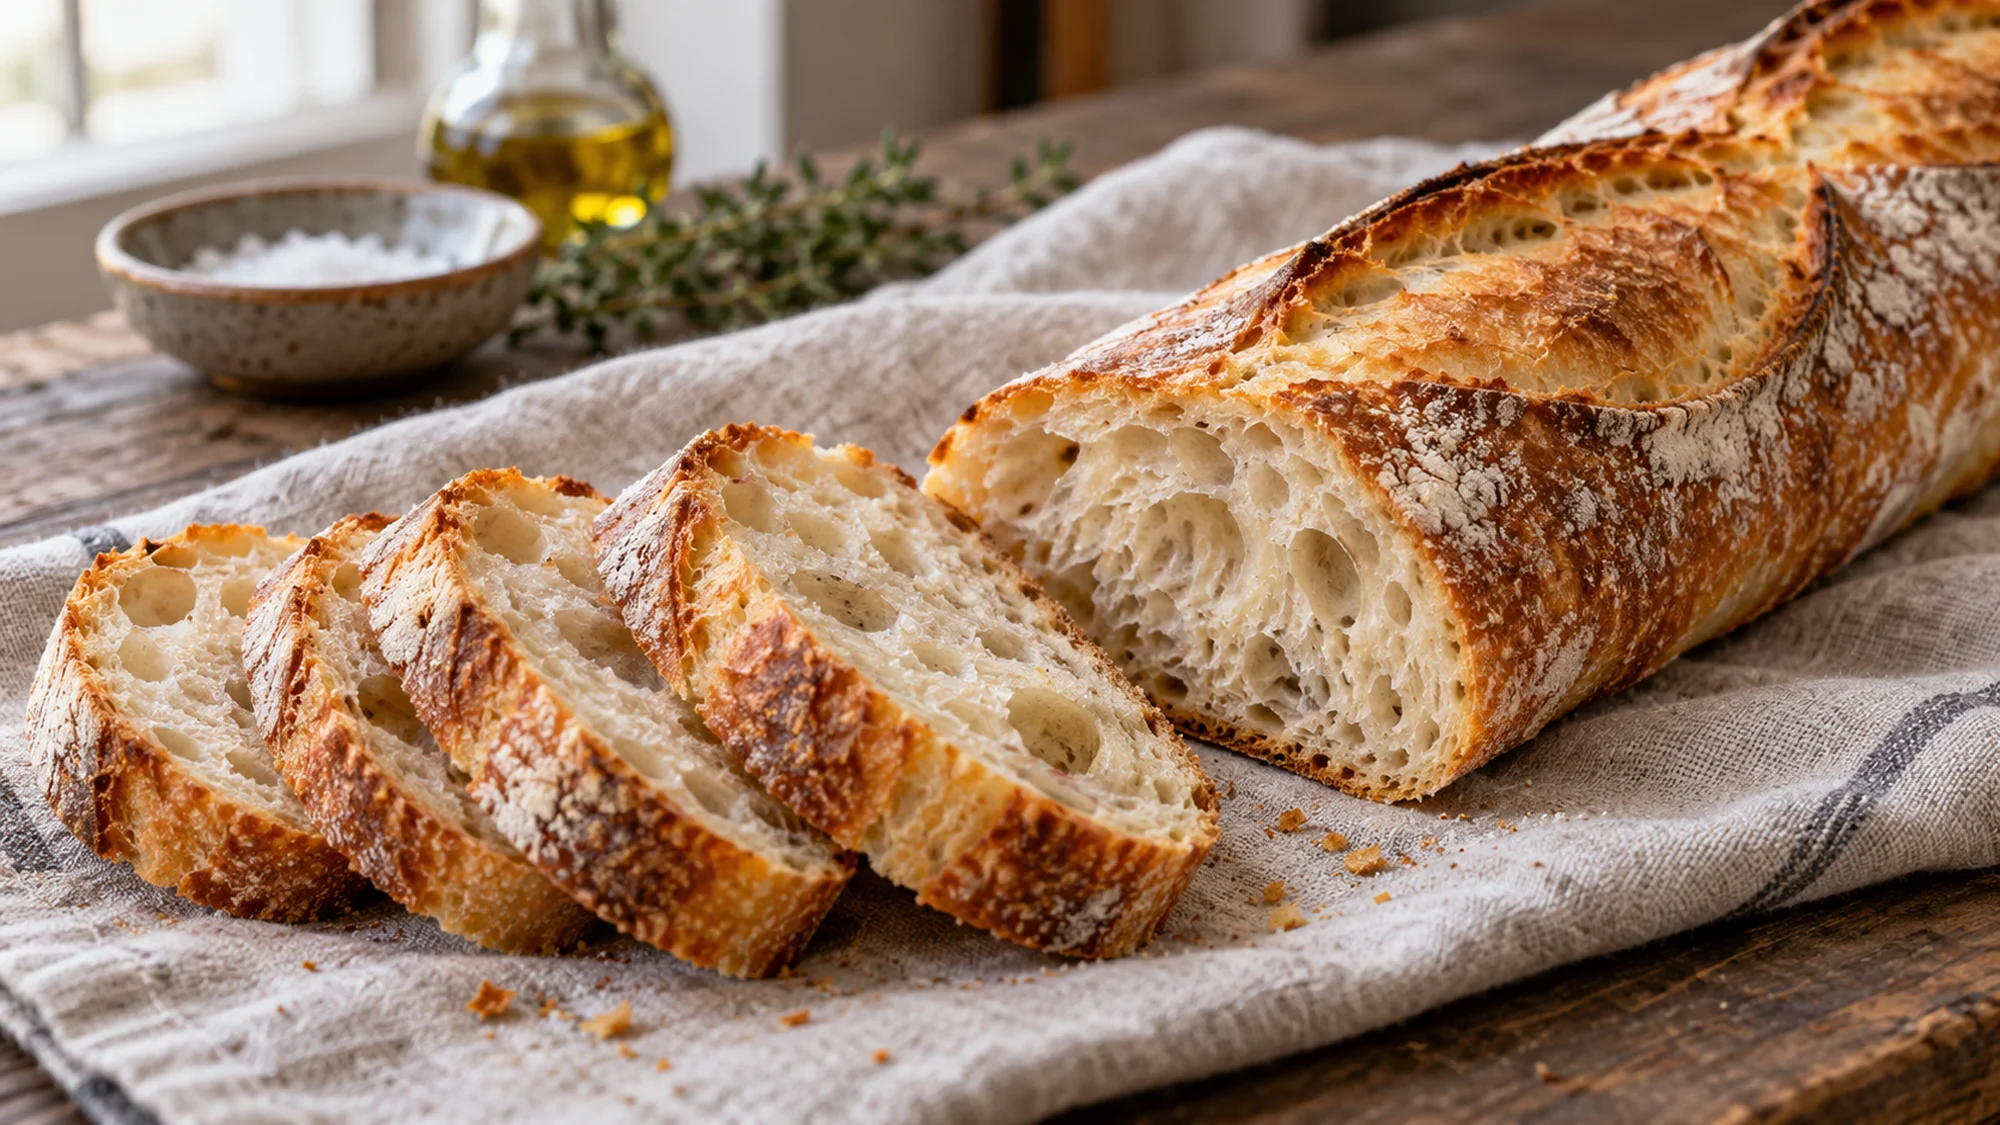
Serve the baguette once it has cooled enough to slice cleanly. A serrated knife and a steady sawing motion protect the soft center better than pushing straight down. Cut thin rounds for small bites or split a longer section for a sandwich; the same loaf can handle both jobs without needing a different dough.
I’d keep the first serving simple: a little butter, ripe tomato or a bowl of soup lets the crust do its part. For a sweeter breakfast pairing, a small mug of atole de pinole brings a contrasting toasted-corn flavor. Think about the whole meal rather than assuming bread must always sit beside a large main course.
Baguette is at its crispest on the day it is baked. Let it cool completely before wrapping, and freeze portions you will not use soon rather than leaving a cut loaf exposed for days. Frozen slices can go into a toaster; thaw larger pieces before refreshing briefly in a hot oven. Discard moldy bread rather than trimming away only the visible spot.
Variations for baguette
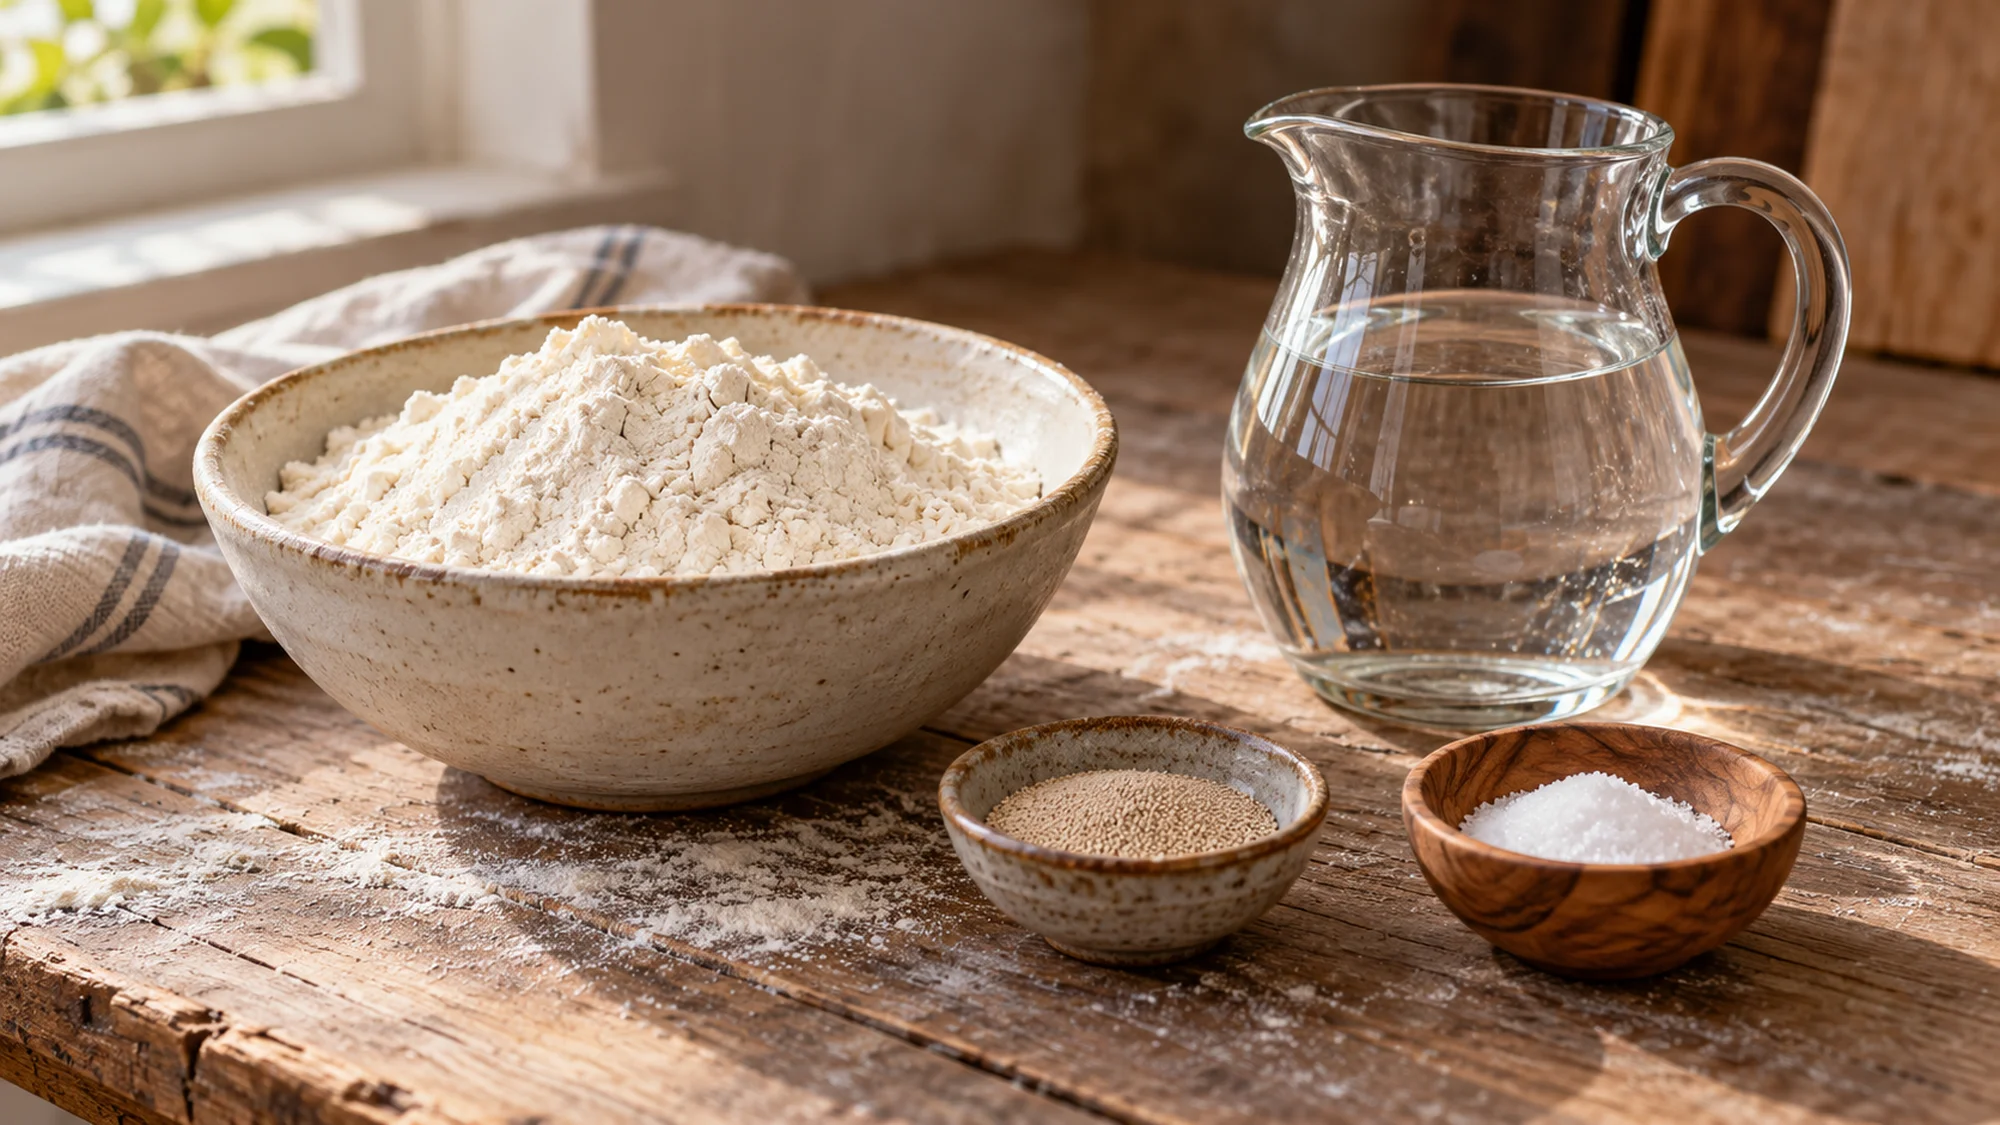
The dough is intentionally simple: flour, water, yeast and salt. Bread flour can make the dough feel more elastic, while all-purpose flour gives a somewhat softer bite. Flour brands absorb water differently, so start with the measured quantity and resist burying a sticky dough under more flour. A light dusting on the bench is enough for shaping.
I would choose a shorter loaf that fits comfortably on the baking sheet before chasing the longest possible baguette. Leave room for expansion and keep the pieces a similar thickness along their length. Thin ends brown sooner, so taper them gently rather than pulling them into delicate points that burn while the middle catches up.
Use the table to choose a modest change. Enriching the dough with butter, milk or sugar would move it toward a different style of bread, so those ingredients are left out here. An overnight preferment is another good project, but it needs a different schedule; the instructional video demonstrates that longer approach rather than this same-day formula.
| Choice | What changes | Practical cue |
|---|---|---|
| All-purpose flour | Softer handling and crumb | Keep the bench lightly floured |
| Bread flour | More elastic dough | Rest briefly if shaping resists |
| Two shorter loaves | Easier fit in a home oven | Leave space between the pieces |
| Whole-wheat addition | More flavor and a denser crumb | Start by replacing 50 g flour; expect different absorption |

Health Benefits and Portion Balance
Bread mainly contributes carbohydrate, with some protein from wheat. This baguette uses refined flour, so it should not be described as a whole-grain loaf or a particularly high-fiber food. Whole grains can be part of a varied eating pattern, but replacing all the flour here would also change hydration, rise and texture.
For the broader meal, choosing a variety of food groups matters more than giving one loaf a health label. Pair bread with vegetables and a protein food if that suits the meal. The card estimates nutrition per one-twelfth of the batch; a very generous sandwich portion contains more than that.
Flour is a raw ingredient, so avoid tasting uncooked dough and clean the worktop and utensils after mixing. This recipe contains wheat and is unsuitable for someone who must avoid it. For the technique behind fermentation and shaping, King Arthur’s baguette demonstration provides useful visual context without making this a copy of its formula.
Bottom Line
Give the dough room to rise, shape with a gentle hand and judge the loaf by its deep golden color rather than a pale timer deadline. I’d spend the extra attention on cooling, too: cutting a very hot loaf can make an otherwise good crumb seem gummy. Two crisp loaves and a scattering of crumbs are a perfectly reasonable afternoon result.
Baguette Recipe


Ingredients
- 500 g all-purpose flour plus a little for shaping
- 350 g water lukewarm, not hot
- 4 g instant yeast
- 10 g fine salt
Equipment
- Kitchen scale
- Large mixing bowl
- Dough scraper
- Large baking sheet
- Roasting pan or deep foil pan to cover the loaves
- Bread lame or sharp knife
Instructions
- Mix the flour, water and yeast in a large bowl until no dry flour remains. Cover and rest 20 minutes. Add the salt, folding and squeezing the dough until distributed.
- Cover and let rise at a moderate room temperature for about 90 minutes. After 30 and 60 minutes, lift each side of the dough and fold it toward the center with damp hands. By the end it should be noticeably puffy; allow more time in a cool kitchen.
- Divide into two equal pieces on a lightly floured bench. Shape gently into short logs, cover and rest 20 minutes. Flatten each slightly, fold the long edge toward the center and seal, then repeat from the opposite edge. Fold lengthwise, seal the seam and roll gently to 14–15 inches, fitting your baking sheet.
- Place seam-side down on a parchment-lined baking sheet, separated by at least 3 inches. Cover loosely and proof about 30 minutes, until puffy and an indentation springs back slowly. Meanwhile heat the oven to 475°F (245°C). Check that the parchment and covering pan are rated for this temperature.
- Make three or four shallow overlapping diagonal slashes down each loaf using a sharp blade angled toward the dough. Cover with an inverted deep roasting pan or foil pan without touching the dough. Bake 15 minutes, uncover carefully away from your face and bake 8–12 minutes more until deeply golden. Do not use a glass cover.
- Transfer to a rack and cool at least 30 minutes before slicing. Baking and proofing times vary with the oven and room temperature.
Nutrition
Video
Notes
Tried this recipe?
Let us know how it turned out!Hi, I’m Emily Pocker! I share recipes and food guides here at Recipes360 to help you find everyday meal inspiration and feel more confident in the kitchen. My goal is to make cooking approachable, enjoyable, and full of flavor.