
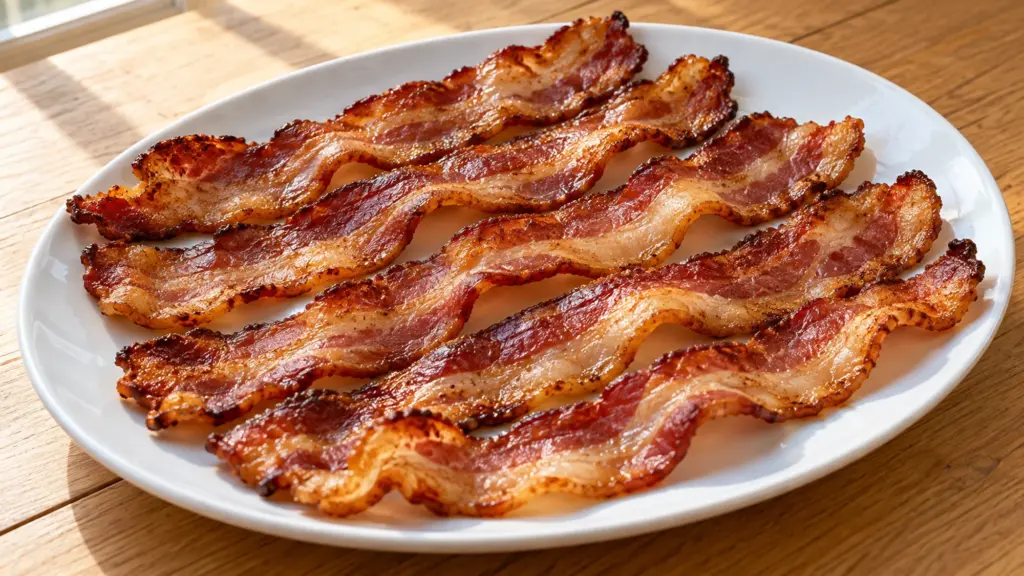
Thicker bacon needs room for its fat to render before the edges become too dark. If you bought bacon thick cut for breakfast or sandwiches, a rimmed sheet pan gives the strips space and keeps the cooking mostly in the oven. The aim is browned, fully cooked bacon with crisp edges.
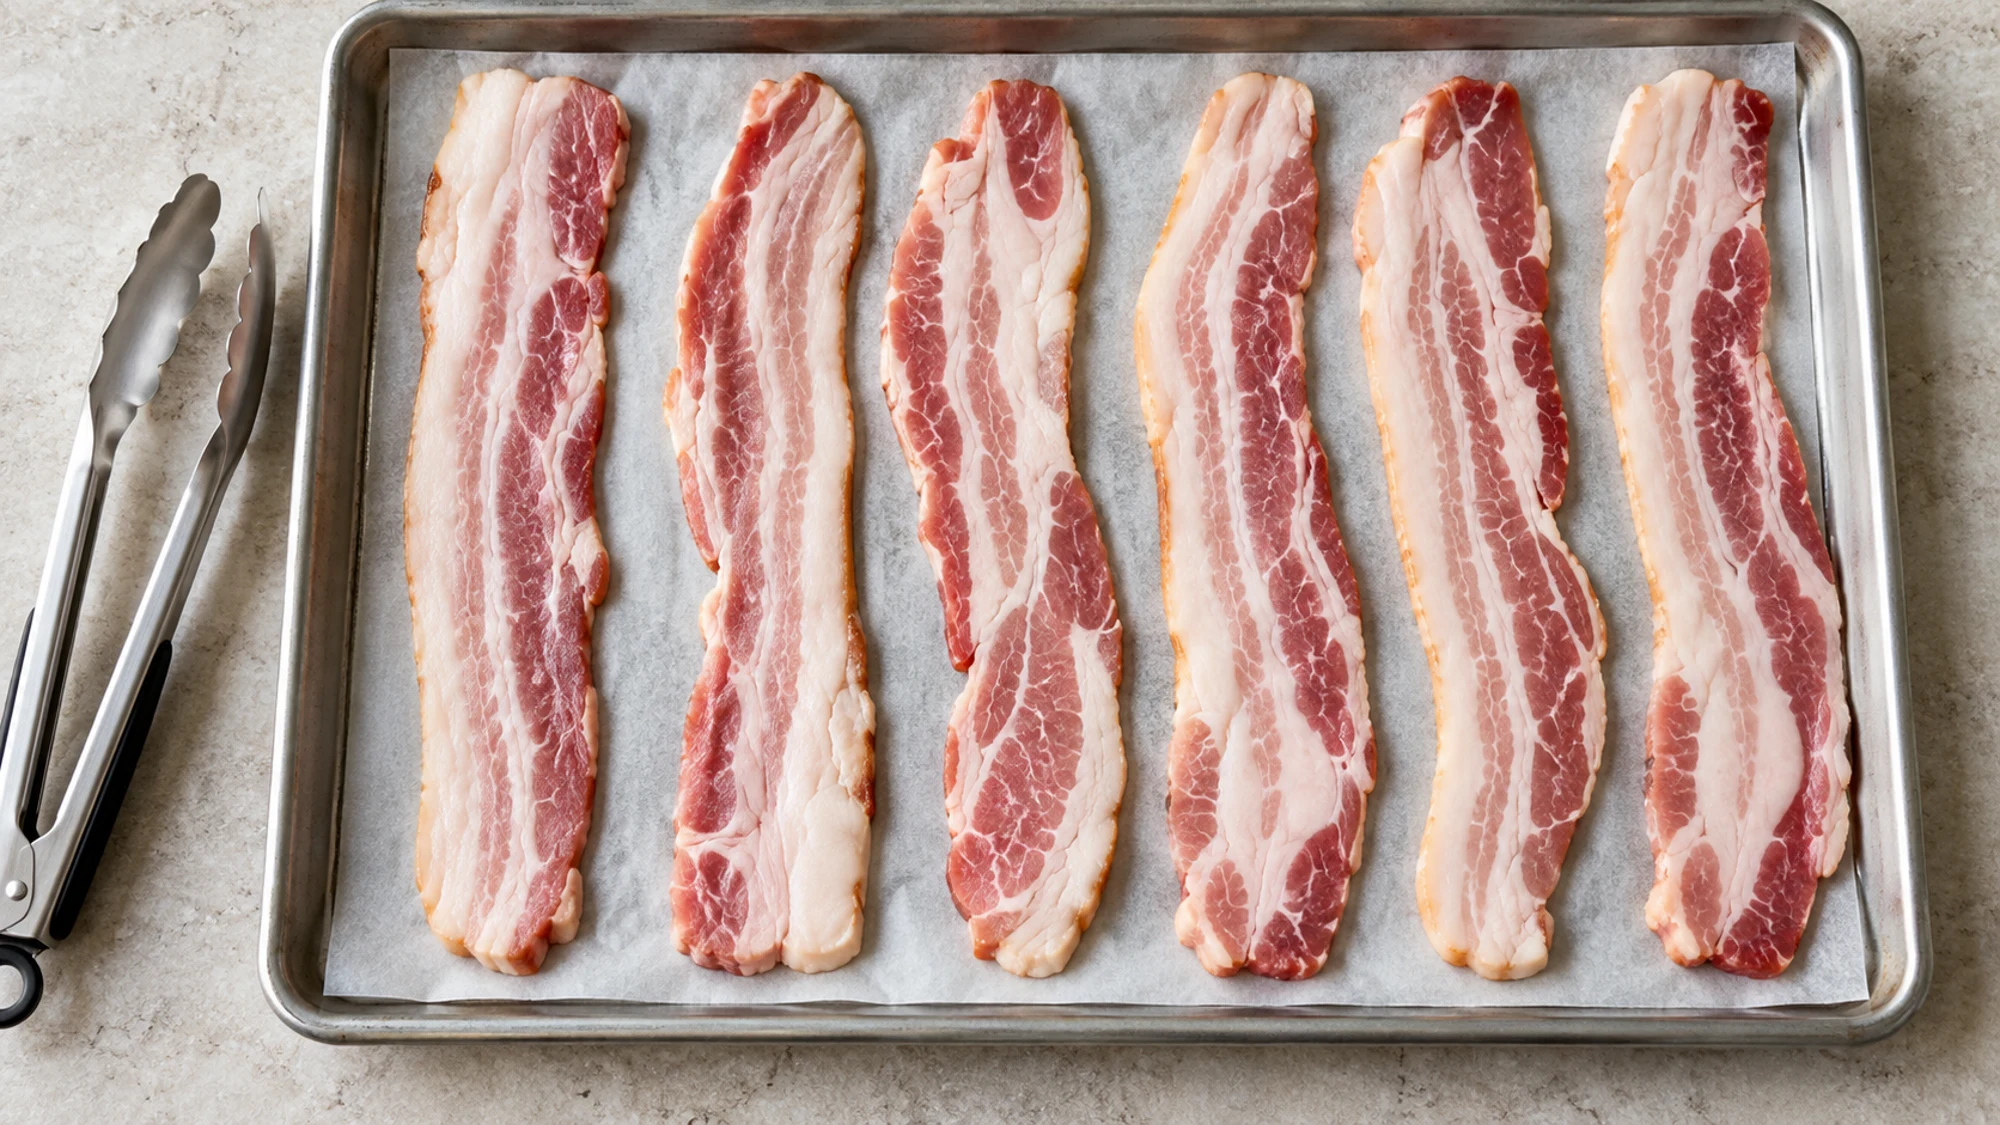
Arrange the strips in one layer, bake at 400°F (205°C) and begin checking before the upper time estimate. Remove pieces as they finish, then drain briefly before serving.
This is a plain bacon recipe, with no sugar glaze or extra oil. I’d make the first tray without additional seasoning so you can judge the package’s smoke and salt. Slice thickness, fat content and your oven all affect the timing; a large timer number is less useful than watching the last few minutes.
Bacon Thick Cut: Serving Suggestions
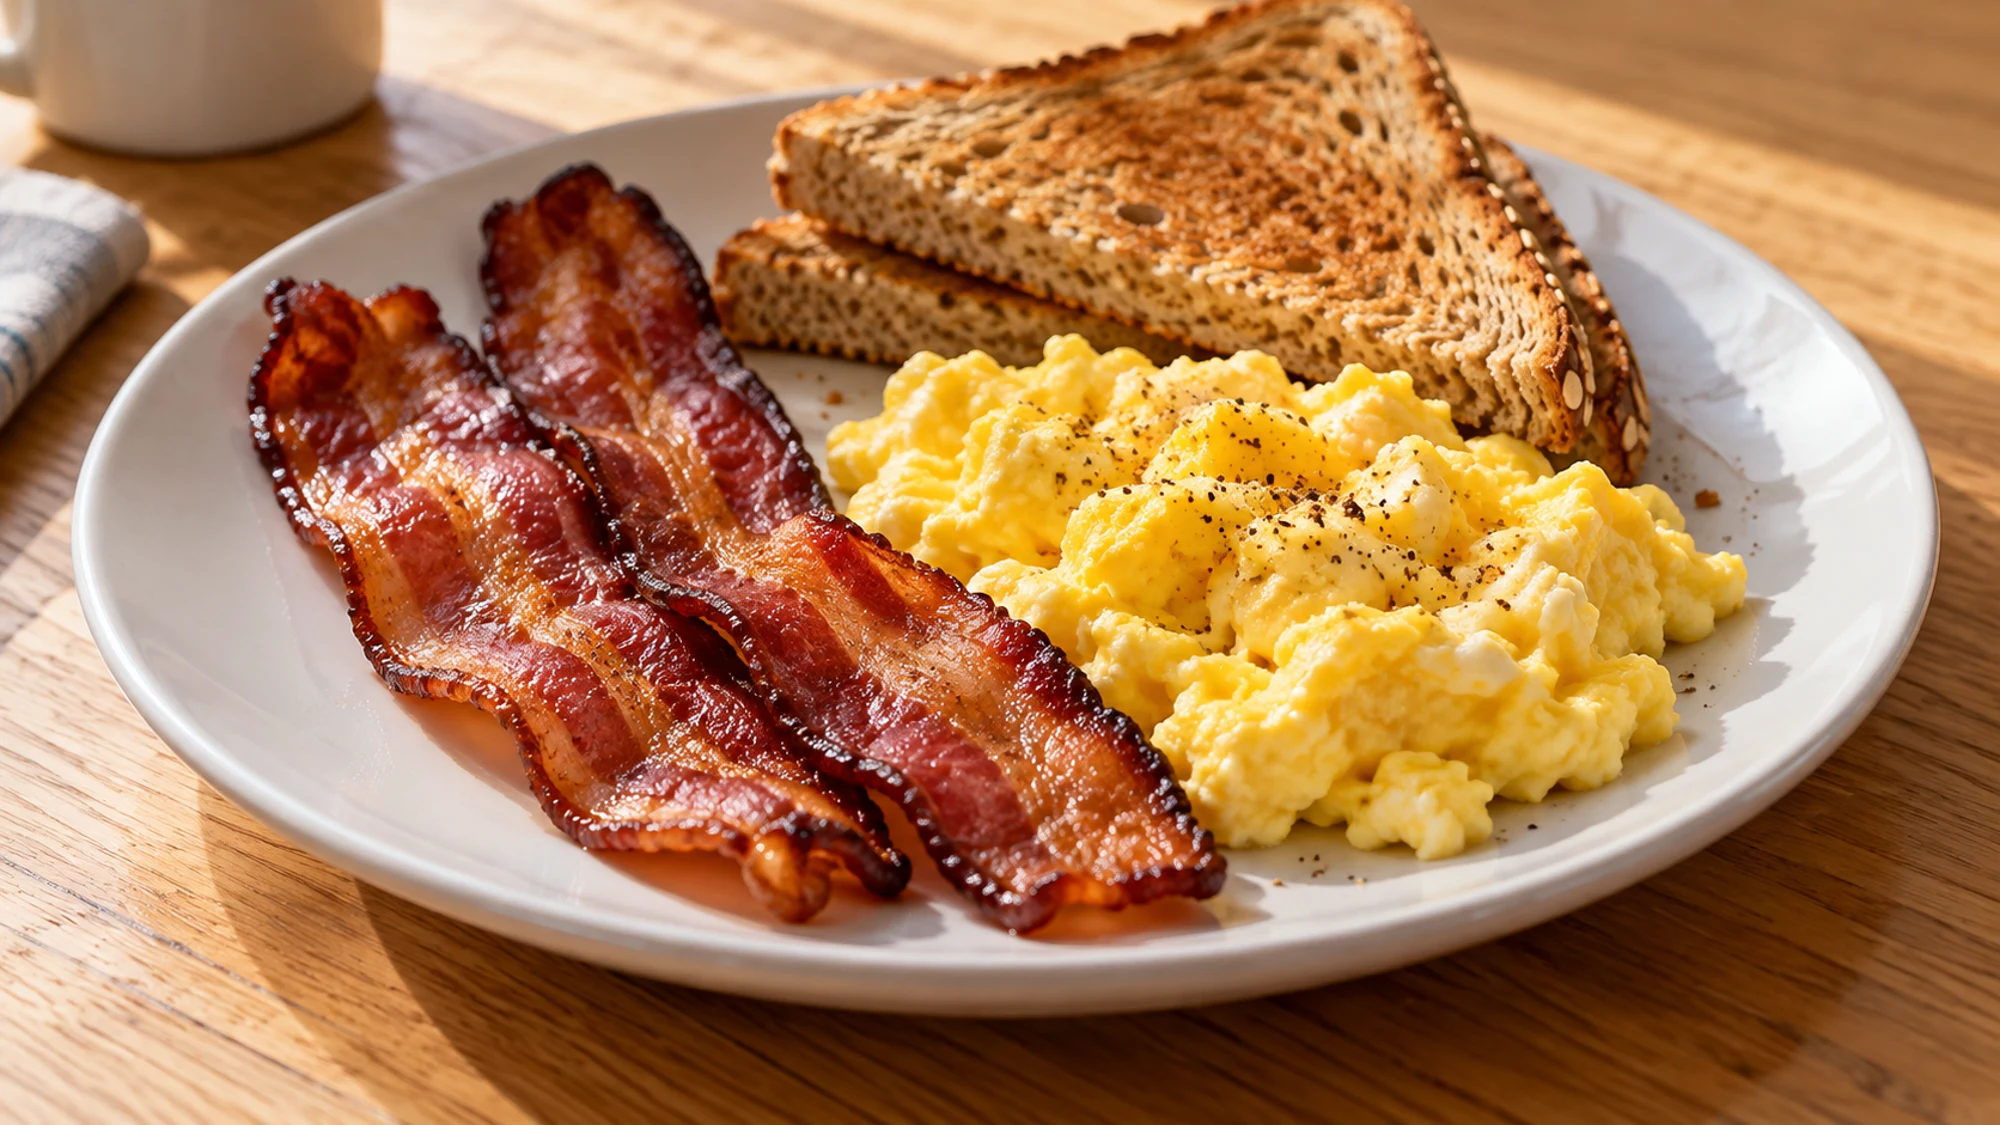
Thick strips bring a substantial bite, so they work well in places where a small amount can carry flavor. Serve them alongside the rest of breakfast rather than making the whole plate depend on bacon. Have the other food ready before the pan finishes so the edges stay crisp.
- For breakfast: add a modest portion beside eggs, toast and fruit. Those additions are separate from the bacon-only nutrition estimate.
- For a sandwich: break cooled strips to fit the bread instead of folding several layers into one bite. Tomato and lettuce add a different texture.
- For a potato: crumble a little over a crisp-skinned air-fryer jacket potato. Taste before adding more salt or salty cheese.
I prefer tongs and a clean draining plate to carrying the hot pan to the table. Let the bacon shed surface fat for a minute or two, then move it to a serving dish. Keep the rendered fat contained until the pan is cool enough to handle safely.
Use bacon where its texture and smoky flavor matter, and let other foods fill out the meal.
Variations and cooking adjustments
The label thick-cut does not describe one universal thickness. Compare the strips within the package and spread them without overlap. If a whole pound will not fit comfortably, use another rimmed pan or cook a second batch; a crowded tray makes the timing less predictable.
| Choice | Practical effect | What to watch |
|---|---|---|
| Plain smoked bacon | Keeps the base flavor simple | Salt and smoke vary by brand |
| Peppered bacon | Adds a stronger finish | Check the label before adding pepper |
| Sugar-cured bacon | Can brown more quickly | Watch closely near the end |
| Two pans | Gives crowded strips more room | Rotate positions and check each pan |
- Uneven browning: rotate the pan and remove finished strips individually with tongs.
- Edges coloring too fast: lower the heat slightly and continue checking. Do not use the broiler to hurry a pan of rendered fat.
- Bacon sticking: let it release gently instead of tearing it upward. Use intact oven-safe parchment within its manufacturer’s temperature limit.
USDA’s bacon safety guidance explains that thin bacon is difficult to measure with a thermometer, and cooking it crisp should bring it to a safe temperature. Curing can leave cooked meat pink. Cook the strips completely rather than partially cooking them for later finishing.
Follow the package’s instructions where provided, and treat browning as part of a complete cook rather than a reason to rush.
Health benefits and portion context
Bacon contributes protein, but it also supplies considerable fat and sodium. The card uses representative baked-bacon values for a 28-gram cooked portion. That weight is more useful than an assumed strip count, because two thick strips from different brands can be very different sizes.
- Portion estimate: the batch yield changes as fat and water cook out. Weigh the drained bacon if you need a more specific serving.
- Package comparison: compare the gram serving and sodium amounts together; a smaller printed serving can disguise the difference.
- Meal balance: add fruit, vegetables or whole grains rather than expecting a processed meat to provide everything.
The FDA label-reading guide explains that listed nutrients correspond to the stated serving size. I’d use your package’s information alongside the cooked-weight estimate, without treating oven baking as a guarantee of a particular nutritional result.
Keep the portion clear and the estimate honest; the bacon’s role is flavor and texture within a wider meal.
Bottom Line
For bacon thick cut enough to need a longer cook, give the strips space and watch the finish carefully. A rimmed pan, timely checks and brief draining make the method practical without extra oil or a sweet glaze.
Bacon Thick Cut Recipe

Ingredients
- 1 pound raw thick-cut pork bacon about 450 g; not precooked
Equipment
- Large rimmed baking sheet use two if needed to avoid overlap
- Oven-safe parchment paper
- Tongs
- Paper-towel-lined plate
- Kitchen scale optional, for cooked portion weights
Instructions
- Heat the oven to 400°F (205°C). Line a large rimmed baking sheet with oven-safe parchment, keeping it inside the pan and within the paper manufacturer’s temperature limit. Use a second rimmed pan if the strips will not fit without overlap.
- Arrange the raw bacon in a single layer. Bake on the middle rack for about 20–30 minutes, rotating the pan around halfway. Begin checking at 18 minutes; very thick strips may need longer. Follow any specific package cooking directions.
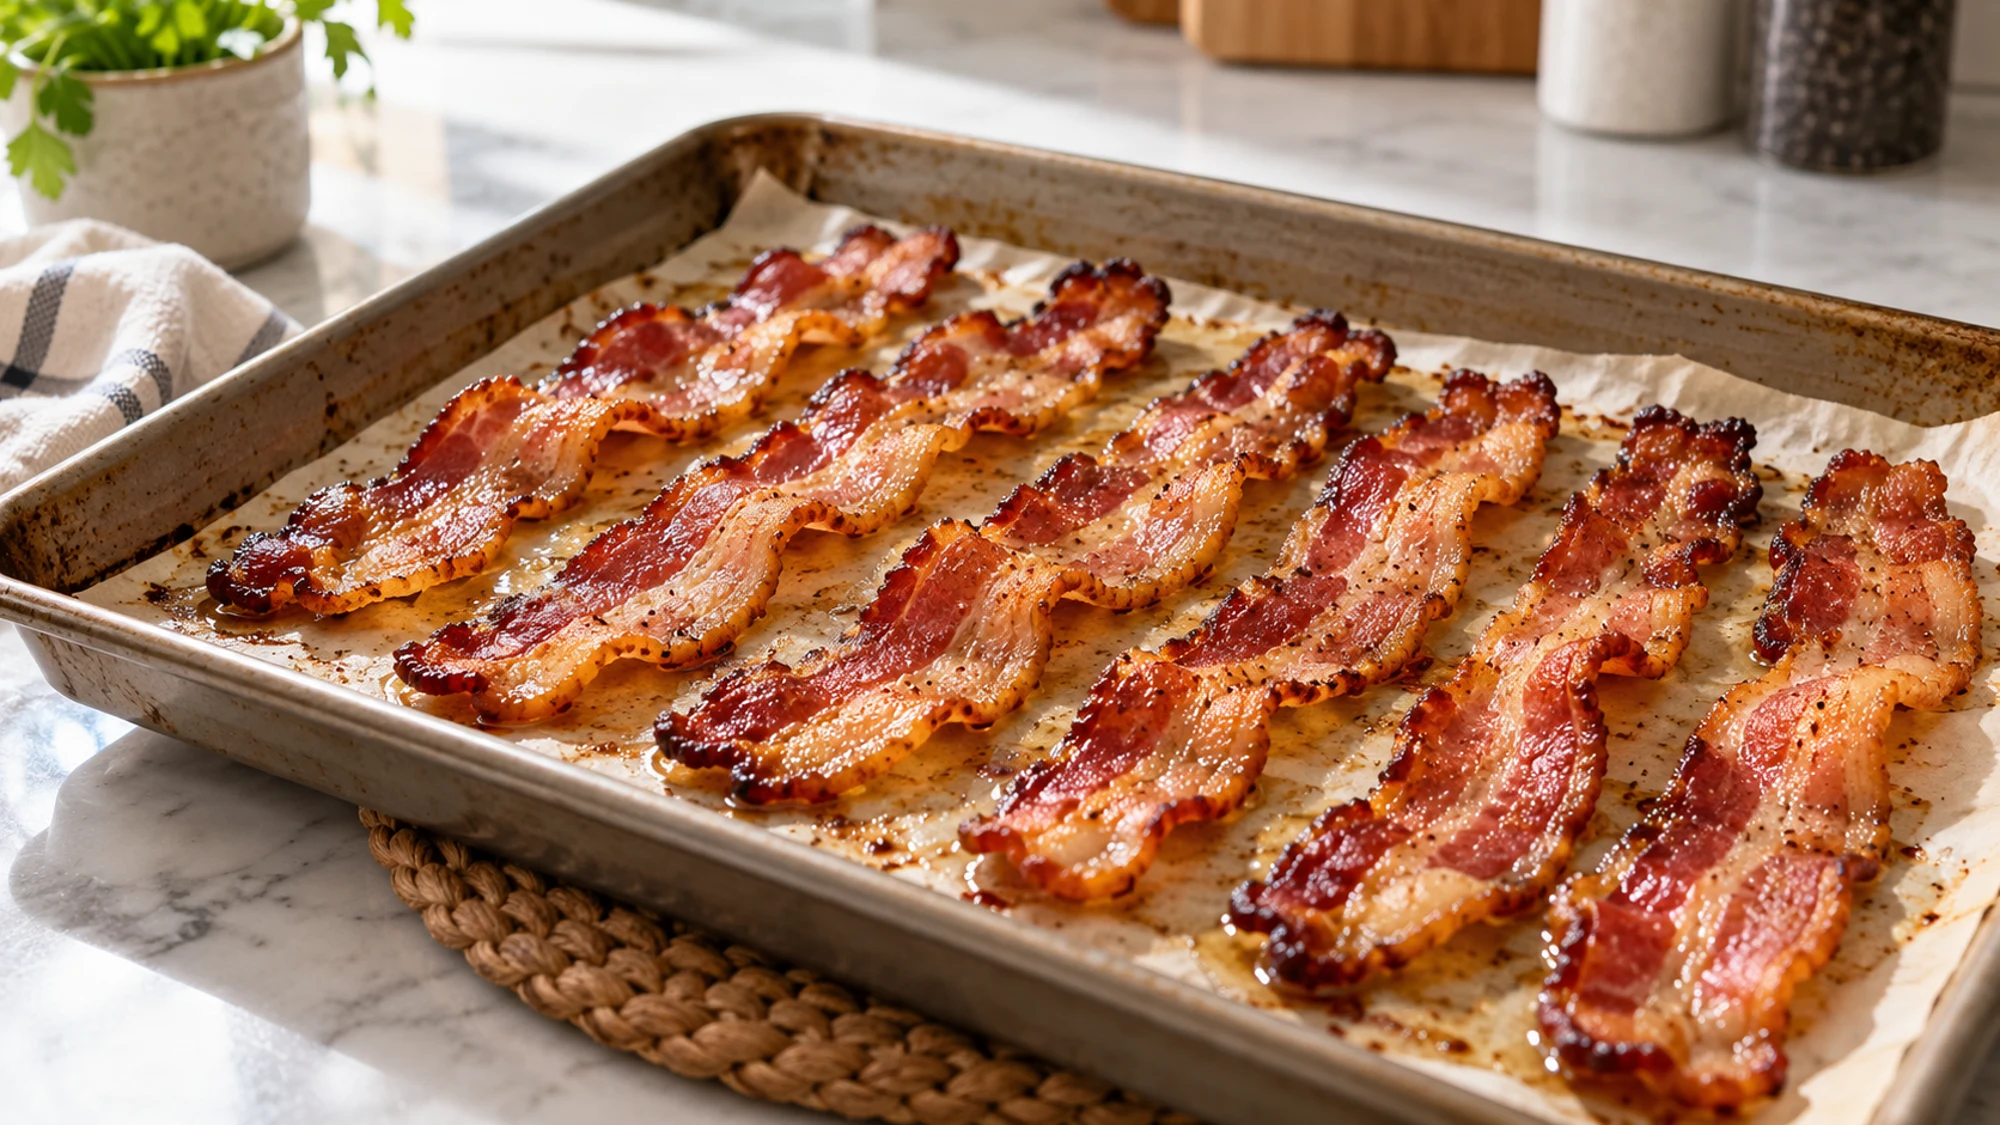
- Continue until the strips are fully cooked and crisp, removing thinner pieces as they finish. Cured bacon can retain some pink color. Avoid broiling or partially cooking the bacon for later finishing.
- Using tongs, transfer the cooked bacon to a clean paper-towel-lined plate. Drain briefly, then serve. Let the rendered fat cool safely in the pan before handling or disposing of it.
- Estimated yield is six portions of about 28 g cooked bacon, but actual shrinkage varies. For the nutrition portion, weigh the cooked drained strips. Refrigerate leftovers promptly in a covered container; use within 3–4 days and reheat thoroughly to 165°F (74°C).
Nutrition
Video
Notes
Tried this recipe?
Let us know how it turned out!Hi, I’m Emily Pocker! I share recipes and food guides here at Recipes360 to help you find everyday meal inspiration and feel more confident in the kitchen. My goal is to make cooking approachable, enjoyable, and full of flavor.