
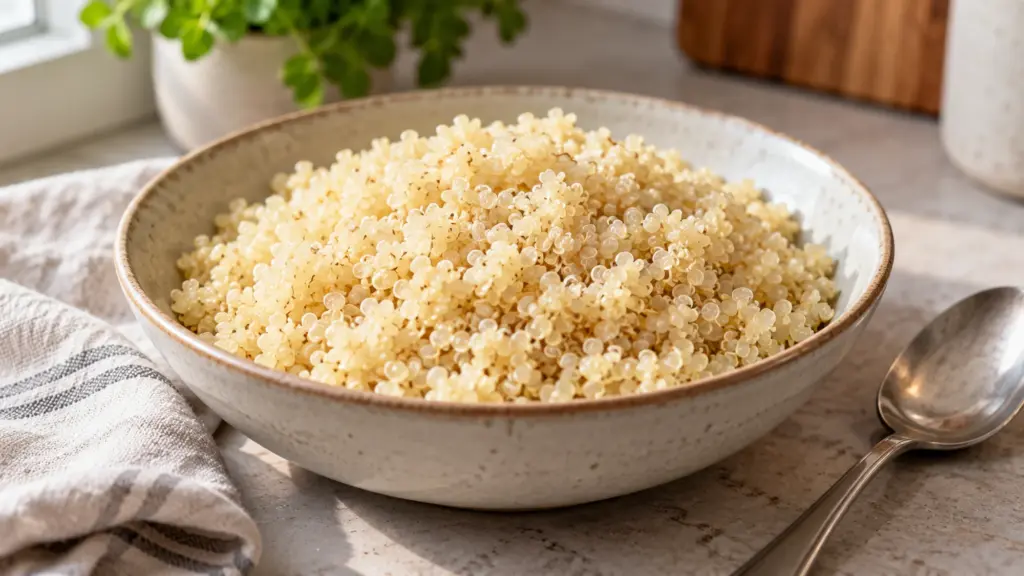
The rice cooker clicks over, but quinoa can still surprise you: tender grains in one machine, a damp clump in another. Learning how to cook quinoa in a rice cooker starts with the machine’s instructions, not a promise that every model uses the same amount of water.
For a basic cooker without a quinoa program, this recipe uses rinsed white quinoa and measured water. Follow your manufacturer’s quinoa ratio first when one is provided; dedicated quinoa programs and pressure cookers need different instructions.
A normal kitchen measuring cup and the small cup supplied with a rice cooker are different sizes. Use the same measure for grain and liquid when following a volume ratio, and do not fill to a rice line unless the manual specifically directs it for quinoa. I’d check that detail before pressing any button.
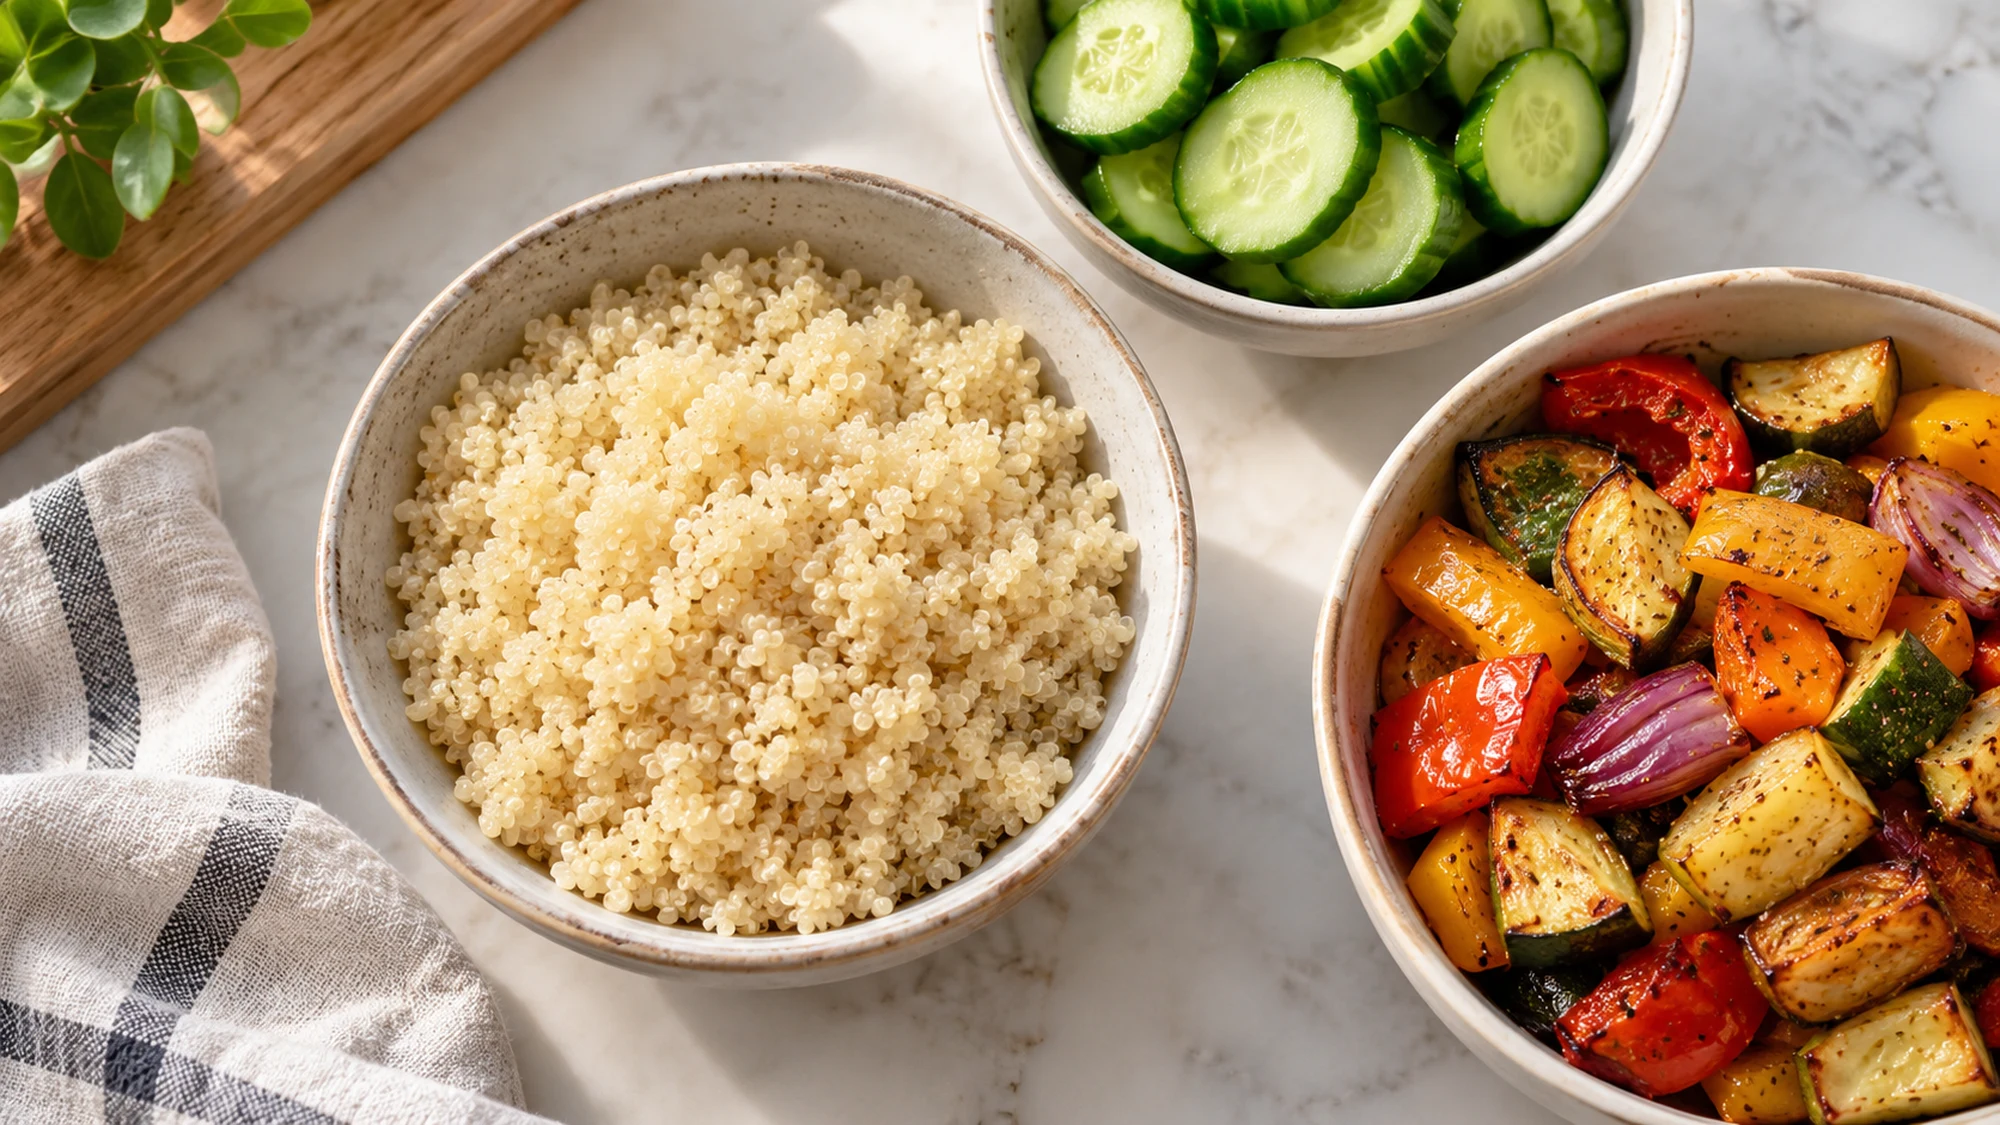
Serving suggestions for rice cooker quinoa
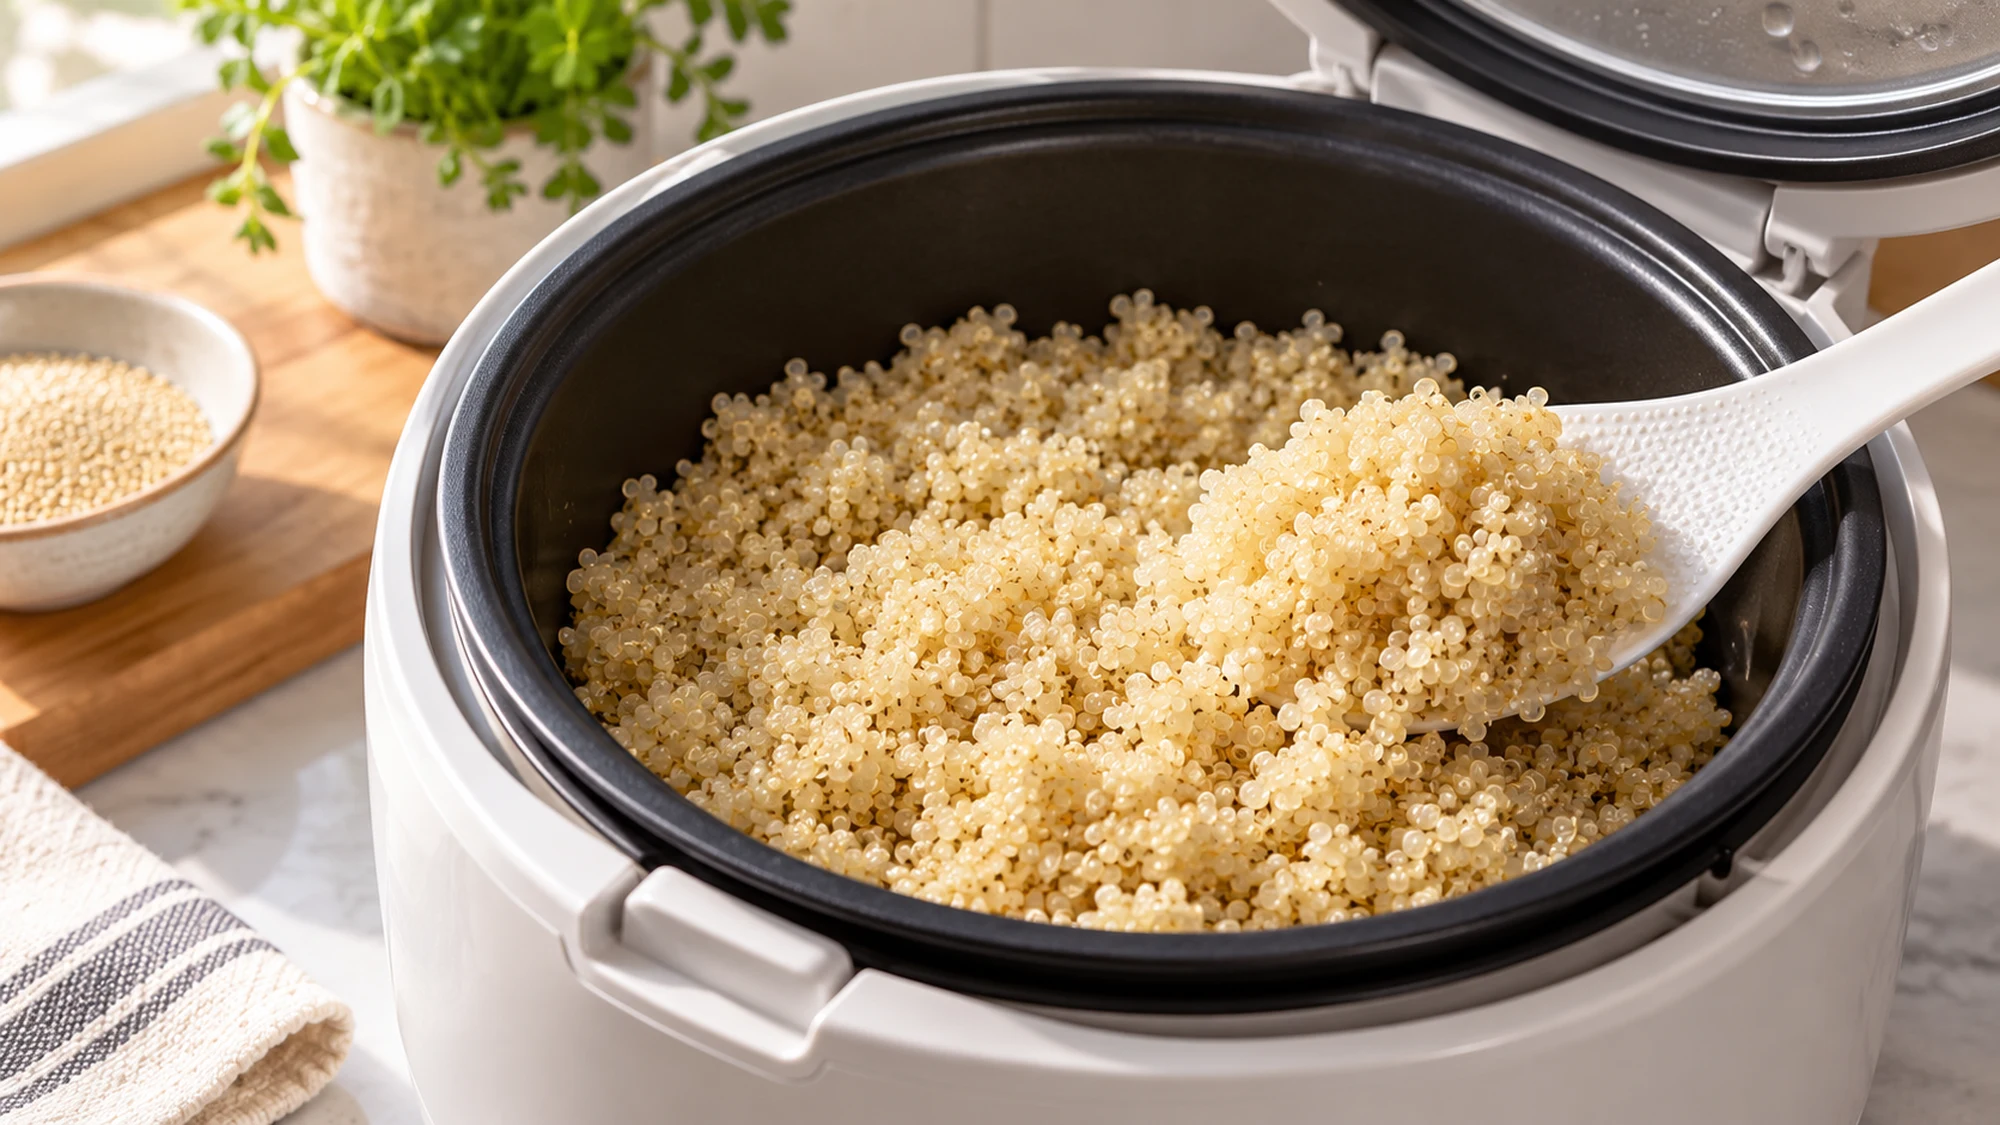
Fluff the cooked quinoa gently with the cooker’s paddle and transfer it to a serving bowl. The tiny curled germ rings and a tender center are better clues than the color alone. White quinoa has a mild flavor that works beneath saucy beans, roasted vegetables, fish, or chicken without competing for attention.
Keep a plain batch plain until you know how it will be used. A spoonful of dressing belongs in the portion for today’s salad, while the rest can stay neutral for tomorrow’s warm side dish. The site’s quinoa salad offers a separate way to turn cooled grains into lunch.
To prepare ahead, move the quinoa into shallow containers and refrigerate promptly rather than leaving it in a switched-off cooker. The USDA’s leftover guidance recommends refrigeration within two hours, using leftovers within three to four days, and reheating to 165°F (74°C).
- For salads: cool promptly, then add dressing shortly before serving.
- For a warm side: fluff first, then fold in chopped herbs.
- For meal prep: label the storage date and keep toppings separate.
How to cook quinoa in a rice cooker: variations and settings
| Cooker situation | What to use | What to avoid |
|---|---|---|
| Basic cooker, no quinoa guidance | The measured starting ratio in the card | Unmarked guesses from rice lines |
| Dedicated quinoa program | The maker’s quinoa fill line or ratio | Replacing it with a generic ratio |
| Manufacturer specifies another ratio | That model’s tested directions | Mixing different cup sizes |
| Pressure cooker | A separate pressure-quinoa method | Using this automatic rice-cooker cycle |
Water requirements depend on the cooker’s evaporation and program. Zojirushi’s guidance, for example, distinguishes its supported programs and notes that the same instructions do not apply to conventional models. That is why a single universal ratio is more confident than helpful.
Broth changes flavor and sodium; it does not remove the need for the right liquid amount. Choose a low-sodium version if you want more control over seasoning. I prefer adding lemon, herbs, or a little oil after cooking, when it is easier to judge the finished texture and keep the machine’s inner pot simple.
If the quinoa is tender but a little damp, fluff it and let excess steam escape briefly before serving. If the centers remain hard and the pot is dry, add a small splash of hot water and finish only as your manual permits. Do not repeatedly force an automatic switch down or exceed the cooker’s grain capacity.
Health benefits of a flexible grain base
Quinoa contributes carbohydrate, plant protein, and fiber; the quantity eaten and the foods served with it determine the meal’s overall balance. It can be a useful alternative grain base, but a bowl of plain quinoa does not supply every nutrient a varied meal needs. There is no special cooker setting that makes it a treatment for a health condition.
Quinoa is naturally gluten-free. People who need strict gluten avoidance should still check the package for handling and cross-contact information, especially for flavored blends. Adding broth also adds ingredients that need their own label check. The nutrition estimate in the card covers the plain base, not a complete topped bowl.
Bottom Line
A successful batch depends on matching quinoa, water, and program to the actual appliance. Rinse and drain well, measure consistently, and respect the cooker’s capacity. Then use texture to guide the final fluffing rather than expecting an identical cooking time from every machine. The recipe below is a starting point for a basic cooker, with the manufacturer’s directions taking priority.
How to Cook Quinoa in a Rice Cooker Recipe

Ingredients
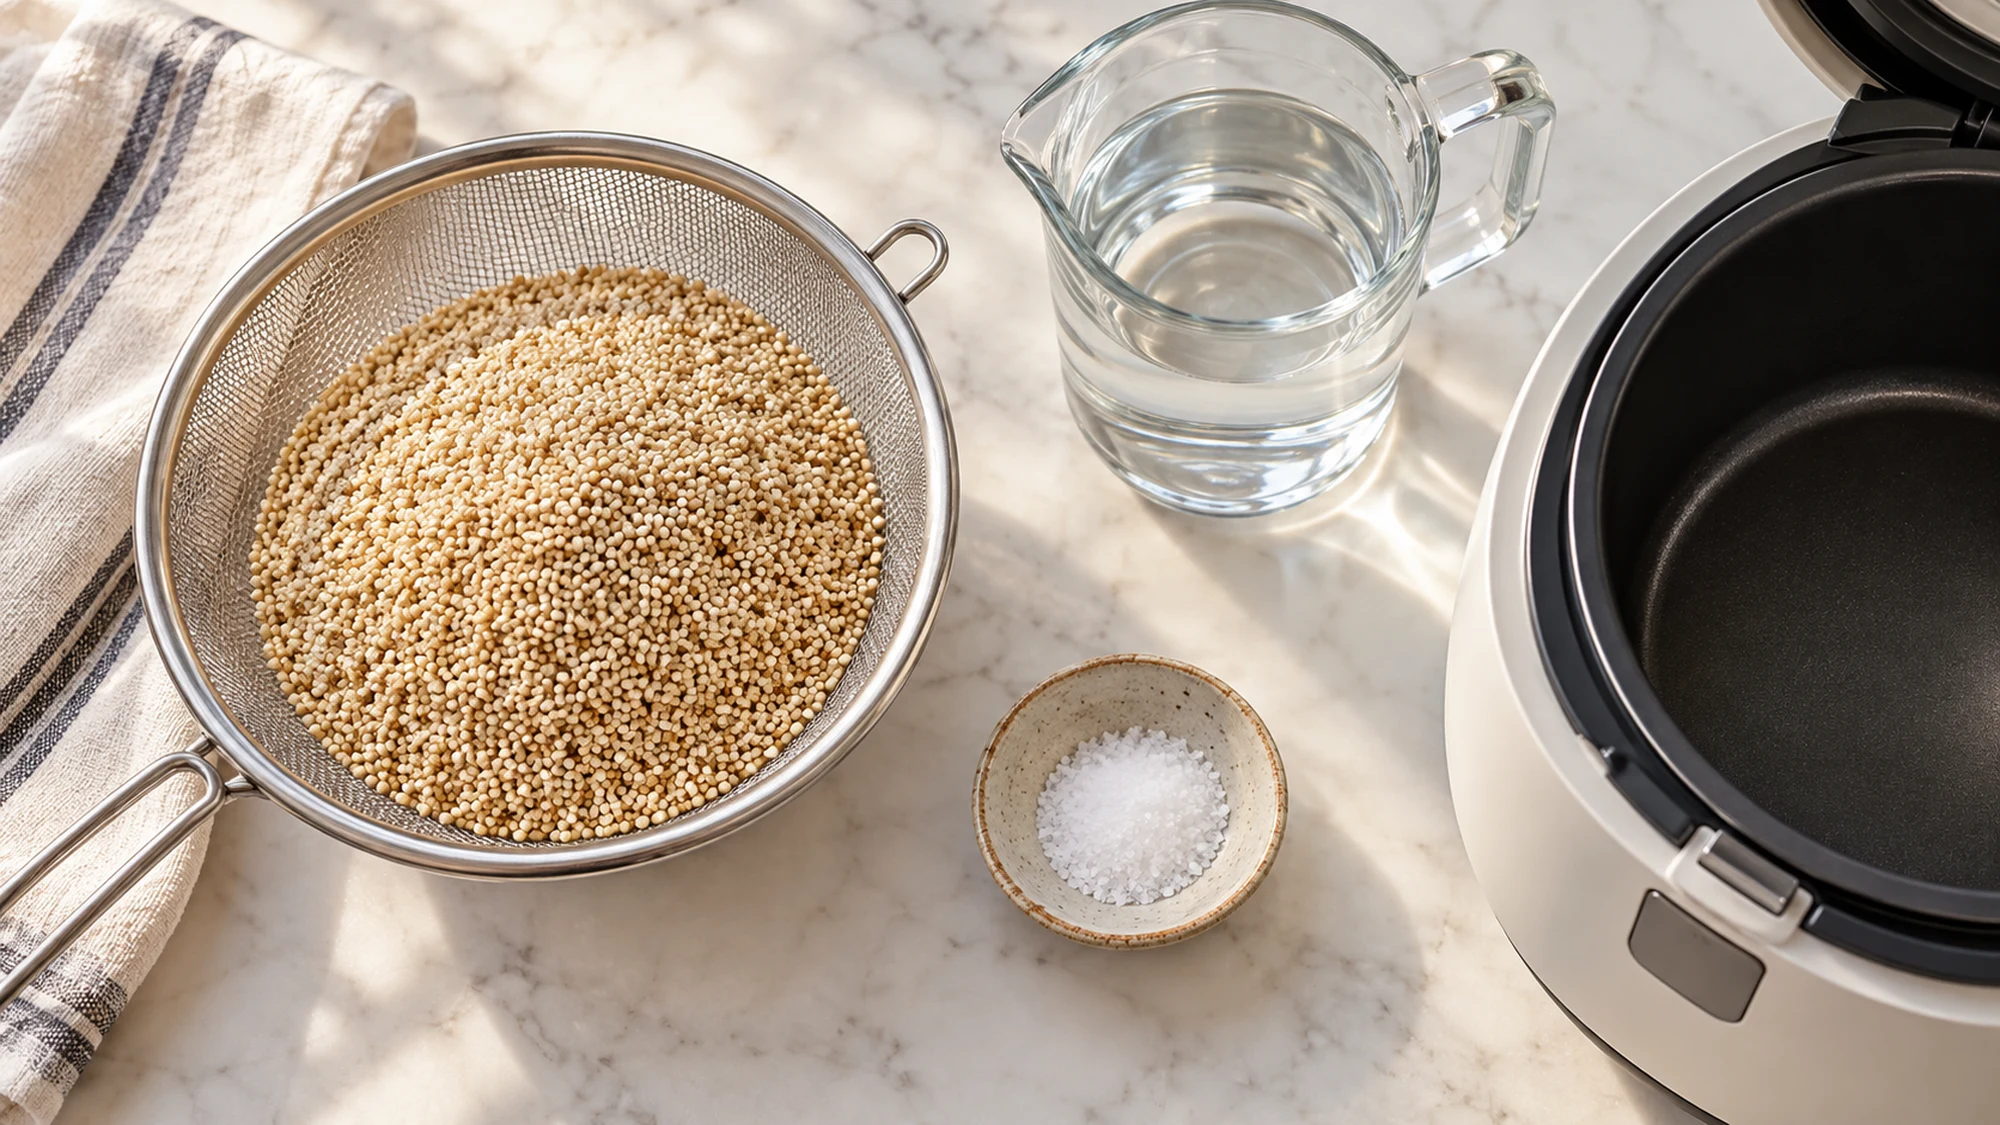
- 1 US cup dry white quinoa about 170 g
- 2 US cups water 480 mL; replace with the manufacturer’s quinoa amount when specified
- 1/4 teaspoon fine salt optional; included in nutrition estimate
Equipment
- 1 Automatic rice cooker Check the model’s quinoa instructions and minimum capacity
- 1 Fine-mesh strainer
- 1 Measuring cup US cup 240 mL; do not mix with a smaller rice cup
- 1 Rice paddle
Instructions
- Read the quinoa directions and capacity limits for your model. Use its recommended water ratio and program when supplied. The 1:2 ratio here is a starting method for a basic automatic rice cooker without separate quinoa instructions, not a pressure cooker.
- Measure the quinoa with a standard US measuring cup or weigh 170 g. Rinse in a fine mesh strainer under cool running water, then drain thoroughly.
- Add drained quinoa, measured water and salt to the inner pot. Stir to level the grain. Wipe the pot exterior dry, place it in the cooker, close the lid, and run the white rice/standard cycle, unless the maker specifies a quinoa setting. Allow about 20–35 minutes; machine cycles vary.
- When the cycle finishes, leave covered for 5 minutes, then open carefully away from your face. Fluff with the paddle. Grains should be tender with visible curled germ rings and no pool of water. Transfer to a bowl rather than leaving on keep-warm.
Nutrition
Video
Notes
Tried this recipe?
Let us know how it turned out!Hi, I’m Emily Pocker! I share recipes and food guides here at Recipes360 to help you find everyday meal inspiration and feel more confident in the kitchen. My goal is to make cooking approachable, enjoyable, and full of flavor.