
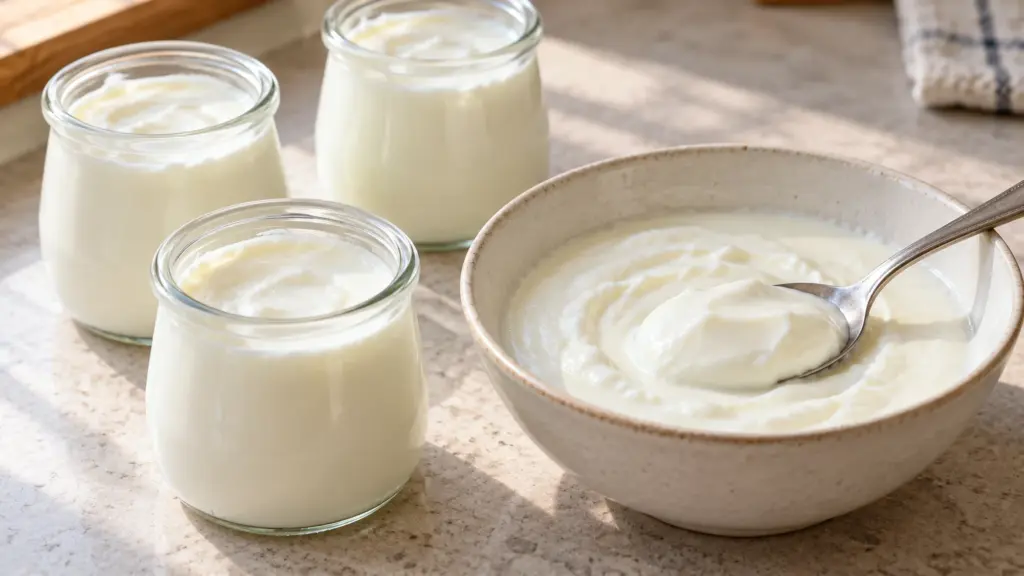
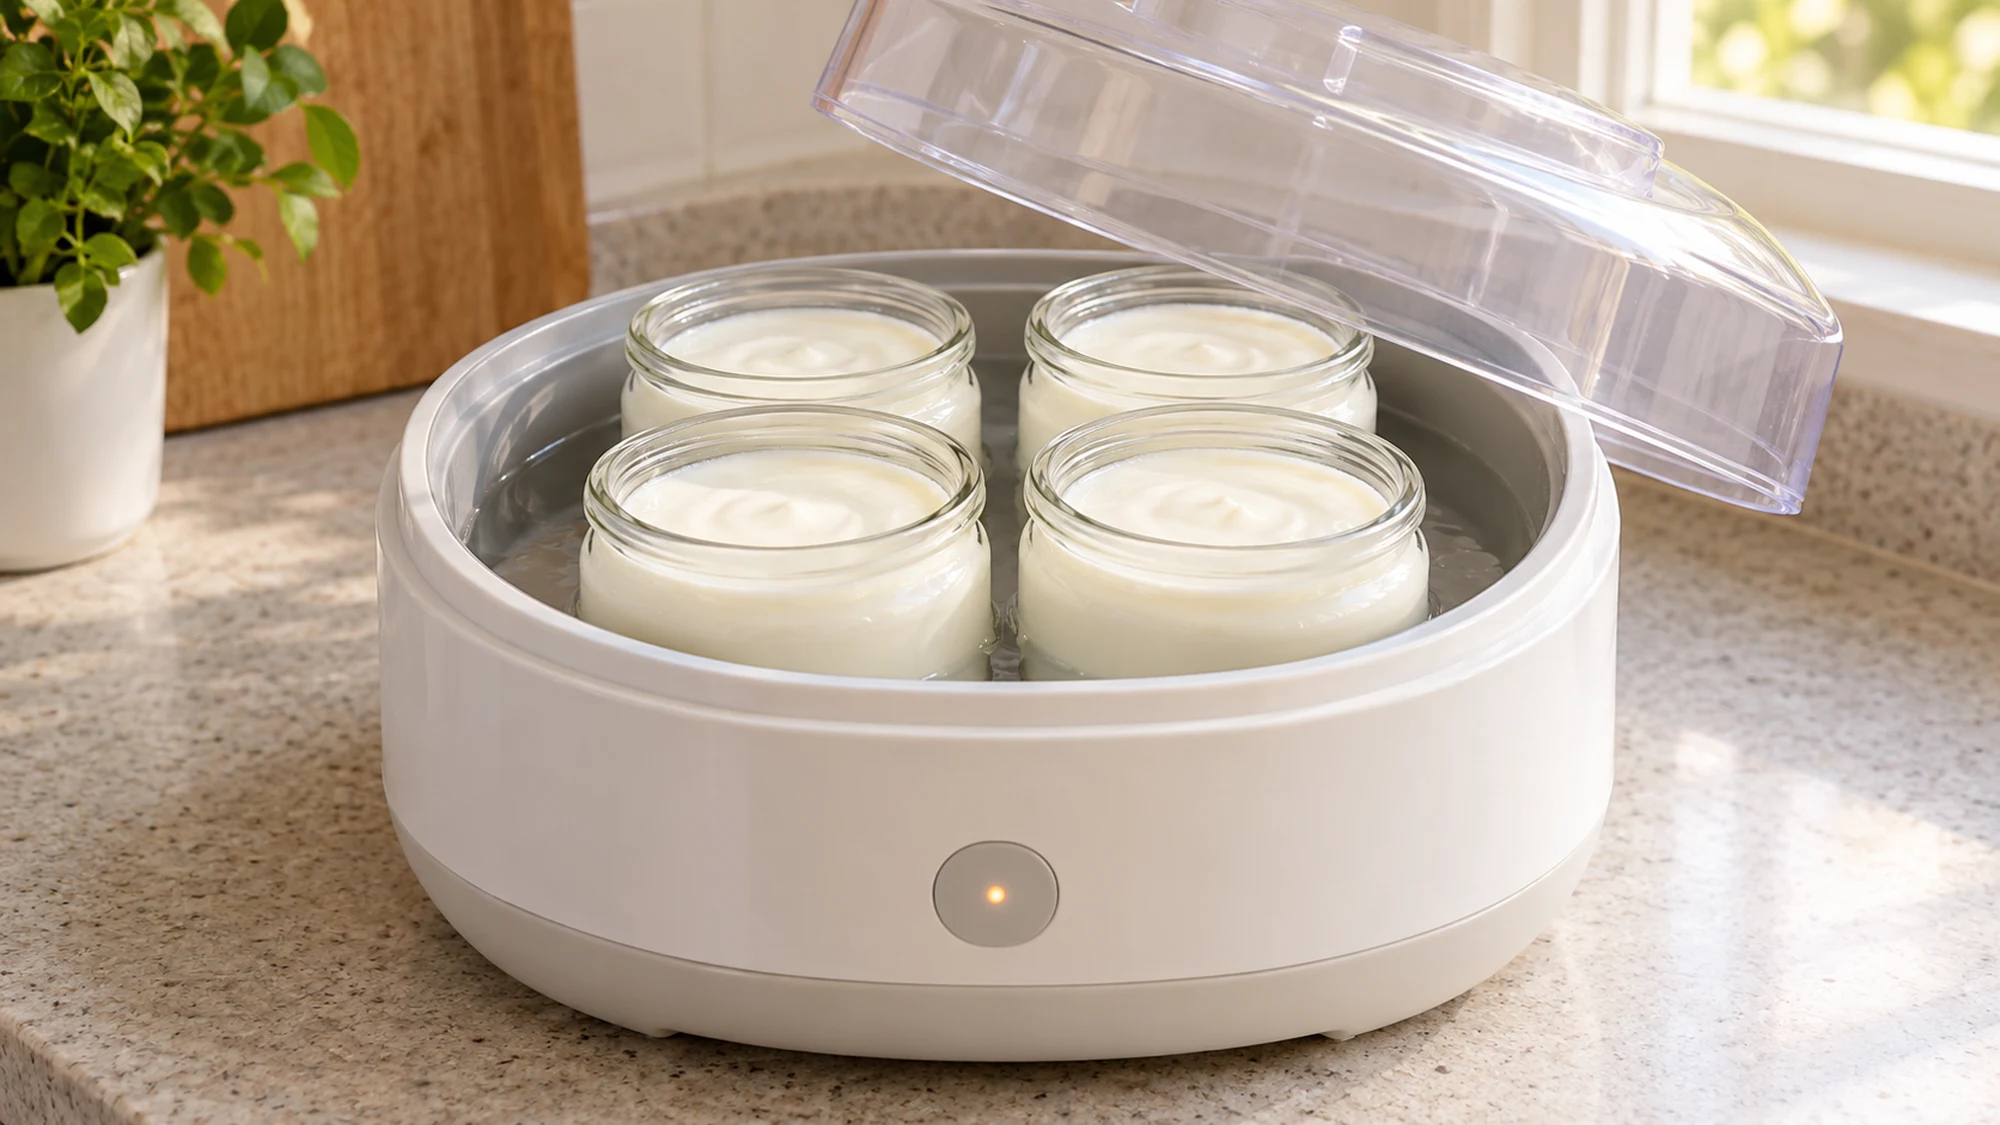
A spoon sliding into a softly set jar is the reward for a little temperature watching. Here is how to make yogurt at home with pasteurized whole milk, plain live-culture yogurt and a yogurt maker. The result is a mild, unstrained dairy yogurt; it does not need starch, gelatin or added sugar.
Heat the milk, cool it before adding the starter, then hold the cultured mixture at a controlled warm temperature. Chill the finished yogurt before stirring or serving. A thermometer matters more here than a clever shortcut.
I’d start with a small plain batch and a clear refrigerator shelf. The hands-on work is brief, but culturing and chilling take several hours. Choose a day when the maker can sit undisturbed.
Serving Suggestions for Homemade Yogurt
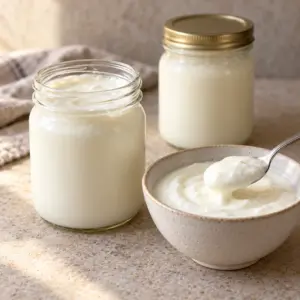
Serve this yogurt cold. Stirring makes the texture smoother but also loosens the set, so scoop a portion first if you want to keep the other jars intact. A spoonful of clear whey on top can be stirred back into an otherwise properly made, refrigerated batch.
- At breakfast: add a small serving beside oat and cottage cheese waffles, or spoon it over sliced fruit just before eating.
- For a savory bowl: mix a serving with chopped cucumber, herbs and a little salt. Keep those additions separate from the main batch.
- As a sauce: loosen a portion with water or lemon juice gradually. Add it after a hot dish comes off the heat if you want a gentler texture.
Use a clean spoon each time and keep the remaining jars refrigerated. Label the batch date. For this plain version, plan to use it within 10 days at 40°F (4°C) or below; add fruit and other toppings only to the portion you will eat.
Keep the base plain and dress each serving separately. That gives you room for both breakfast bowls and savory sauces without committing the whole batch to one flavor.
How to Make Yogurt at Home With Different Textures
Whole milk is a useful starting point, but the set will still depend on the milk and starter. A plain yogurt with live cultures is essential; a dessert labeled yogurt-flavored is not a substitute. Utah State Extension’s yogurt guidance explains the role of milk solids and controlled incubation.
| Choice | What changes | Practical limit |
|---|---|---|
| Whole dairy milk | Rounder flavor and softer creaminess | Keep the same temperature controls |
| Lower-fat dairy milk | A lighter, potentially looser set | Do not expect identical thickness |
| Strained finished yogurt | Thicker texture as whey drains | Yield and nutrition per spoon change |
- Keep additions for serving: vanilla, jam and honey change the flavor without requiring a different base batch. Their nutrition is extra.
- For thicker yogurt: strain a properly cultured, chilled batch through a clean, food-safe cloth in the refrigerator. Start with a small portion; straining is a separate step.
- Skip casual substitutions: plant drinks and flavored starters need a different formulation. This dairy method does not establish a reliable process for them.
I’d avoid changing several things on the first batch. If yogurt fails to set properly within the stated incubation window, discard it rather than repeatedly reheating or leaving it warm overnight. University of Alaska Fairbanks guidance identifies cleanliness, starter quality and temperature as central controls.
A loose set calls for a careful look at the process, not an unlimited extension of the warm holding time. Keep the thermometer and the clock involved.
Health Benefits and the Nutrition Estimate
Plain dairy yogurt contributes protein and calcium, with the amount depending on the milk and serving size. Whole milk also contributes saturated fat. Leaving the base unsweetened lets you decide how much sweetness to add at the table; it does not turn a large bowl into a different portion.
- Read the serving: the card estimates one-quarter of the unstrained batch, about a cup. A few spoonfuls are a smaller portion.
- Keep expectations modest: this recipe does not establish a particular probiotic dose or promise a digestive or immune benefit.
- Remember milk: culturing does not make the batch dairy-free or suitable for a milk allergy.
Fermentation changes lactose, but this homemade batch has not been measured for it. Some people tolerate yogurt better than milk, while individual tolerance varies, as NIDDK explains. The card uses ingredient-label nutrition as an estimate, not a laboratory analysis of the finished yogurt.
Think of this as a versatile dairy food with useful nutrients and a defined serving, rather than a treatment or a guaranteed lactose-free alternative.
Bottom Line
For a softly set homemade yogurt, give the milk, starter and temperature controls your attention. Use clean equipment, respect the culturing endpoint and chill promptly. I’d keep the first batch plain, enjoy its mild tang, then make the next serving sweet or savory according to the meal.
How to Make Yogurt at Home Recipe

Ingredients
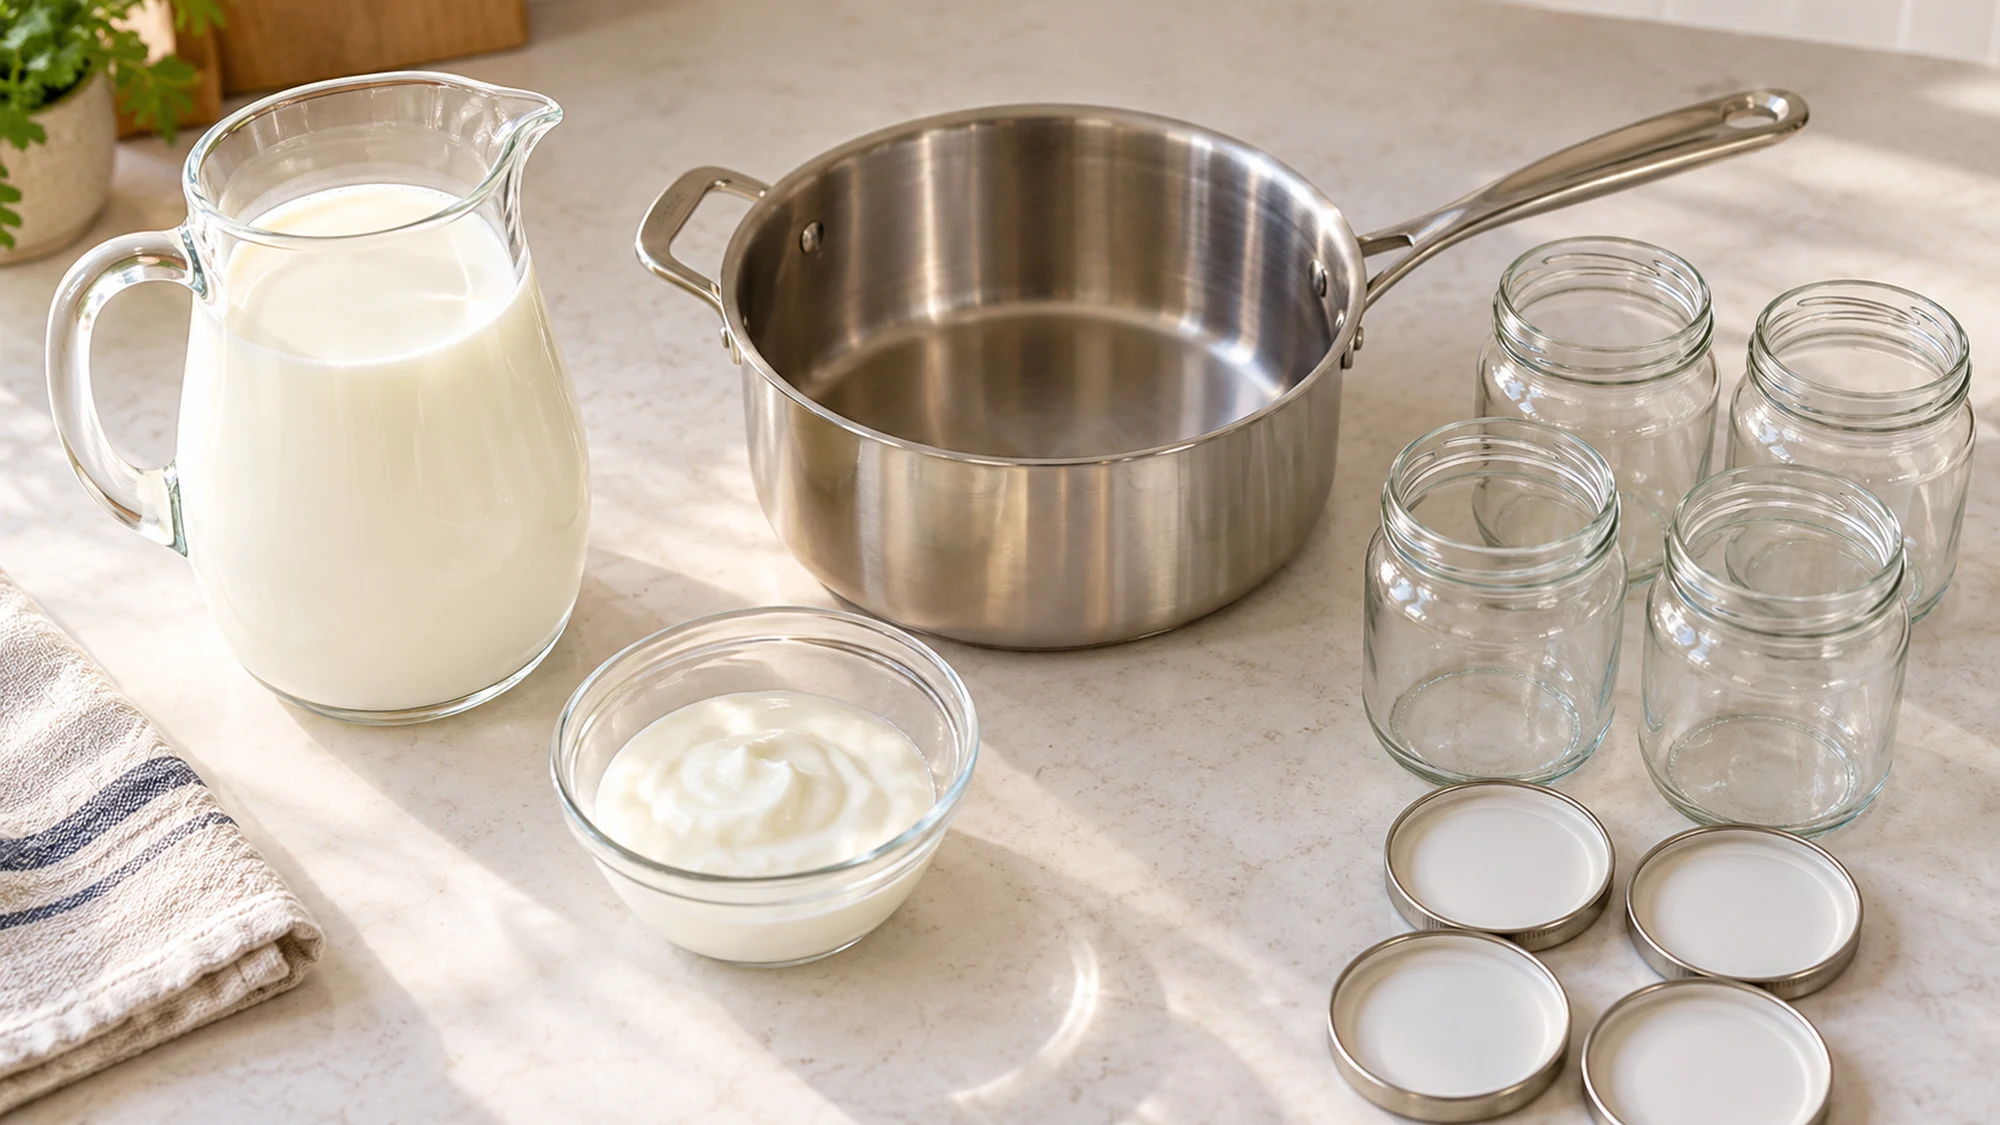
- 1 quart pasteurized whole milk 946 ml; not raw milk
- 1/4 cup plain whole-milk yogurt with live active cultures 60 g; fresh, unsweetened starter
Equipment
- 2-quart saucepan
- Food thermometer
- Yogurt maker able to maintain 110°F (43°C)
- Four heat-safe jars of at least 10 ounces (300 ml) each, with covers
- Food pH meter suitable for dairy, calibrated according to its instructions
- Whisk and small bowl
- Ice-water bath
Instructions
- Clean and sanitize the jars, covers and utensils according to their manufacturers. Prepare a yogurt maker to maintain 110°F (43°C). Check the thermometer and calibrate the food pH meter as directed.
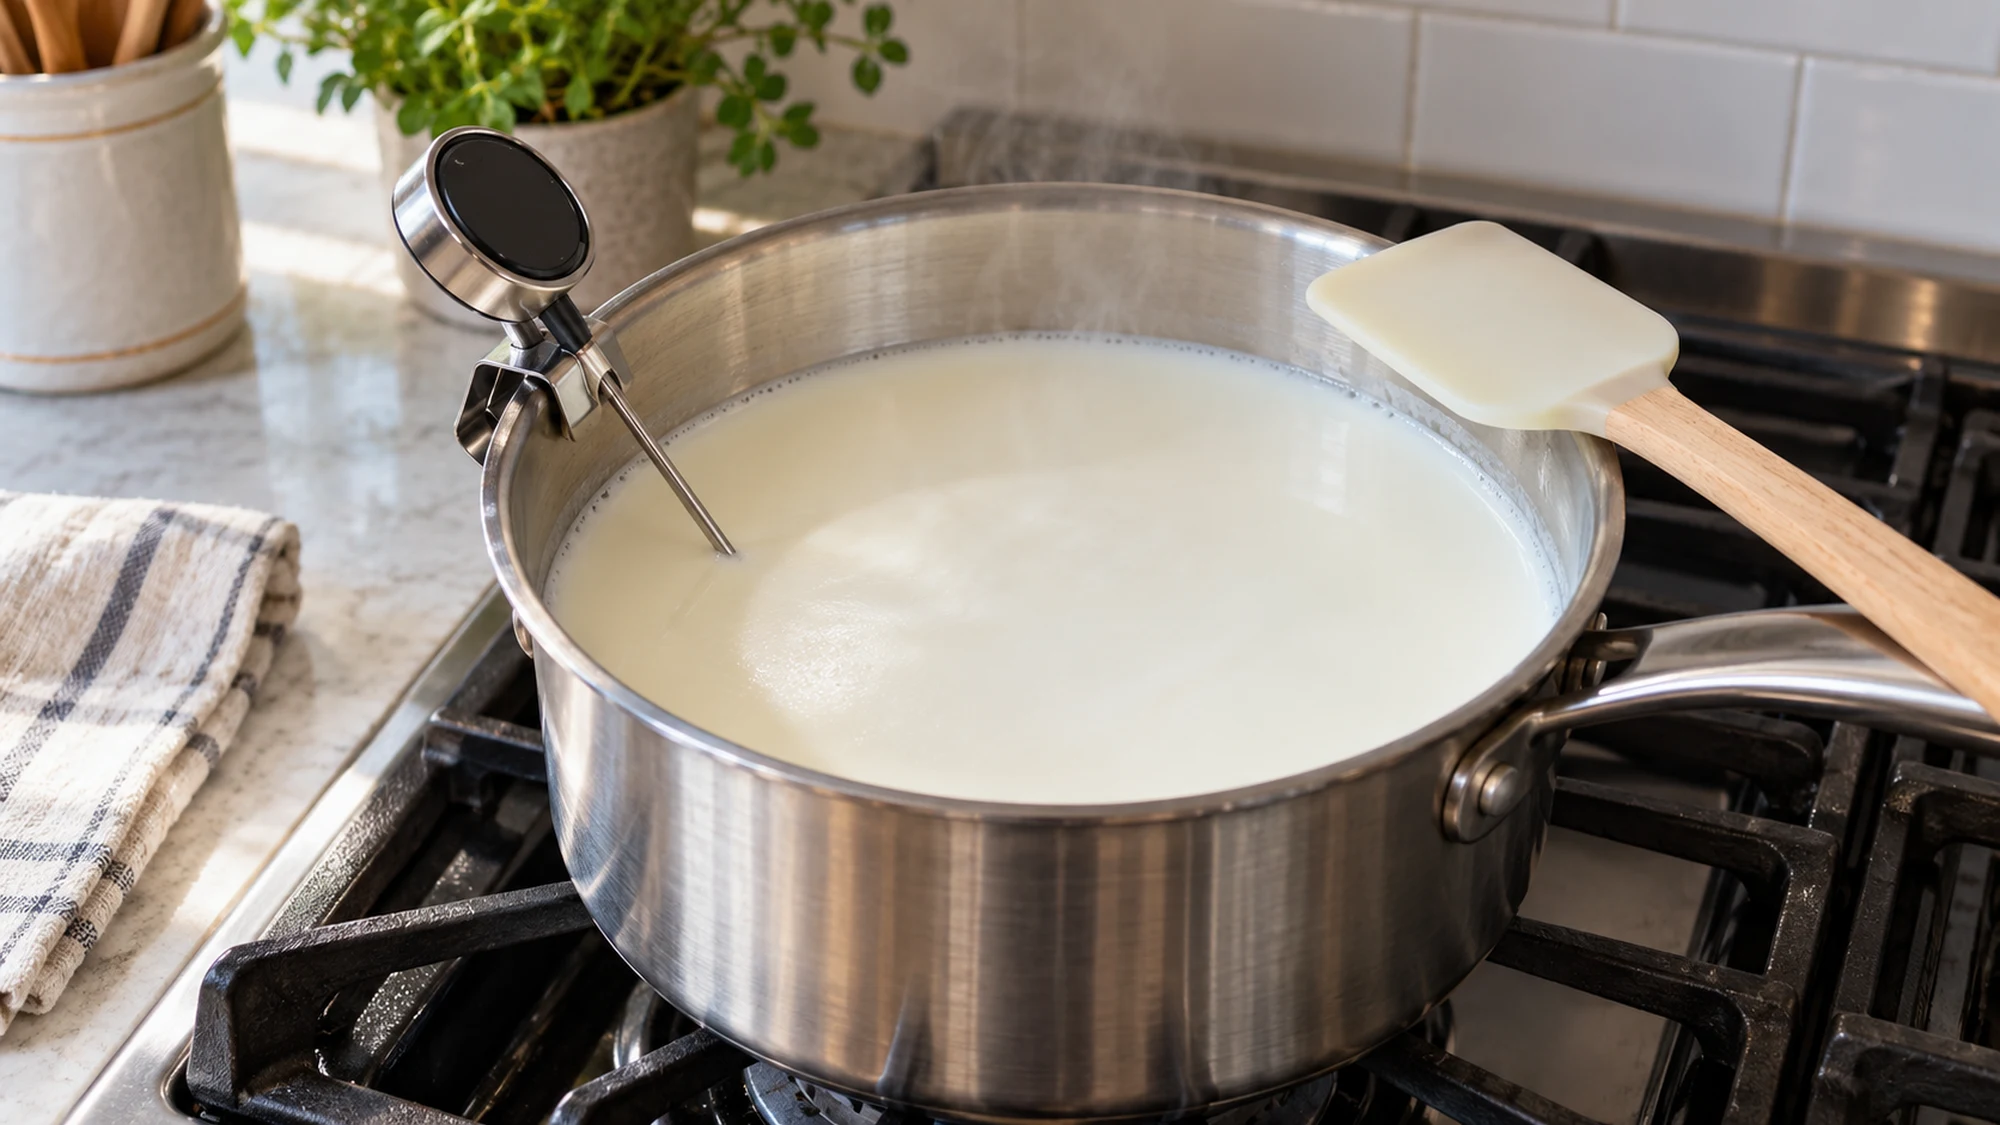
- Heat the milk to 185°F (85°C), stirring. Hold at 185–190°F (85–88°C) for 10 minutes, stirring to prevent scorching; do not boil.
- Set the pan in an ice-water bath and cool to 112–115°F (44–46°C). Mix 1/4 cup of this warm milk with the starter, then gently stir it back into the pan.
- Divide among the jars and cover as the maker directs. Incubate undisturbed at 110°F (43°C) for 4–8 hours, checking from 4 hours. Use the thermometer to confirm the maker holds its intended temperature.
- When properly set and pH 4.6 or below on the calibrated food meter, refrigerate immediately at 40°F (4°C) or below. Discard a batch that has not set properly or reached this endpoint within 8 hours; do not extend the warm holding time.
- Chill for at least 4 hours before serving. Use clean utensils and refrigerate the remainder; use within 10 days. Discard yogurt with mold, unusual discoloration or an off odor. Toppings are optional and excluded from the estimates.
Nutrition
Video
Notes
Tried this recipe?
Let us know how it turned out!Hi, I’m Emily Pocker! I share recipes and food guides here at Recipes360 to help you find everyday meal inspiration and feel more confident in the kitchen. My goal is to make cooking approachable, enjoyable, and full of flavor.