
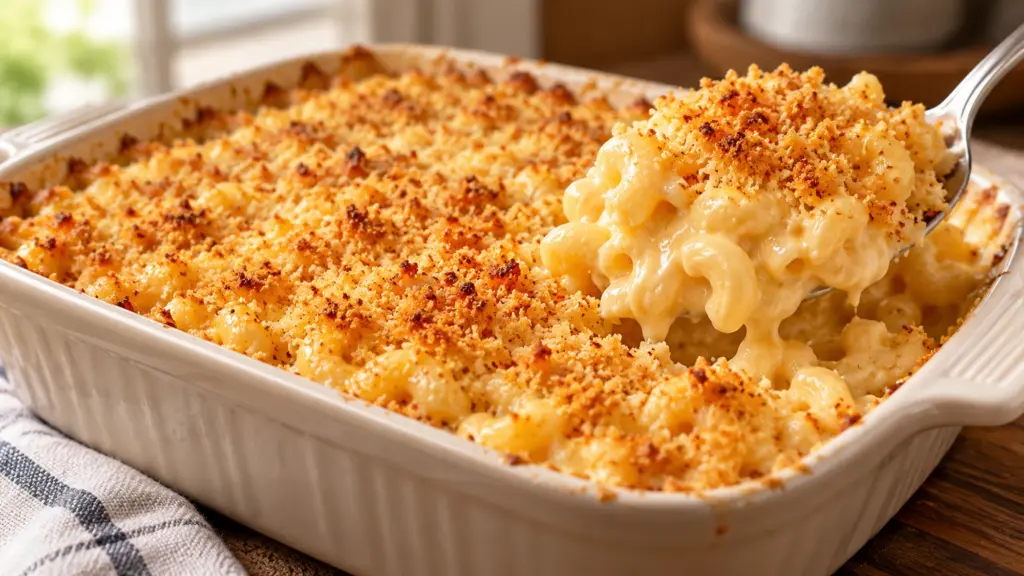
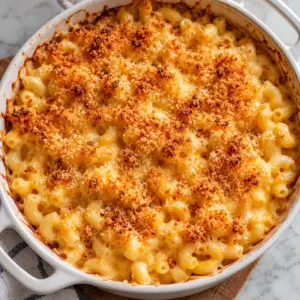
A spoonful of macaroni should carry sauce into the bowl, not leave a dry block behind in the baking dish. This homemade mac and cheese recipe starts with a deliberately loose milk-based cheese sauce and finishes with a thin panko crust. Sharp cheddar supplies the familiar flavor, while Monterey Jack softens its edge without needing a dramatic cheese pull.

Cook the pasta just short of its package timing, thicken the milk before adding cheese, then take the pan off the heat to melt the shreds. Keep the oven time focused on heating the center and coloring the crumbs. A sauce that looks slightly generous before baking has room to coat the pasta as it absorbs moisture.
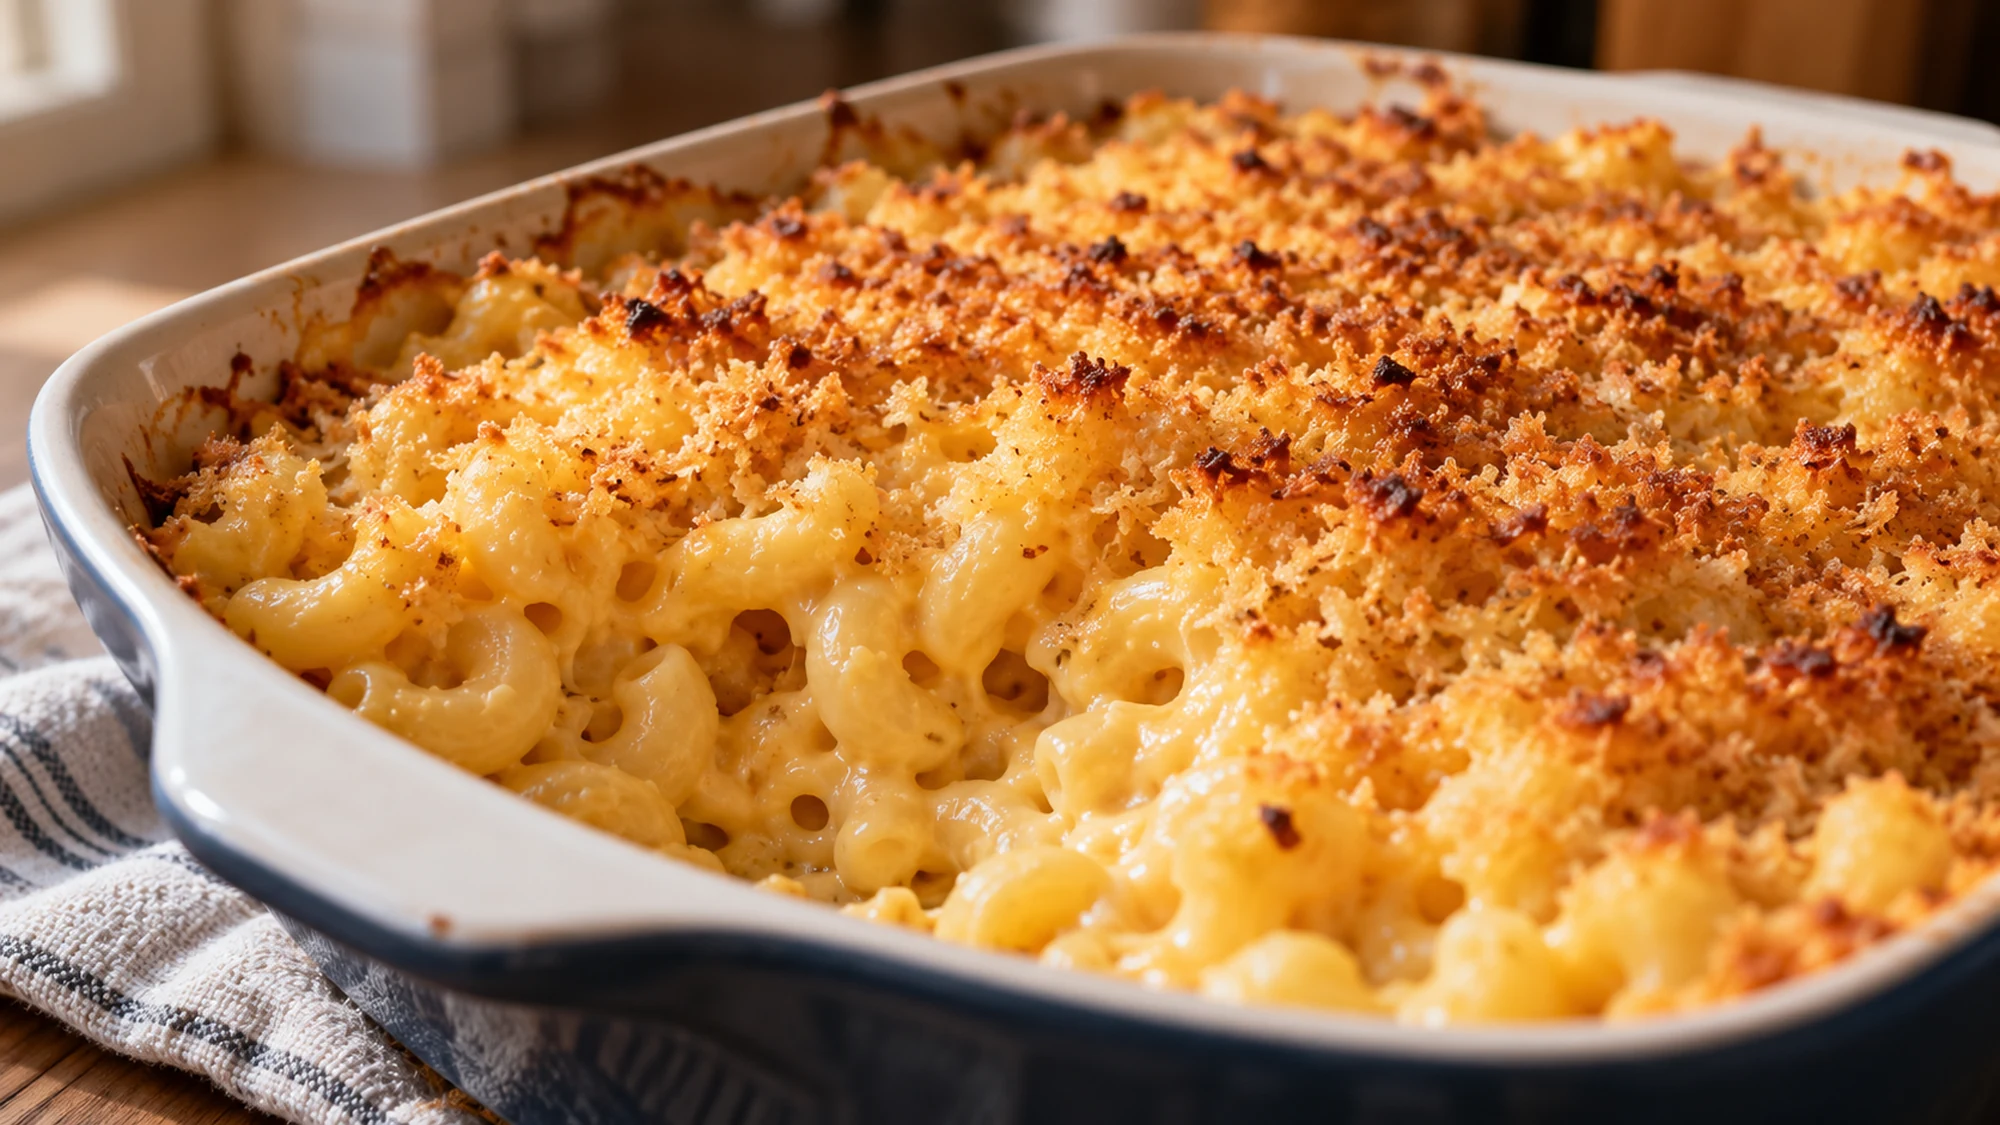
Serving This Homemade Mac and Cheese Recipe
Let the dish settle for five minutes, then scoop rather than cutting it into tidy squares. That brief pause makes serving less slippery without asking the pasta to become firm enough for slicing. Use a shallow spoon to reach both the crust and the creamy center, so each serving gets a little of both.
I’d pair the rich sauce with a crisp green salad or simply cooked green beans. If you enjoy another approach to a cheese-and-pasta dinner, baked feta pasta uses roasted tomatoes and tangy feta instead of this milk sauce. Keep those distinct flavors in mind when choosing between the two meals.
- At the table: serve promptly while the sauce still flows around the elbows.
- For sides: choose something crisp or fresh to contrast with the creamy pasta.
- For reheating: add milk gradually; the aim is a coating, not a bowl of soup.
Portion the leftovers into shallow containers and refrigerate promptly rather than leaving the whole baking dish on the counter. The crumbs soften during storage, which is a texture change rather than a reason to reheat repeatedly. Warm only what you need with a splash of milk, stirring gently so the pasta stays intact.
Cheese Choices and Texture Variations
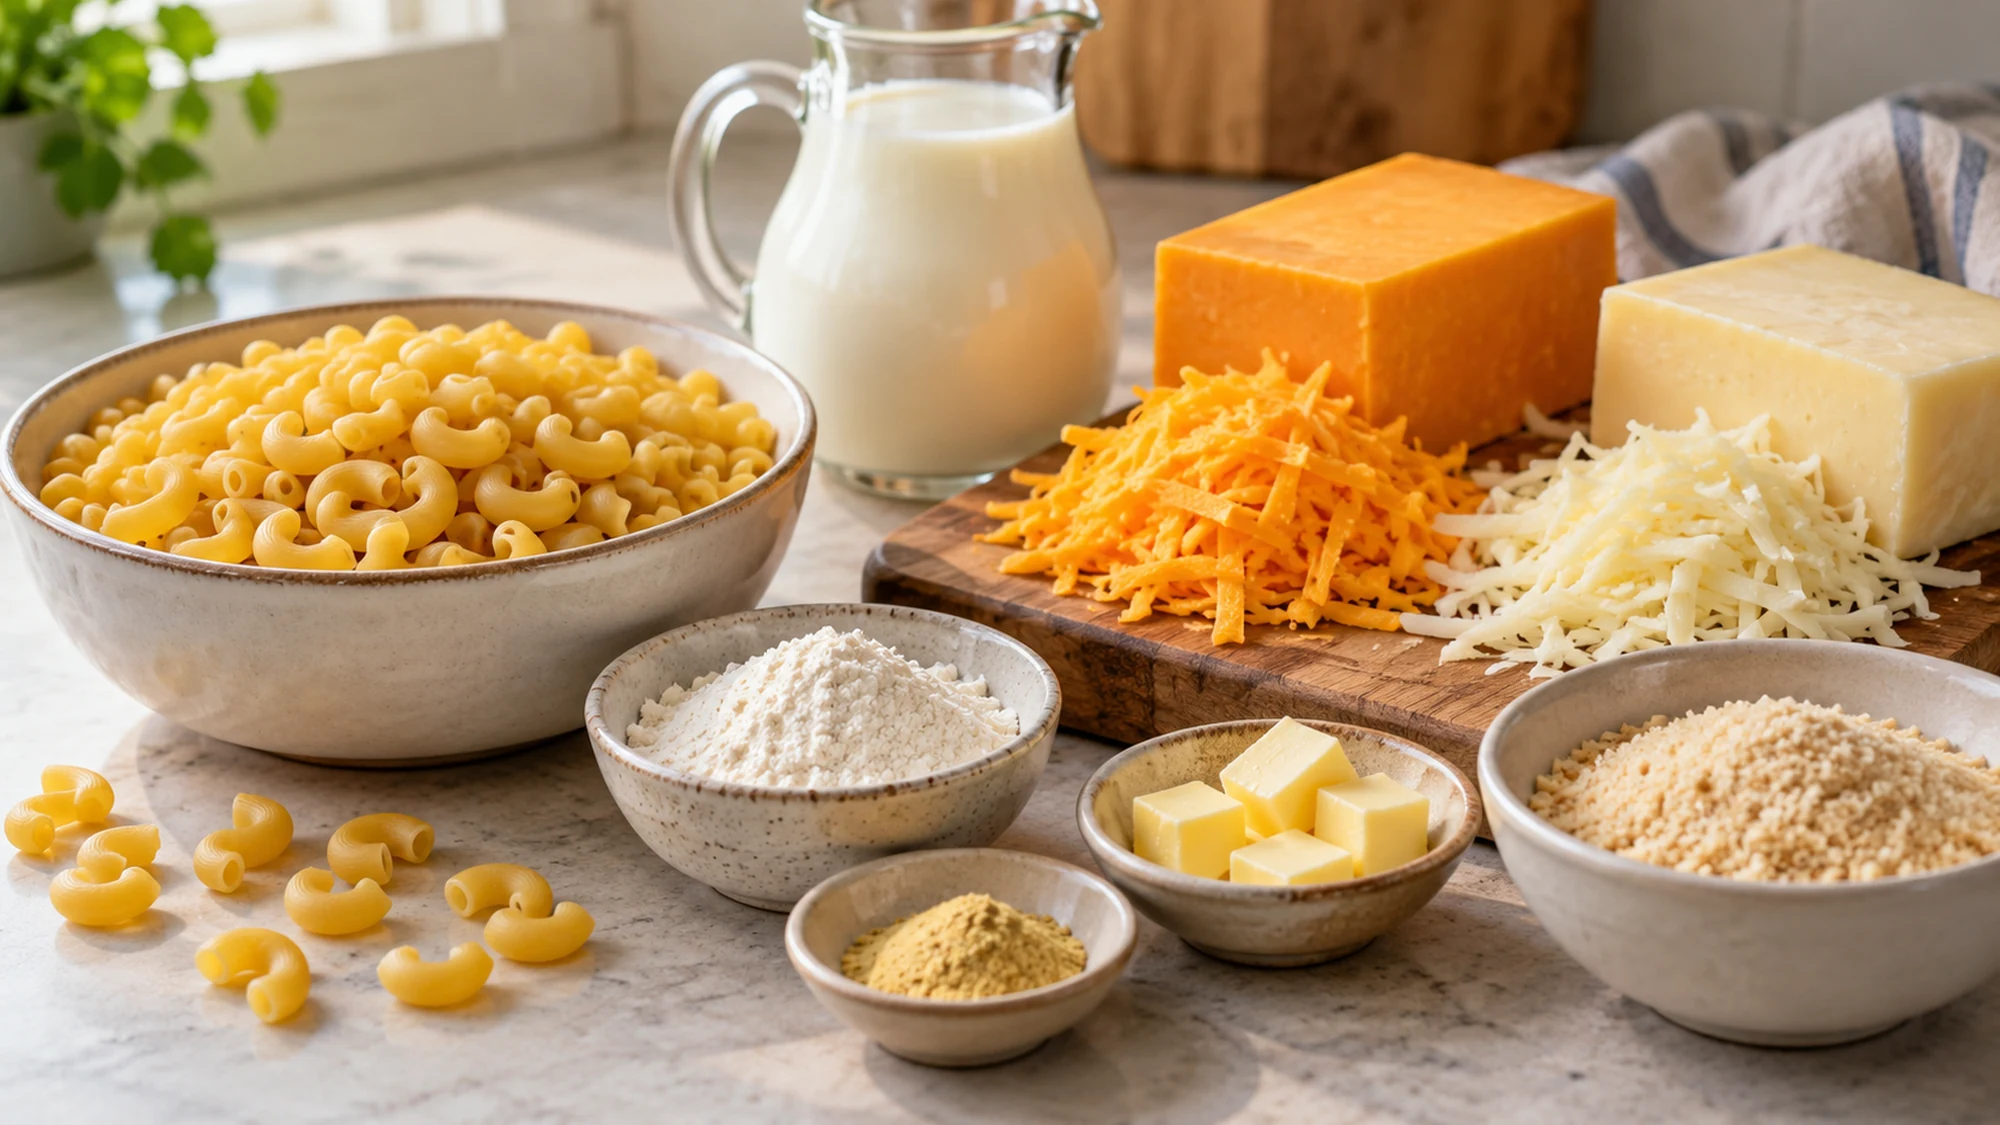
Grating cheese from a block lets you control the shred size and choose cheeses by flavor. Very mature cheeses can bring a sharper taste but need gentle heat. The flour-thickened milk does the supporting work here; adding cheese while the sauce is boiling gives it more heat than it needs and can encourage a greasy, grainy texture.
Small shells or cavatappi can replace the elbows, but package cooking times still matter. A larger or thicker shape may not be ready when an elbow would be. I prefer the modest crumb layer in this version because it offers a little crunch without making every bite taste primarily of toasted bread.
For a stovetop variation, cook the pasta fully, stir it into the sauce and skip both the crumbs and the oven. That changes the texture and nutrition from the baked card. For vegetables, fold in cooked, well-drained broccoli rather than raw florets; excess vegetable water can loosen the sauce in an uneven way.
| Choice | Effect on the dish | Practical adjustment |
|---|---|---|
| Elbow macaroni | Small, sauce-catching curves | Stop just short of package doneness |
| Monterey Jack | Milder cheese flavor | Keep the cheddar for contrast |
| Stovetop serving | Looser sauce, no crumb crust | Cook pasta fully and omit topping |
| Cooked broccoli | Adds vegetable pieces | Drain thoroughly before folding in |
Health Benefits and Portion Balance
Milk and cheese contribute protein and calcium, while pasta supplies much of the carbohydrate. Butter and cheese also bring saturated fat, and the total sodium depends on the cheeses, breadcrumbs and salt used. The estimate describes one-sixth of this batch, not an unmeasured restaurant-size mound or a promise about the rest of your day.
For ingredient context, MedlinePlus lists whole grains among sources of dietary fiber. Choose whole-wheat pasta if its flavor and firmer bite suit you; it changes both the dish and the fiber estimate. Vegetables alongside provide another straightforward way to vary the meal, without turning comfort food into a nutrition competition.
Follow safe food handling advice: refrigerate within two hours, or one hour above 90°F (32°C), and keep the refrigerator at 40°F (4°C) or below. Use refrigerated leftovers within three to four days and reheat to 165°F (74°C). This recipe contains milk and wheat.
Bottom Line
Keep the sauce smooth and a little loose, give the pasta room to finish cooking in the oven and let the crumbs supply the crunch. I’d spend more attention on gentle cheese melting than on adding another handful of cheese. The useful result is a bowl of tender elbows with a creamy coating and a light toasted finish.
Homemade Mac and Cheese Recipe

Ingredients
- 300 g dry elbow macaroni
- 35 g unsalted butter
- 35 g all-purpose flour
- 700 ml whole milk
- 225 g sharp cheddar freshly grated
- 100 g Monterey Jack freshly grated
- 1 tsp dry mustard
- 1/4 tsp fine salt plus optional salt for pasta water
- 1/4 tsp black pepper
- 40 g panko breadcrumbs
- 10 g unsalted butter melted
Equipment
- Large pot
- Medium saucepan
- Whisk
- Box grater
- 2.5- to 3-quart baking dish
Instructions
- Heat the oven to 375°F (190°C). Lightly butter a 2.5- to 3-quart baking dish. Bring a large pot of water to a boil and cook the macaroni about 1 minute less than the lowest package cooking time. Drain.
- While the pasta cooks, melt 35 g butter in a saucepan over medium-low heat. Whisk in the flour and cook, stirring, for 1 minute. Gradually whisk in the milk until smooth.
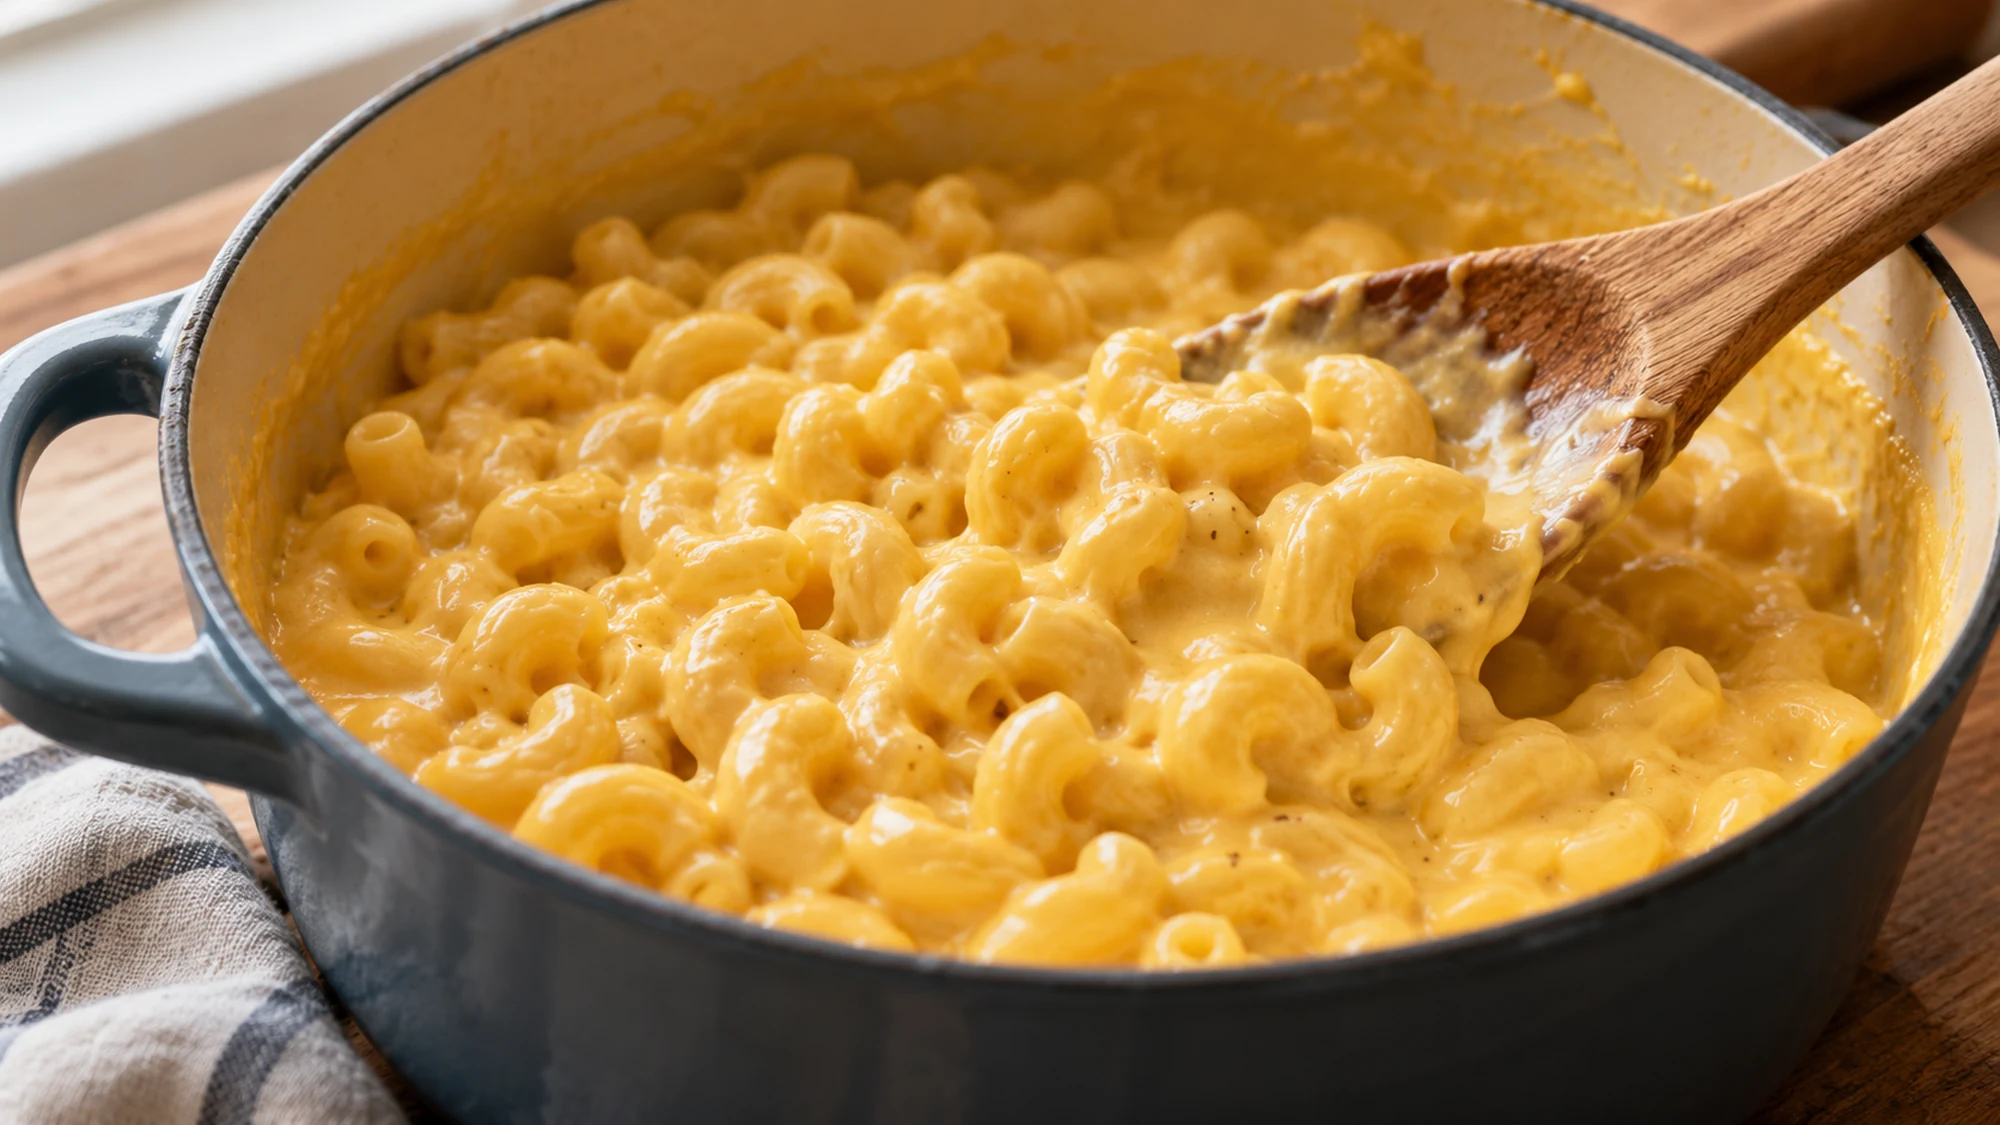
- Bring the milk mixture to a gentle simmer, stirring often, and cook for 4–6 minutes until it lightly coats a spoon. Remove from the heat. Stir in the mustard, measured salt and pepper, then add the grated cheeses in several handfuls, stirring until melted.
- Fold the drained pasta into the sauce. It should look generously sauced. Transfer to the baking dish. Mix the panko with 10 g melted butter and scatter evenly over the top.
- Bake for 20–25 minutes, until bubbling at the edges and golden on top. Rest for 5 minutes before serving. Refrigerate leftovers in shallow containers within 2 hours; use within 3–4 days and reheat portions to 165°F (74°C) with a little milk if needed.
Nutrition
Video
Notes
Tried this recipe?
Let us know how it turned out!Hi, I’m Emily Pocker! I share recipes and food guides here at Recipes360 to help you find everyday meal inspiration and feel more confident in the kitchen. My goal is to make cooking approachable, enjoyable, and full of flavor.