
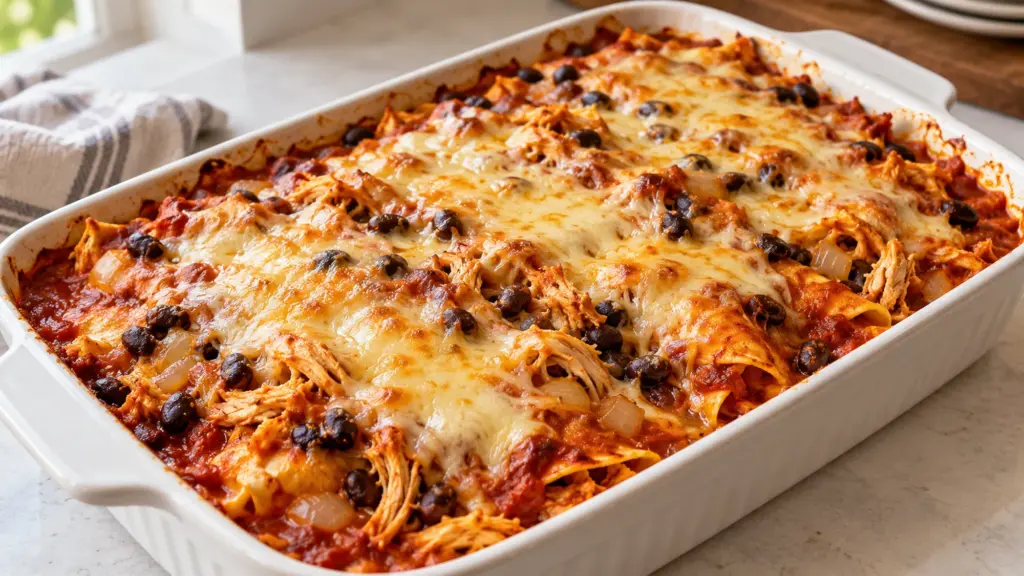
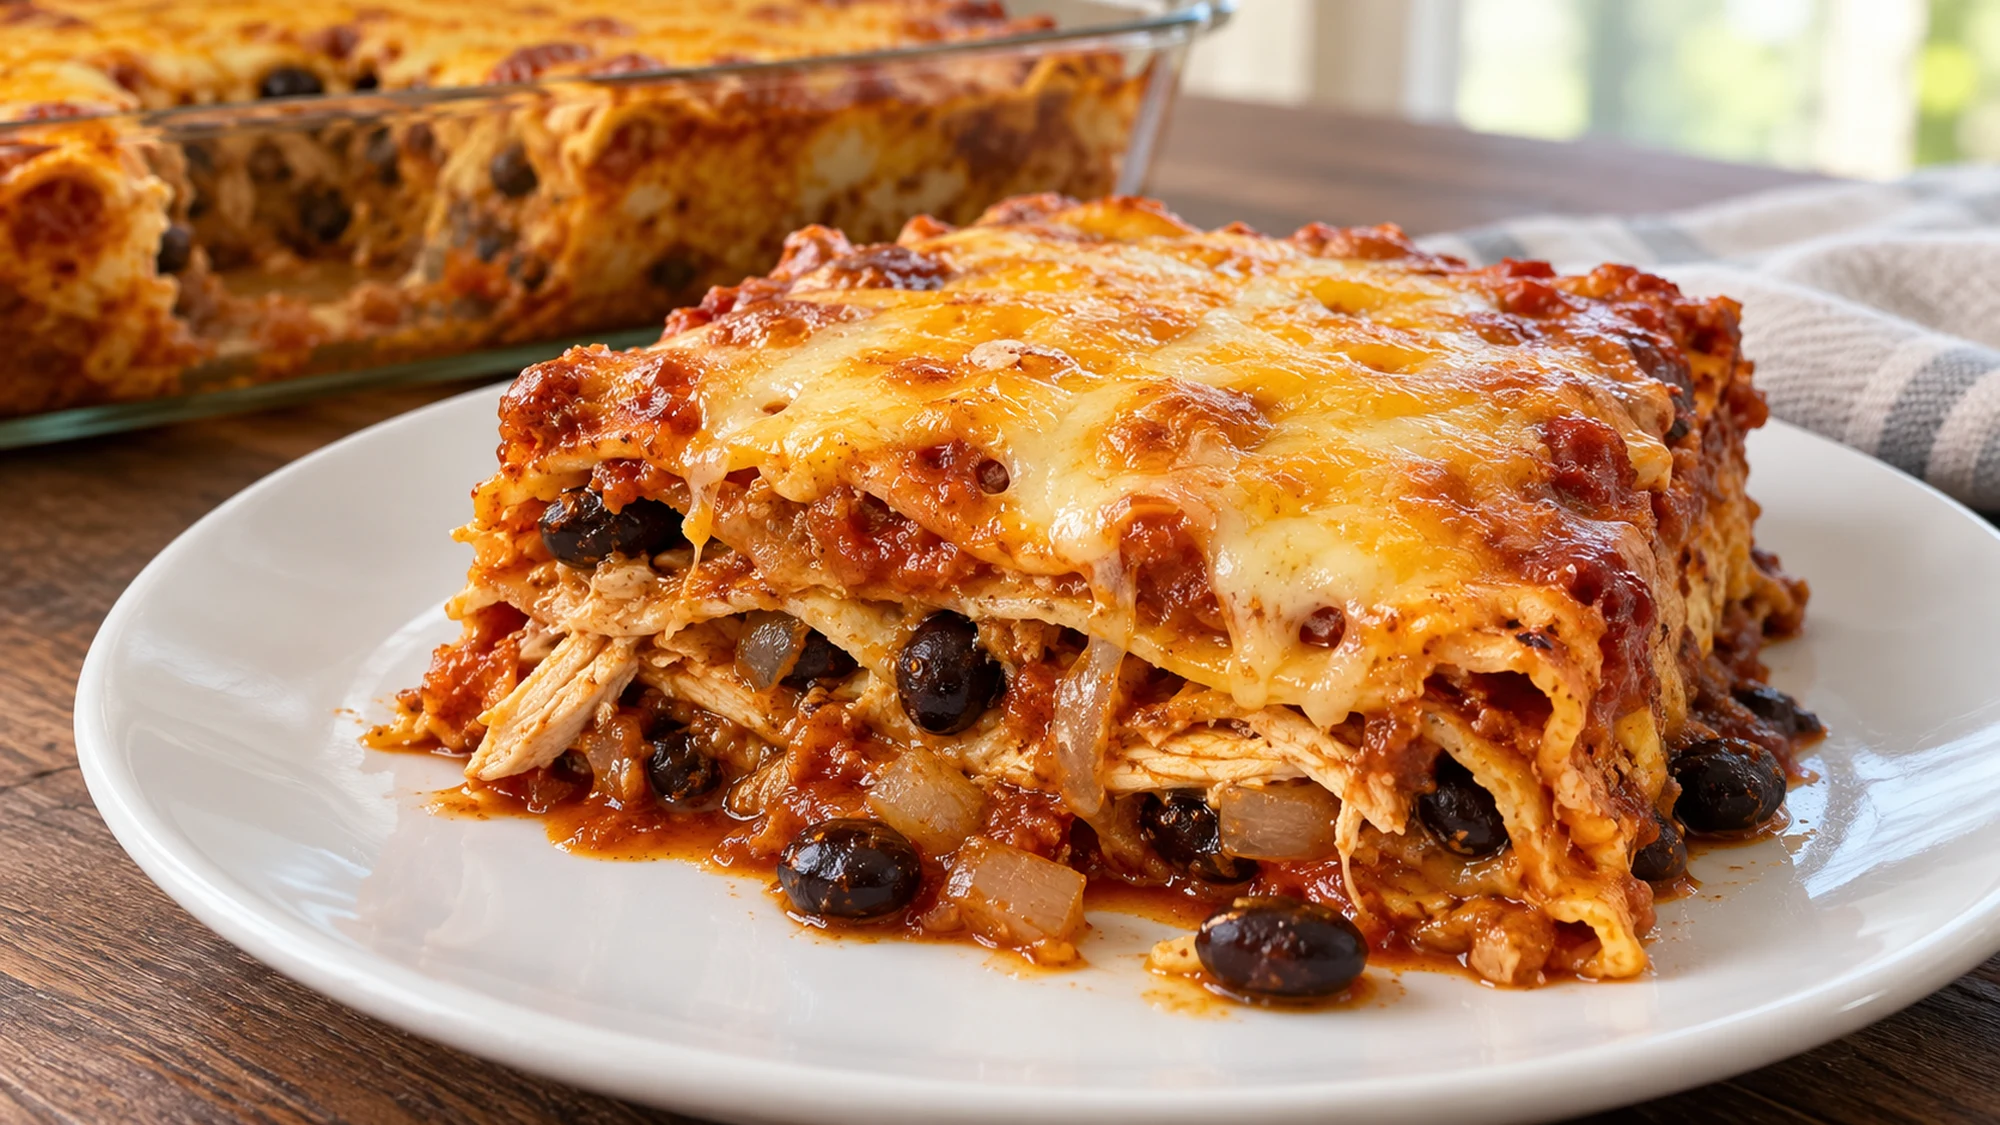
Rolling a tray of enchiladas takes time. This chicken enchilada casserole keeps the corn tortillas flat and layers them with shredded chicken, black beans, red sauce, and Monterey Jack. The top melts into a golden cover while the edges tell you where the sauce is bubbling.
Use enough sauce to moisten every tortilla layer, then give the baked casserole a short rest. The result is a spoonable layered dinner, not a stack of dry tortillas under melted cheese.
Serving Suggestions for Chicken Enchilada Casserole
A warm square of casserole already contains chicken, beans, tortillas, and cheese, so I’d keep the side dish fresh. Shredded lettuce, cucumber, or a carrot ribbon salad adds crunch without competing for oven space. Put optional toppings in small bowls so everyone can choose how much richness or heat they want.
- Offer chopped cilantro, sliced scallions, or a little diced avocado after serving. None is required for the casserole to work.
- Use a wide spatula and reach all the way to the bottom of the dish to pick up the tortilla layers.
- Let the pan stand for ten minutes before cutting. portions hold together better than they do straight from the oven.
- Choose a mild red sauce for a gentler dinner and serve hot sauce separately. The word enchilada does not tell you how spicy every brand will be.
| Topping | What it adds | When to add |
|---|---|---|
| Shredded lettuce | Cool crunch | After plating |
| Plain yogurt or sour cream | Creamy tang | At the table |
| Cilantro or scallion | Fresh herbal note | Just before serving |
Give the casserole its resting time, then add cool or crunchy toppings to individual plates. Keep the whole pan easy to portion and reheat.
Variations and Layering Choices
Corn tortillas give this casserole a clear corn flavor and a useful layered texture. Flour tortillas tend to soften differently in sauce, so an equal swap will not produce an identical result. I’d choose the corn tortillas first and use the beans to vary the filling rather than changing everything in the same batch.
- Pinto beans can replace the black beans after draining. Their texture and flavor differ slightly, while the role in the filling stays similar.
- Pepper Jack can bring heat in place of Monterey Jack. Check its label and remember that a spicy cheese affects the whole pan.
- If you use rotisserie chicken, remove skin and bones and measure the shredded meat. It may bring more salt than plain cooked chicken.
- Use a thicker, spoonable enchilada sauce rather than a very watery salsa. Salsa changes both flavor and moisture.
- For a vegetable addition, use a modest amount of cooked, well-drained pepper or zucchini. Raw watery vegetables can loosen the layers.
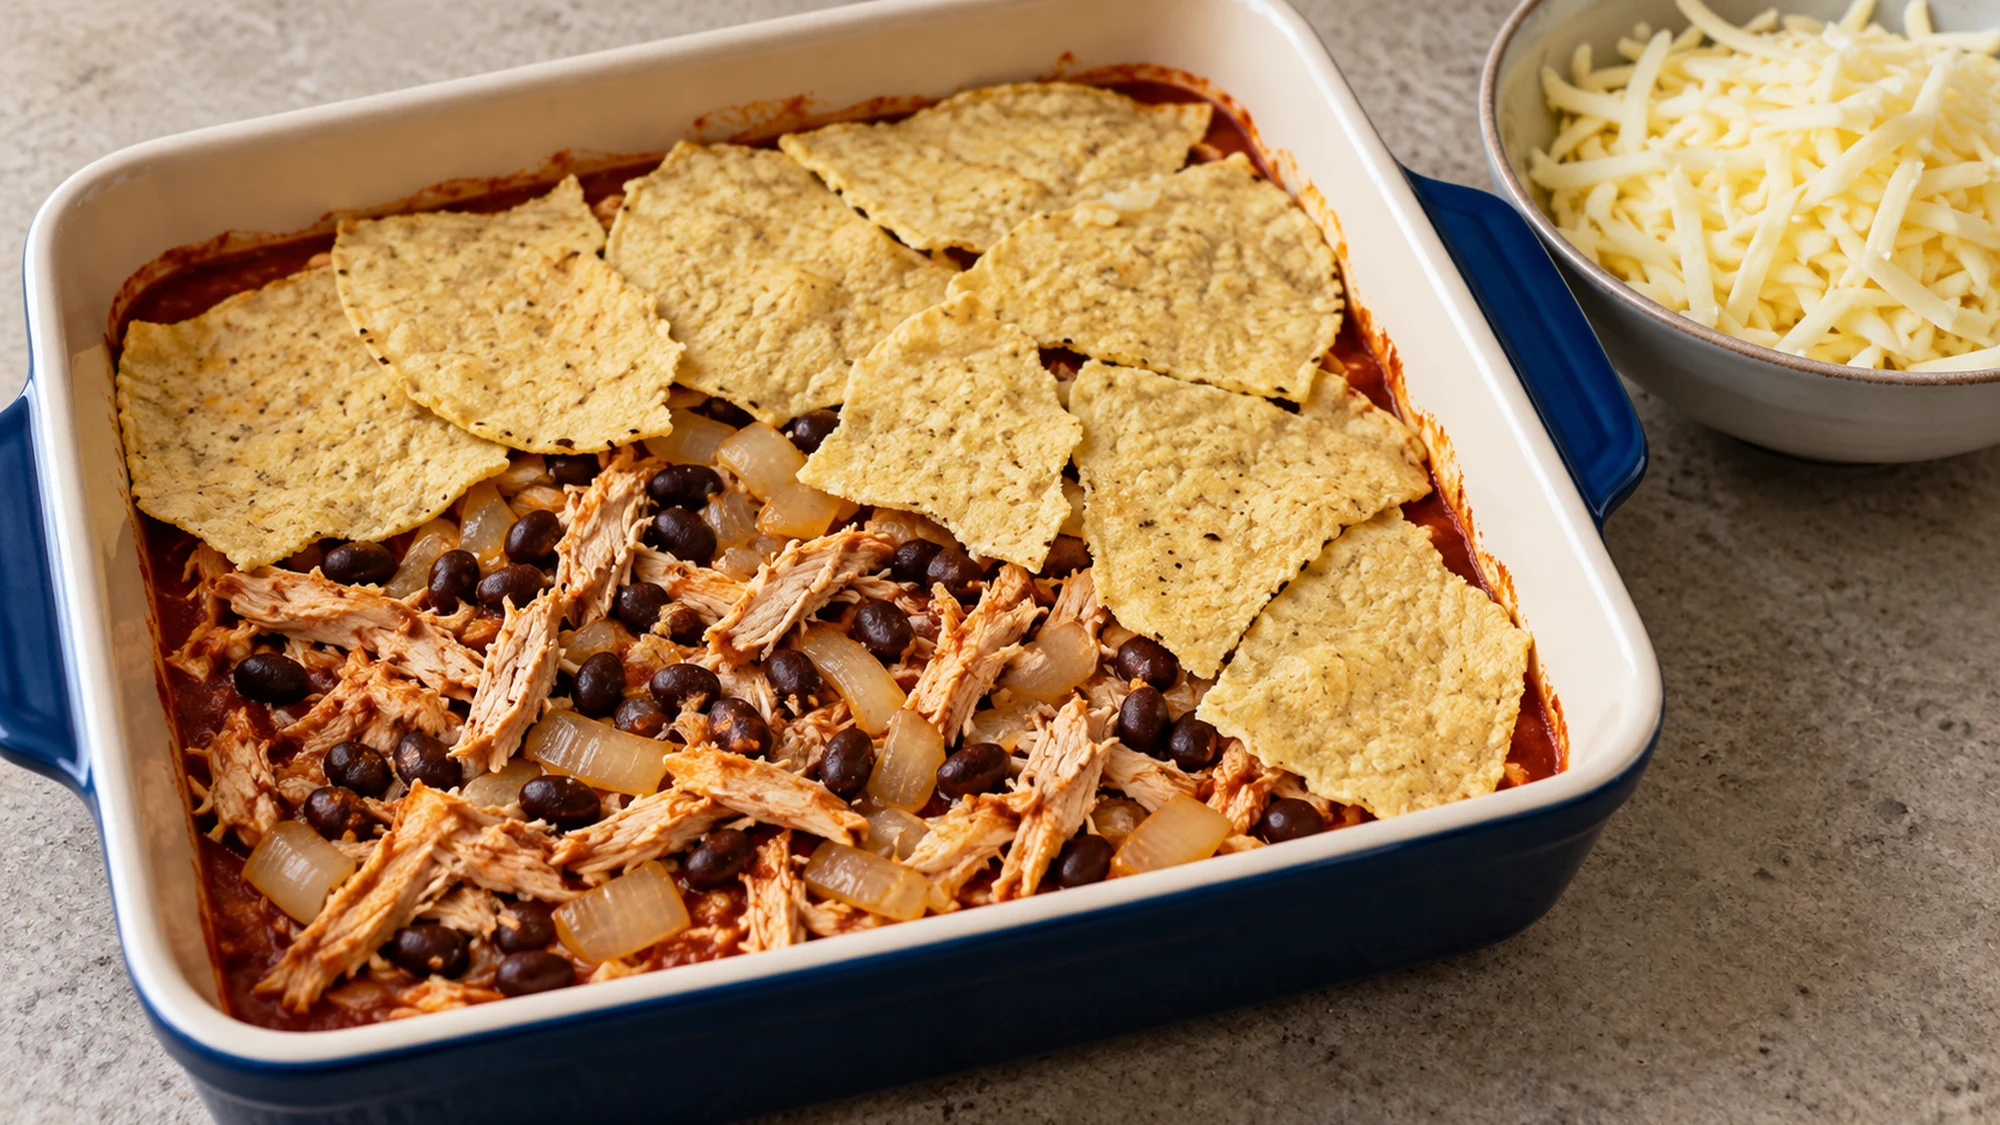
Tear or cut the tortillas to cover the pan with small overlaps; there is no prize for keeping them perfectly round. Sauce under the first layer helps prevent dry patches at the bottom. If the cheese browns before the center is fully hot, cover loosely and continue baking rather than accepting a cool center under a handsome top.
Keep the filling moist and the tortilla coverage even. A measured sauce layer is more useful here than a mountain of extra cheese.
Health Benefits and Leftover Planning
Chicken and beans contribute protein, while beans also bring fiber. Monterey Jack provides calcium and additional protein, along with saturated fat and sodium. Sargento’s Monterey Jack label is one representative basis for the card’s estimate; use your own packages for a closer calculation, especially if the sauce or chicken is heavily salted.
- The estimated serving is one eighth of the pan. Larger squares change the nutrition and cost per serving.
- Check the enchilada sauce label: brands differ in sodium, ingredients, heat, and thickening. Old El Paso’s product information illustrates why the exact package matters.
- Contains milk. Corn tortillas do not by themselves guarantee that the sauce, seasonings, and finished meal are gluten-free.
- Bake until the center reaches 165°F (74°C), checking with a thermometer rather than relying only on melted cheese.
- Refrigerate portions in shallow containers within two hours, or one hour above 90°F (32°C), following FoodSafety.gov guidance.
Store at 40°F (4°C) or below and use within three days. Reheat a covered portion to 165°F (74°C), with a little extra sauce or water if it seems dry. Keep lettuce and other cold toppings separate for later. They belong on the reheated serving, not in the container that is heading back into the oven.
This is a portionable meal with protein, beans, and a useful place for vegetables alongside. Check labels for salt, cool leftovers promptly, and keep fresh toppings separate.
Bottom Line
Chicken enchilada casserole makes the layering easy without asking you to roll each tortilla. Moisten every layer, heat the center thoroughly, and allow a brief rest before serving. A fresh, crunchy side supplies the contrast the warm, saucy casserole needs.
Chicken Enchilada Casserole Recipe

Ingredients
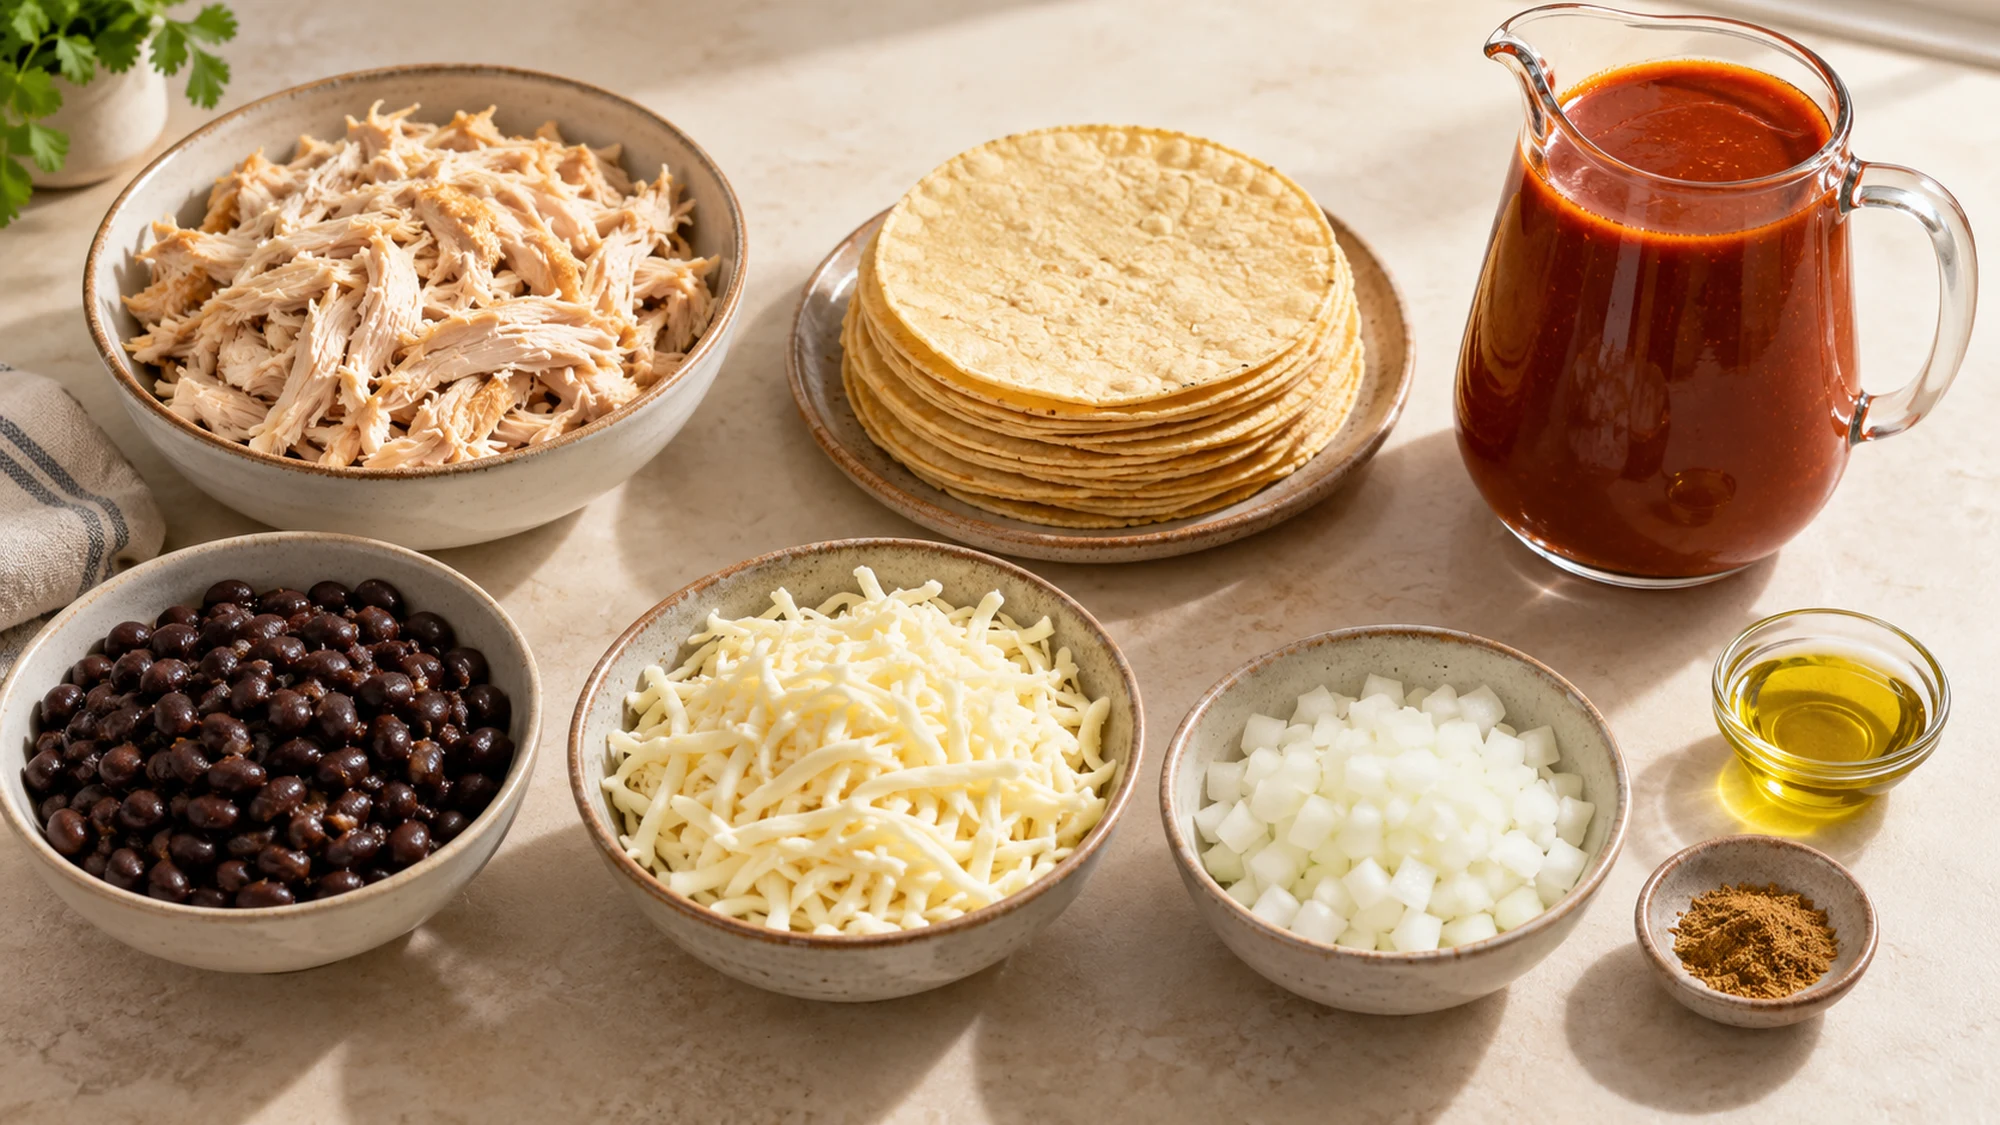
- 450 g cooked shredded chicken skin and bones removed
- 12 small corn tortillas about 300 g total
- 600 g red enchilada sauce about 2 1/2 cups; choose preferred heat level
- 240 g cooked black beans drained and rinsed if canned
- 170 g shredded Monterey Jack cheese about 1 1/2 cups
- 100 g onion finely diced
- 1 tablespoon olive oil 14 g
- 1 teaspoon ground cumin
Equipment
- 9-by-13-inch baking dish
- Skillet
- Instant-read thermometer
- Wide serving spatula
- Foil
Instructions
- Heat the oven to 375°F (190°C). Lightly oil the baking dish using a little of the measured oil.
- Heat the remaining oil in a skillet over medium heat. Cook the onion for 5–7 minutes until softened, stirring. Add the cumin and stir for 30 seconds, then remove from heat.
- Mix the chicken, beans, cooked onion and 250 g of the sauce. Spread 100 g sauce over the bottom of the baking dish.
- Arrange 4 tortillas over the sauce, tearing to cover gaps. Add half the chicken mixture and one third of the cheese. Repeat with 4 tortillas, the remaining filling and another third of the cheese.
- Add the last 4 tortillas. Spread the remaining 250 g sauce across the top, reaching the corners, then scatter on the remaining cheese.
- Cover loosely with foil and bake for 20 minutes. Uncover and bake 10–15 minutes more, until bubbling and the center reaches 165°F (74°C). If the top browns too fast, cover loosely and continue until the center is hot.
- Rest for 10 minutes, then divide into 8 servings. Optional fresh toppings are not included in the nutrition estimate.
Nutrition
Video
Notes
Tried this recipe?
Let us know how it turned out!Hi, I’m Emily Pocker! I share recipes and food guides here at Recipes360 to help you find everyday meal inspiration and feel more confident in the kitchen. My goal is to make cooking approachable, enjoyable, and full of flavor.