
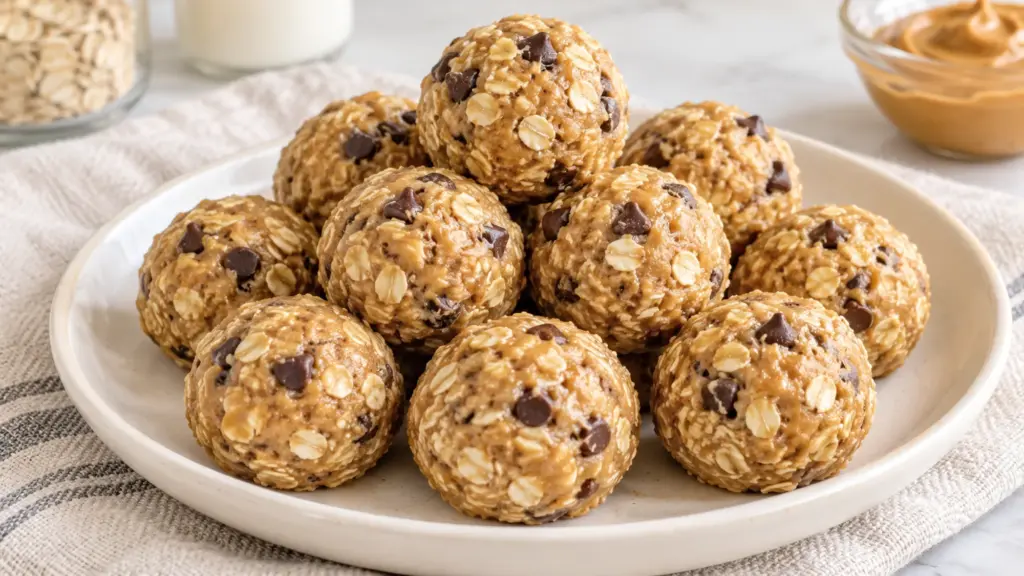
A spoonful of peanut butter, a handful of oats, and a few chocolate chips can become a snack worth keeping in the refrigerator. This protein balls recipe makes sixteen small, chewy bites with vanilla whey powder and honey. There is no oven to heat and no complicated equipment to wash afterward.
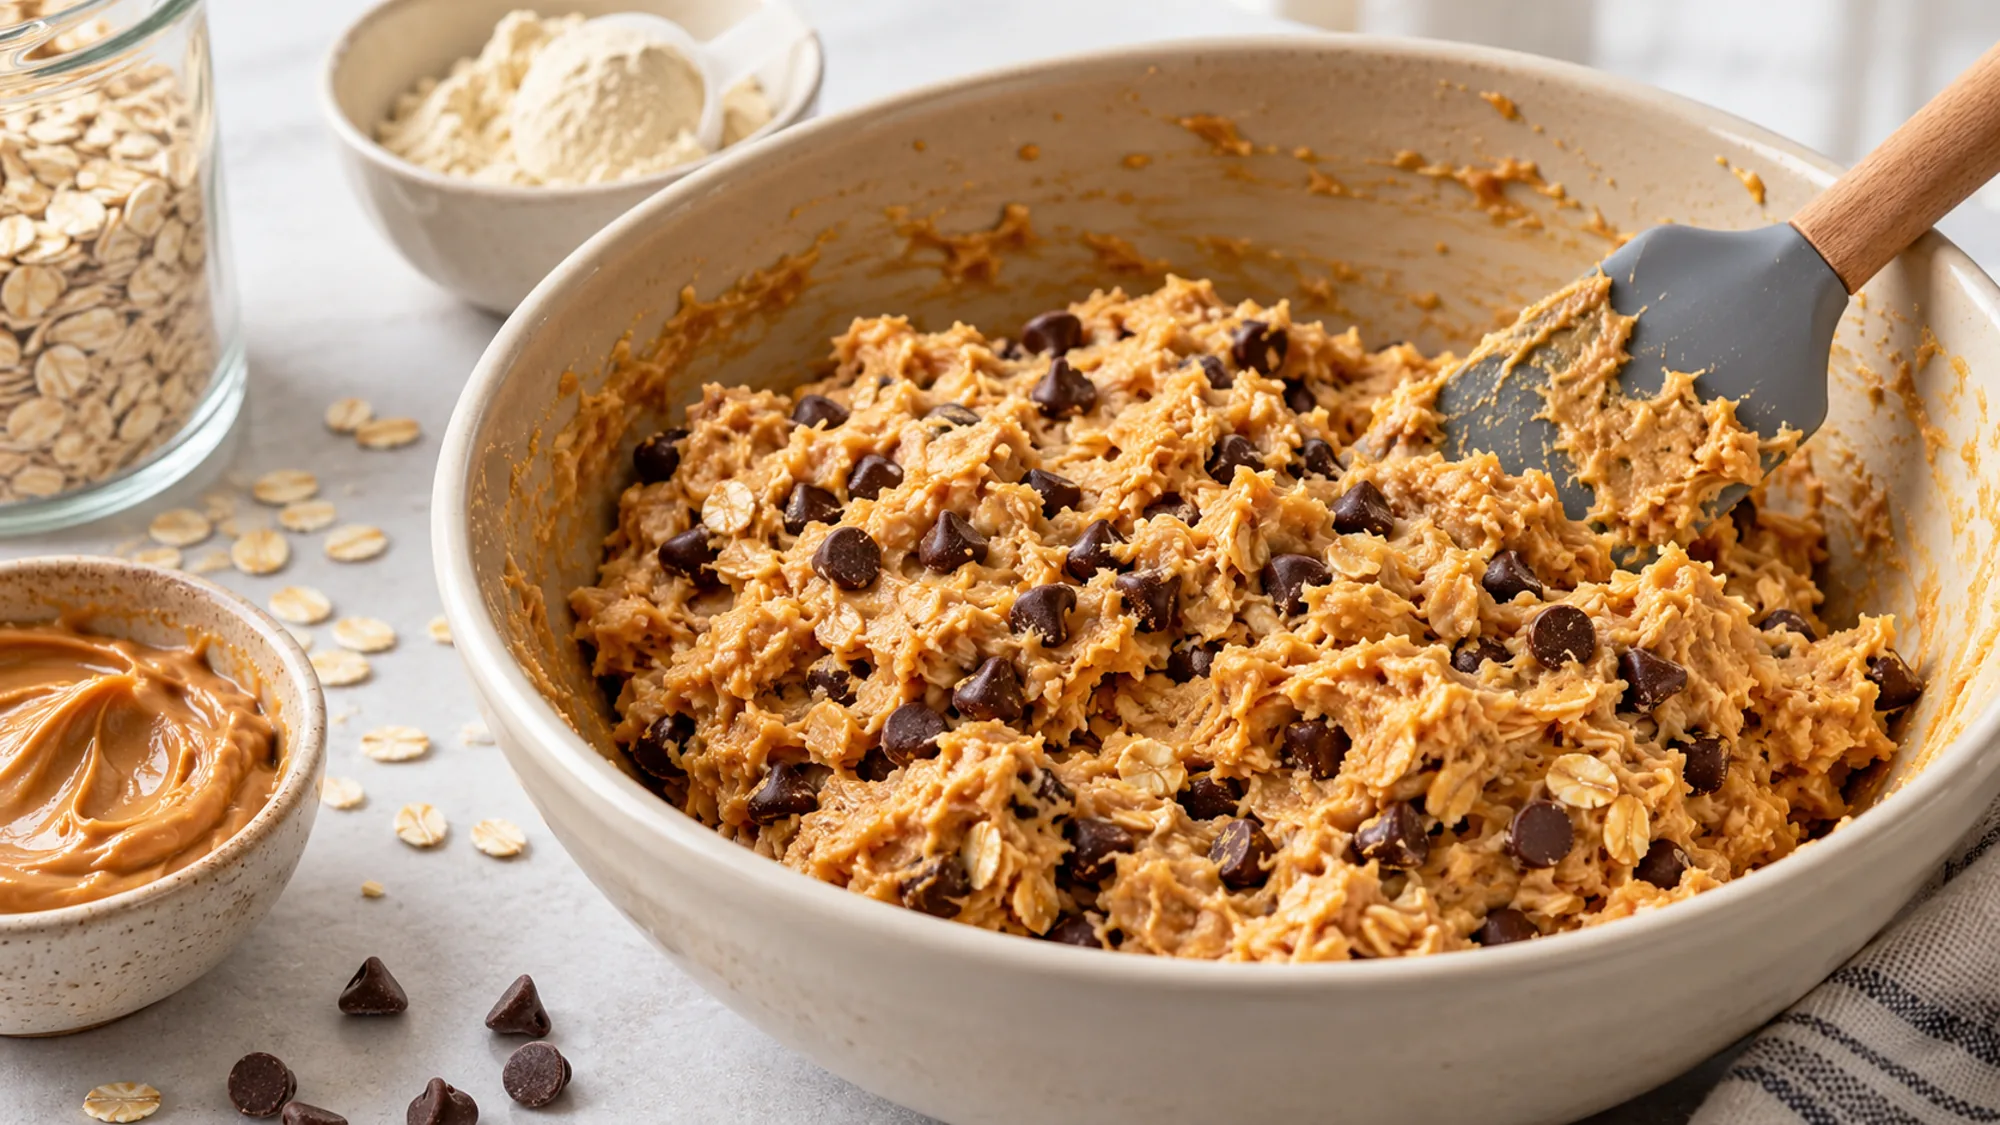
The secret is not adding more powder. It is giving the oats a few minutes to absorb moisture, then adjusting the dough a teaspoon at a time until it holds together.
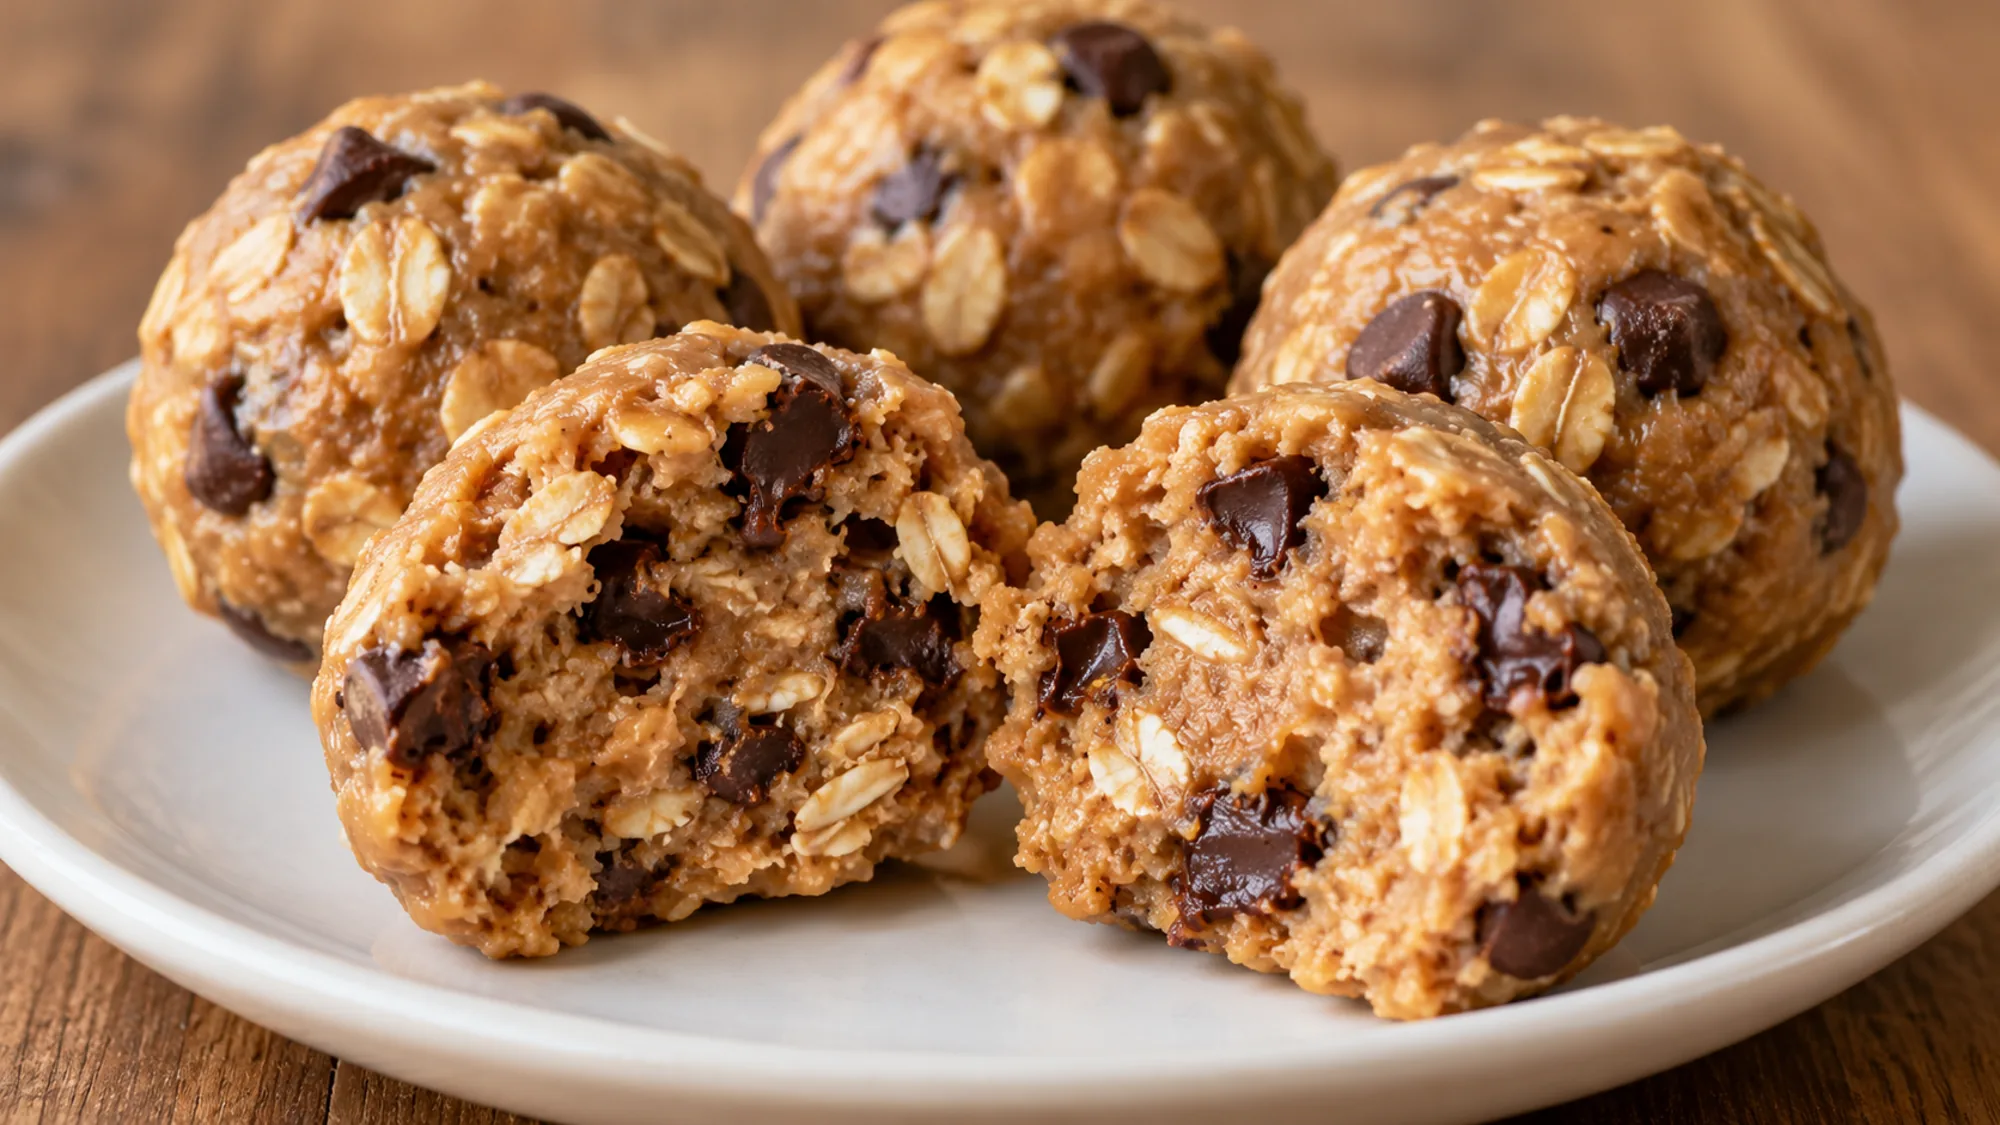
Expect a soft, dense center rather than the texture of a baked cookie. The peanut butter should taste like the main ingredient, with little chocolate pockets throughout. I would choose a familiar vanilla powder over an intensely sweet novelty flavor; whatever is in the tub will come through clearly here.
Serving This Protein Balls Recipe
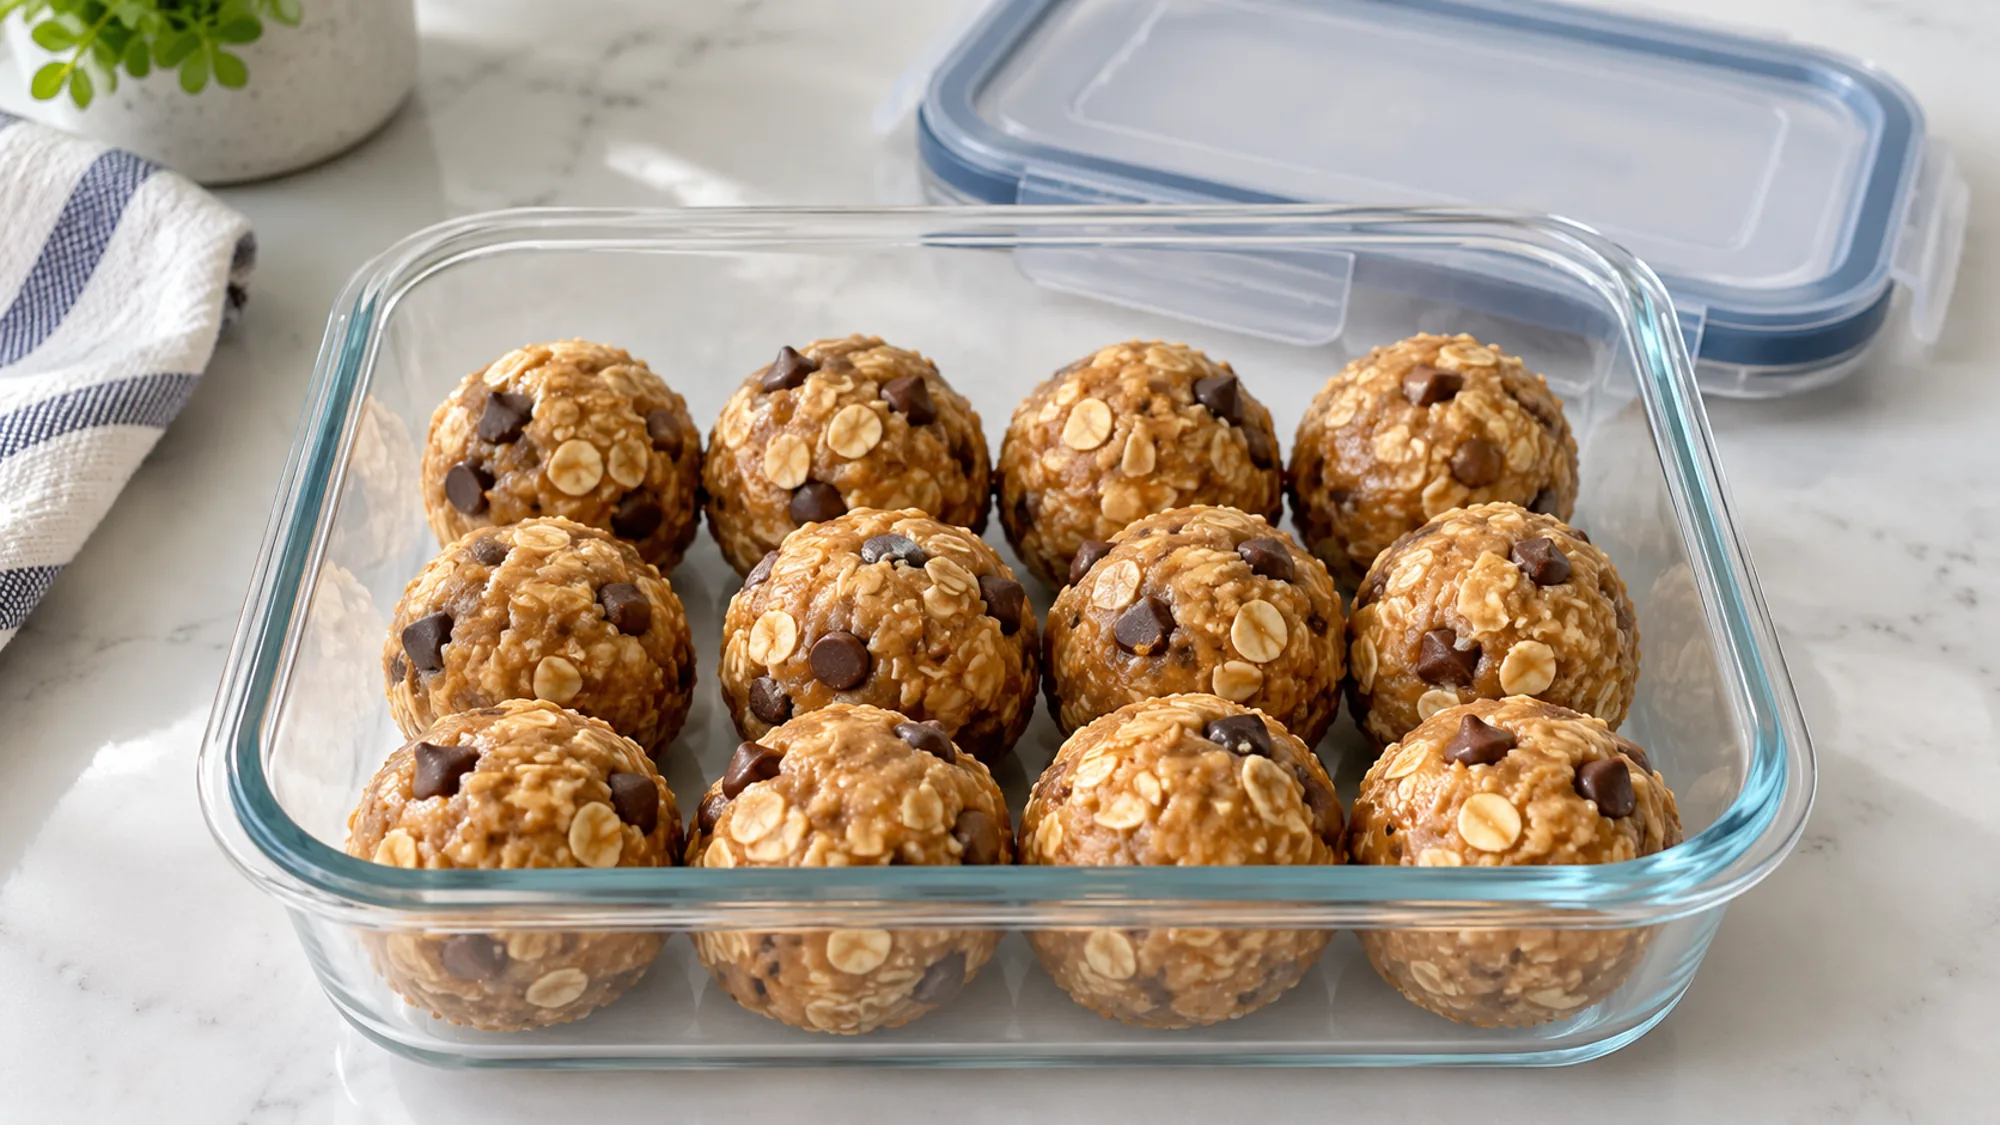
Portion the batch into sixteen balls before chilling so the size stays consistent. Each one is roughly a generous tablespoon of mixture, about 26 grams. You can use a small cookie scoop, but squeezing the dough together with clean hands first is often more useful than trying to roll loose crumbs.
One or two balls can sit alongside fruit or a cup of coffee. They are a snack, not a complete breakfast or a replacement for a varied meal. For a more substantial make-ahead morning option, try our apple cinnamon baked oatmeal instead.
Keep the finished balls covered and refrigerated, especially because this version includes milk. My preference would be a shallow container with parchment between layers; it is easier to lift out a portion without pulling the whole batch apart. Pack an ice pack when taking them away from refrigeration.
Make the portions first, chill them until firm, and keep the rest cold.
Variations and Texture Fixes
Different protein powders absorb liquid differently, so the listed milk is a starting quantity rather than a reason to ignore the dough. Begin with one tablespoon, let the mixture stand, and use the second tablespoon only as needed. A little patience prevents a sticky mixture that needs handfuls of extra oats.
| What you notice | Small adjustment | What to avoid |
|---|---|---|
| Dry crumbs will not hold | Add milk one teaspoon at a time and squeeze again | Pouring in a large splash |
| Mixture sticks heavily to hands | Chill briefly before shaping | Adding lots of powder immediately |
| Balls flatten after rolling | Refrigerate until the peanut butter firms | Leaving them in a warm kitchen |
| Flavor is too sweet | Choose a less-sweet powder next time | Removing all honey without replacing its binding effect |
Creamy peanut butter gives the most predictable starting texture. If yours has separated, stir the jar thoroughly before measuring. Almond butter can replace it by weight, but the flavor, price, allergens, and nutrition change. A very runny nut butter may need less milk.
Quick oats make a smoother bite, while rolled oats keep more chew. Do not use steel-cut oats. For a gluten-free version, check the oats, powder, and chocolate labels rather than assuming oats alone settle the question. Plant-based powder is not a guaranteed one-for-one swap for whey; adjust moisture carefully.
Change one ingredient at a time so you can judge how the dough responds.
Health Benefits in Perspective
The oats contribute whole grain, and peanut butter and whey contribute protein. With the stated ingredients and sixteen equal portions, the estimate is about six grams of protein per ball. That is useful context, not a promise about muscle gain, weight loss, or how long the snack will keep you satisfied.
Honey and chocolate still contribute added sugars. The FDA’s Nutrition Facts guidance explains why serving size and added sugars belong in the same conversation. I would judge these by their ingredients and portion size, not by treating the word protein as a health guarantee.
This version contains peanuts and milk; some powders and chips also contain soy. Read every package if preparing food for someone with an allergy. Honey is unsuitable for children younger than one year. Do not present the finished bites as allergen-free simply because they are homemade.
Useful ingredients and clear portions matter more than a healthy-sounding label.
Bottom Line
This protein balls recipe keeps preparation simple: mix, rest, adjust, shape, and chill. Use the card’s weights when possible, because scoops of powder and cups of oats can vary. Refrigerate the finished batch and enjoy within four days, or freeze portions for up to two months for best quality. Thaw in the refrigerator.
A short rest and a small splash of milk are better fixes than rushing the dough.
Protein Balls Recipe with Peanut Butter and Oats

Ingredients
- 120 g rolled oats about 1½ cups; not steel-cut
- 128 g creamy peanut butter ½ cup; stir well if separated
- 60 g vanilla whey protein powder weigh rather than counting scoops
- 42 g honey 2 tablespoons
- 42 g mini semisweet chocolate chips ¼ cup
- 30 ml whole milk 2 tablespoons, added gradually; plus teaspoons only if needed
Equipment
- 1 Mixing bowl
- 1 Flexible spatula
- 1 Small scoop optional
- 1 Airtight container
Instructions
- Stir the peanut butter and honey in a medium bowl until evenly blended. Add the oats and whey powder, then stir and press with a spatula until there are no large pockets of dry powder.
- Add 1 tablespoon of milk and fold in the chocolate chips. Let stand for 5 minutes so the oats absorb moisture. Squeeze a small portion: it should hold together. Add the remaining milk a teaspoon at a time as needed. If your powder is especially absorbent, use another teaspoon or two; avoid making a wet paste.
- Divide into 16 equal portions, about 26 g each. Press each portion firmly together before rolling between clean palms. If sticky, refrigerate briefly before shaping rather than immediately adding more powder.
- Arrange in a covered container and refrigerate for 30 minutes, or until firm enough to lift cleanly. Keep refrigerated at 40°F (4°C) or below and use within 4 days. Freeze separated portions for up to 2 months for best texture; thaw in the refrigerator.
Nutrition
Video
Notes
Tried this recipe?
Let us know how it turned out!Hi, I’m Emily Pocker! I share recipes and food guides here at Recipes360 to help you find everyday meal inspiration and feel more confident in the kitchen. My goal is to make cooking approachable, enjoyable, and full of flavor.