
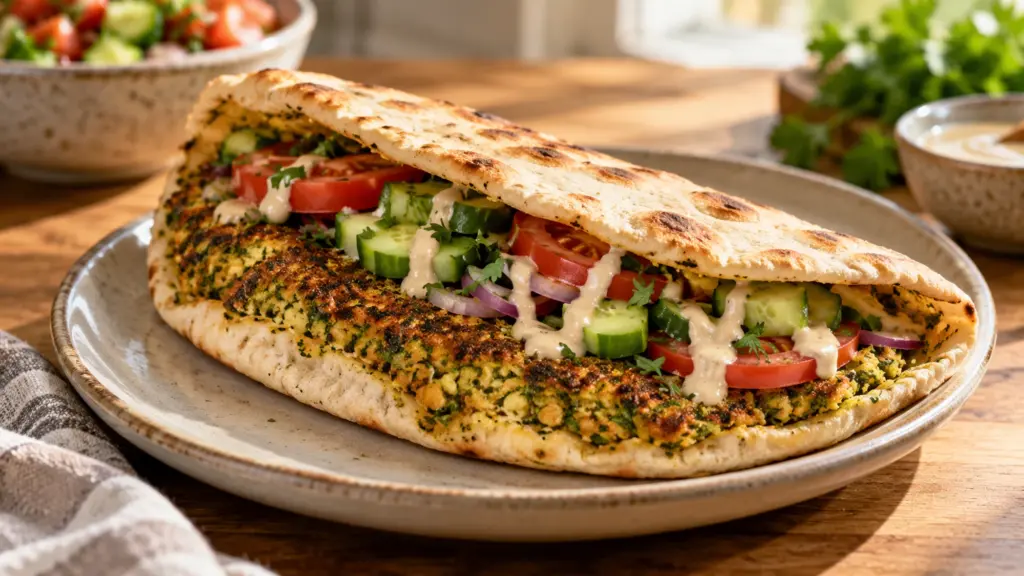
A bowl of soaked chickpeas can look a long way from dinner until the food processor starts. For falafel smash pita, the mixture becomes a thin layer pressed directly onto bread and cooked against the skillet. You get a broad browned surface without shaping individual falafel balls, but the chickpea soak still belongs in the plan.
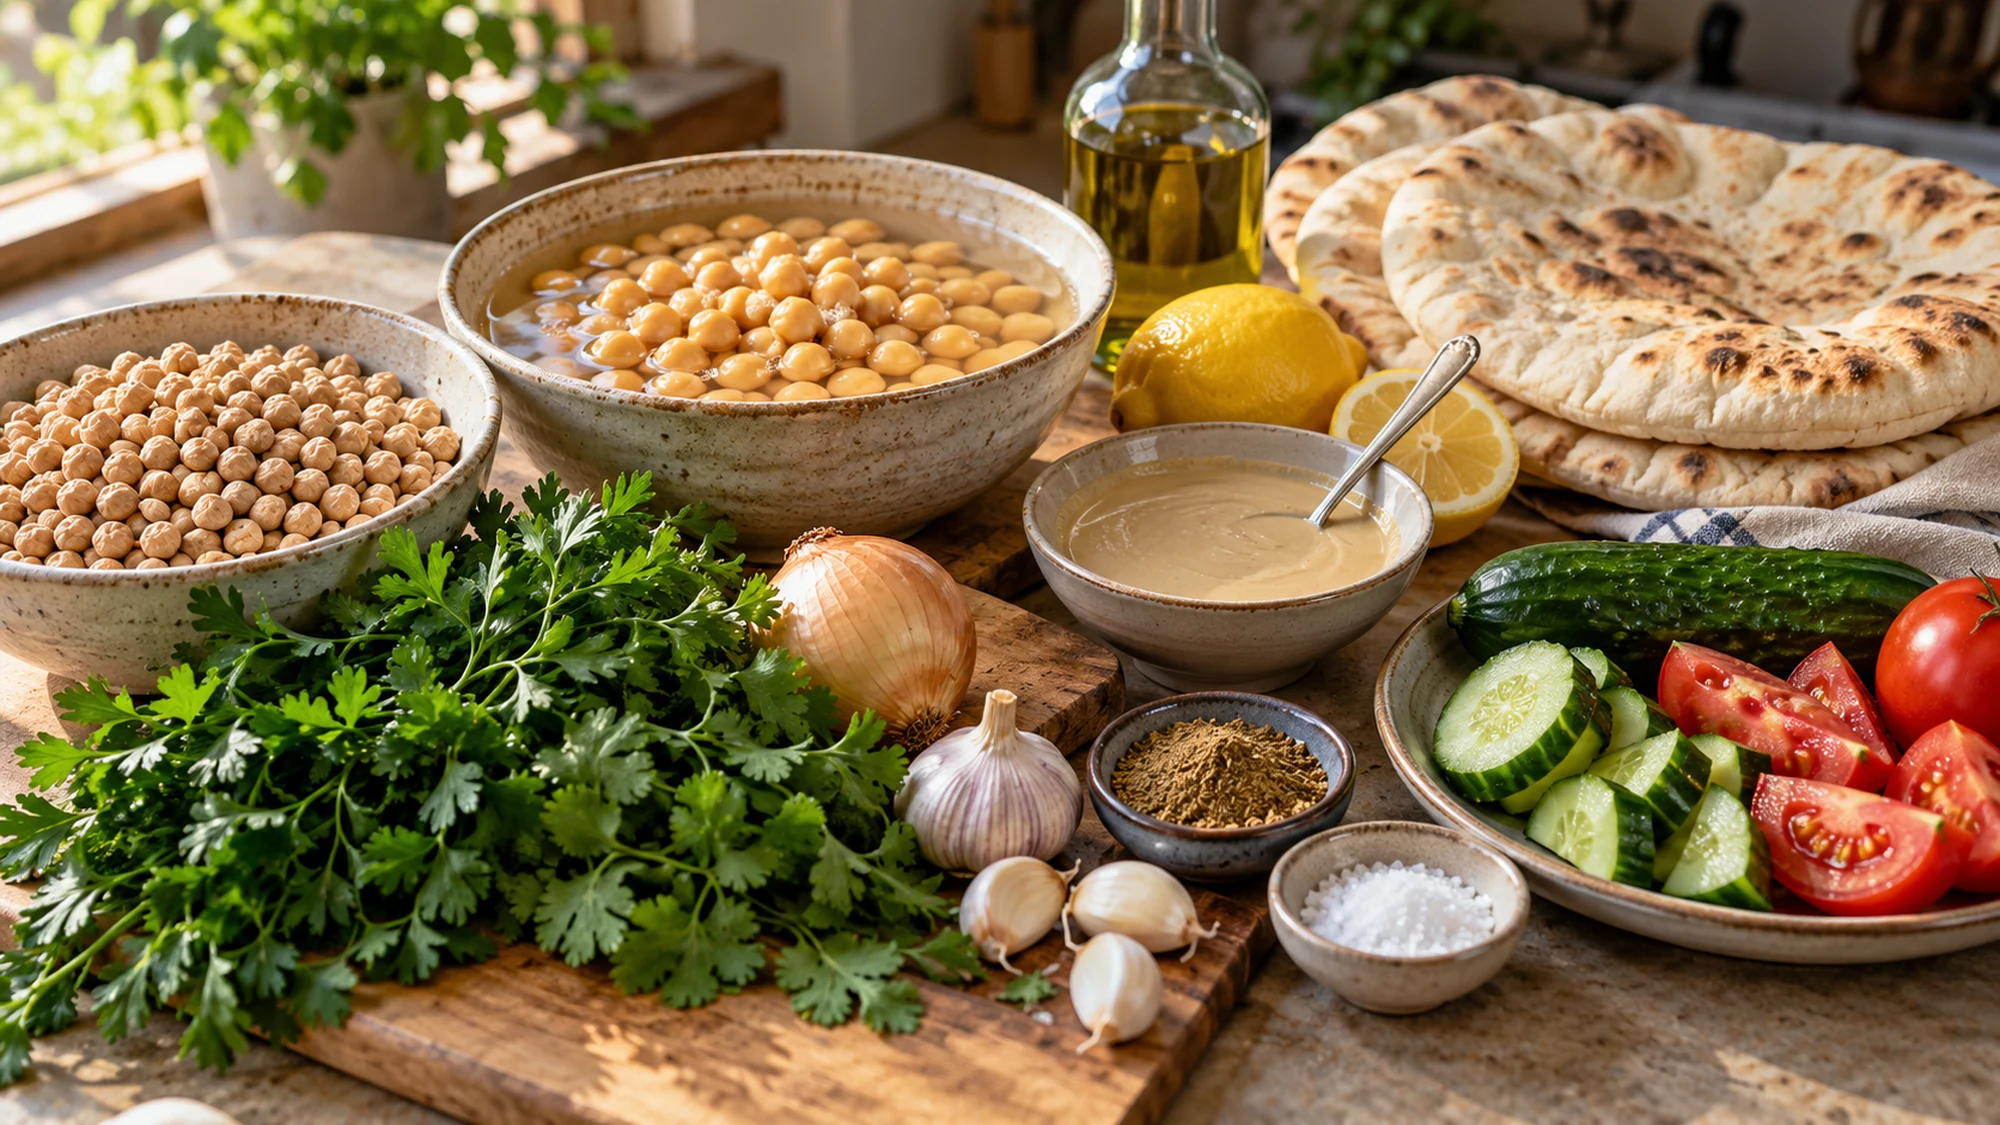
Start with dried chickpeas soaked in the refrigerator, drain them well and spread the mixture evenly. The thin layer needs time to cook through before you load the pita with cool vegetables and tahini.
I’d choose a soft, broad pita that lies flat in the pan. Stiff bread and a thick mound of filling make the cooking harder to control. This recipe makes four large pitas, with enough preparation time included for processing, sauce and a sequence of skillet batches.
Serving Suggestions for Falafel Smash Pita
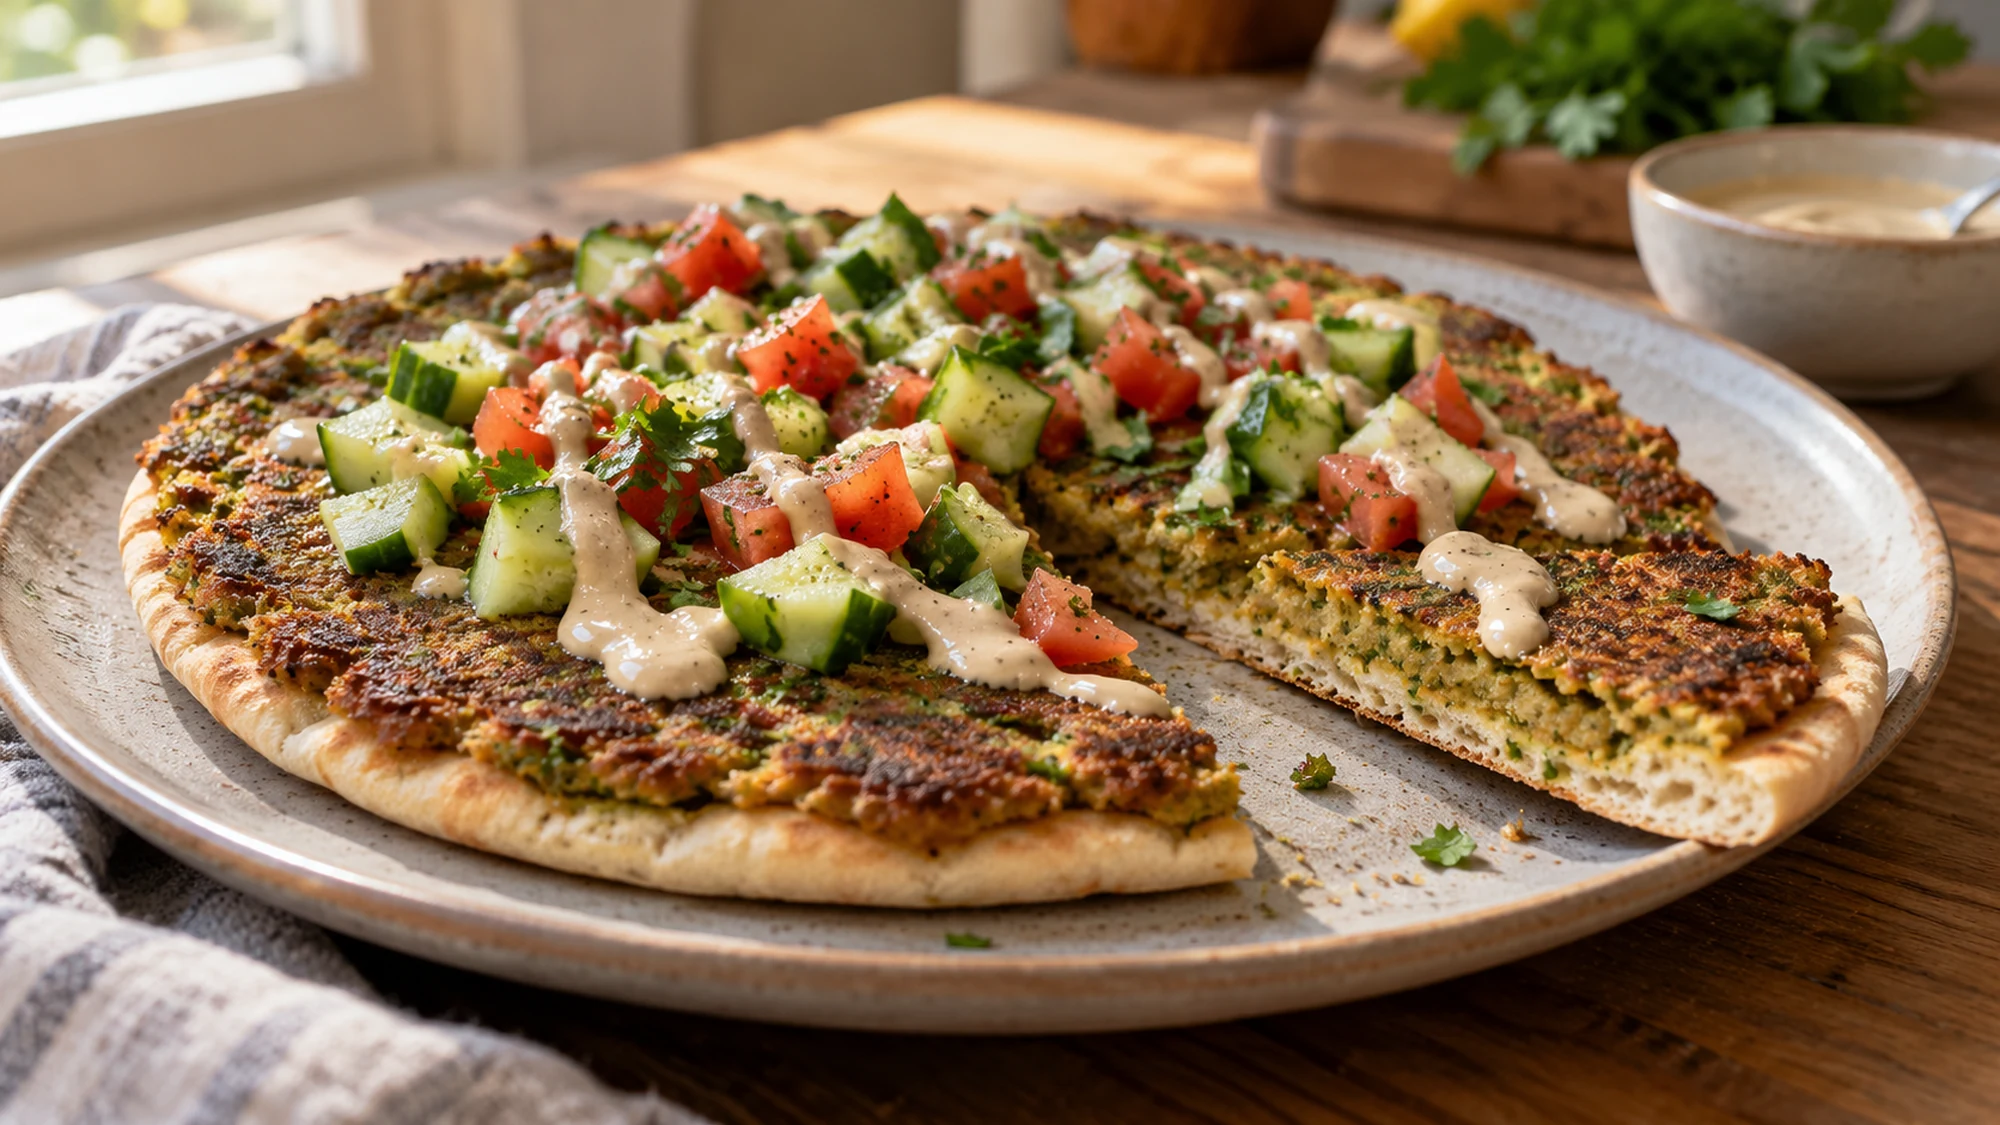
Let the cooked pita settle for a moment before adding its toppings. A little cooling protects the cucumber and tomato from immediately warming and releasing their juices. Drizzle the tahini sauce in a thin line so it reaches the filling without flooding the bread.
| Choice | What to expect |
|---|---|
| S | e |
| U | s |
For another chickpea meal with a cooler texture, the chickpea cucumber salad with lemon and parsley offers a different preparation. With this pita, a simple leafy side can be enough; there is already chickpea, bread, vegetables and sauce in the measured serving.
Keep any cooked leftovers without their fresh toppings. Illinois Extension’s leftover guidance calls for refrigeration within two hours, use within three to four days and reheating to 165°F (74°C). The crust may soften in storage; add newly cut vegetables after reheating.
Finish each pita as it comes off the pan, or keep toppings separate until everyone is ready. The contrast depends on warm falafel, flexible bread and cool vegetables.
Variations and Texture Decisions
The chickpea form is the important boundary here. Dried, soaked chickpeas and canned cooked chickpeas do not produce the same mixture. FeelGoodFoodie’s explanation of smash falafel also distinguishes the extra moisture of canned chickpeas. Use another formulation if you want to begin with a can.
- Herb balance: replace the cilantro with more parsley by weight if you prefer. The aroma will change, while the total herb amount stays consistent.
- Uneven browning: make sure the layer reaches the edges at an even thickness. Thick spots need longer than a browned rim suggests.
- Mixture not holding: pulse a little further and scrape the processor bowl. Keep a fine crumb rather than large chickpea chunks or a completely smooth paste.
- Pan getting too hot: lower the heat between batches. A steadily browning crust gives the inside more time than a surface that darkens immediately.
I’d prepare the sauce and vegetables before the skillet work starts. Once a pita is cooking, a wide spatula and an uncluttered landing plate are more useful than a half-chopped cucumber. Check the first pita’s interior at an edge; continue cooking over lower heat if the chickpea layer is still hard or gritty.
Keep the chickpea layer thin and use the first batch as your heat check. A brown surface matters, but a cooked interior matters too.
Health Benefits of the Ingredients
Chickpeas contribute protein and fiber, while the bread and vegetable toppings bring other parts of the meal. Tahini and olive oil add fat as well as flavor. The nutrition estimate includes their full measured amounts, even though the actual oil retained by the food can vary.
- Allergens: ordinary pita contains wheat and tahini contains sesame. Both appear in the FDA’s major food-allergen guidance; check every packaged ingredient.
- Portion basis: the card covers one of four pitas with its share of sauce, cucumber and tomato.
- Measured oil: skillet cooking uses oil too. Include it when planning portions alongside the bread and sauce.
Keep the raw soaked chickpeas and uncooked mixture refrigerated until needed, and do not taste the raw mixture. The finished filling should be hot and tender throughout. These are practical cooking and storage decisions, without a promise that the meal prevents or treats a health condition.
Think about the complete pita, including its bread, sauce and frying oil. The chickpeas are useful ingredients, rather than a reason to ignore the rest of the serving.
Bottom Line
Falafel smash pita trades shaping for spreading. Plan the soak, make an even layer and give each skillet batch enough time before finishing with vegetables and tahini. The result is easiest to enjoy when the cooking and the topping station are both ready.
Falafel Smash Pita Recipe

Ingredients
- 1 cup dried chickpeas 200 g before soaking; do not substitute canned or cooked chickpeas
- 1/2 small yellow onion 60 g, roughly chopped
- 3/4 cup roughly chopped parsley 25 g
- 1/2 cup roughly chopped cilantro 15 g
- 2 garlic cloves 8 g
- 1 teaspoon ground cumin 2 g
- 1 teaspoon ground coriander 2 g
- 1/4 teaspoon ground black pepper
- 1/2 teaspoon fine salt 3 g
- 4 large soft Arabic-style pitas about 8 inches (20 cm) wide and 70 g each; 280 g total
- 3 tablespoons olive oil 45 mL, about 40 g, divided among four skillet batches
- 2.5 tablespoons tahini 40 g, stirred thoroughly before measuring
- 2 tablespoons lemon juice 30 mL
- 3 tablespoons water 45 mL, plus a little more to thin as needed
- 1 cup diced cucumber 150 g
- 1 cup diced tomato 150 g
Equipment
- 1 Large soaking bowl
- 1 Colander
- 1 Food processor
- 1 12-inch nonstick skillet
- 1 Wide spatula
- 1 Small sauce bowl
Instructions
- Cover dried chickpeas generously with cold water in a large bowl, with at least 3 inches (8 cm) of water above them. Refrigerate for 12–18 hours. Drain, rinse and pat dry. Use all the drained chickpeas; the hydrated weight varies. Do not cook them before processing.
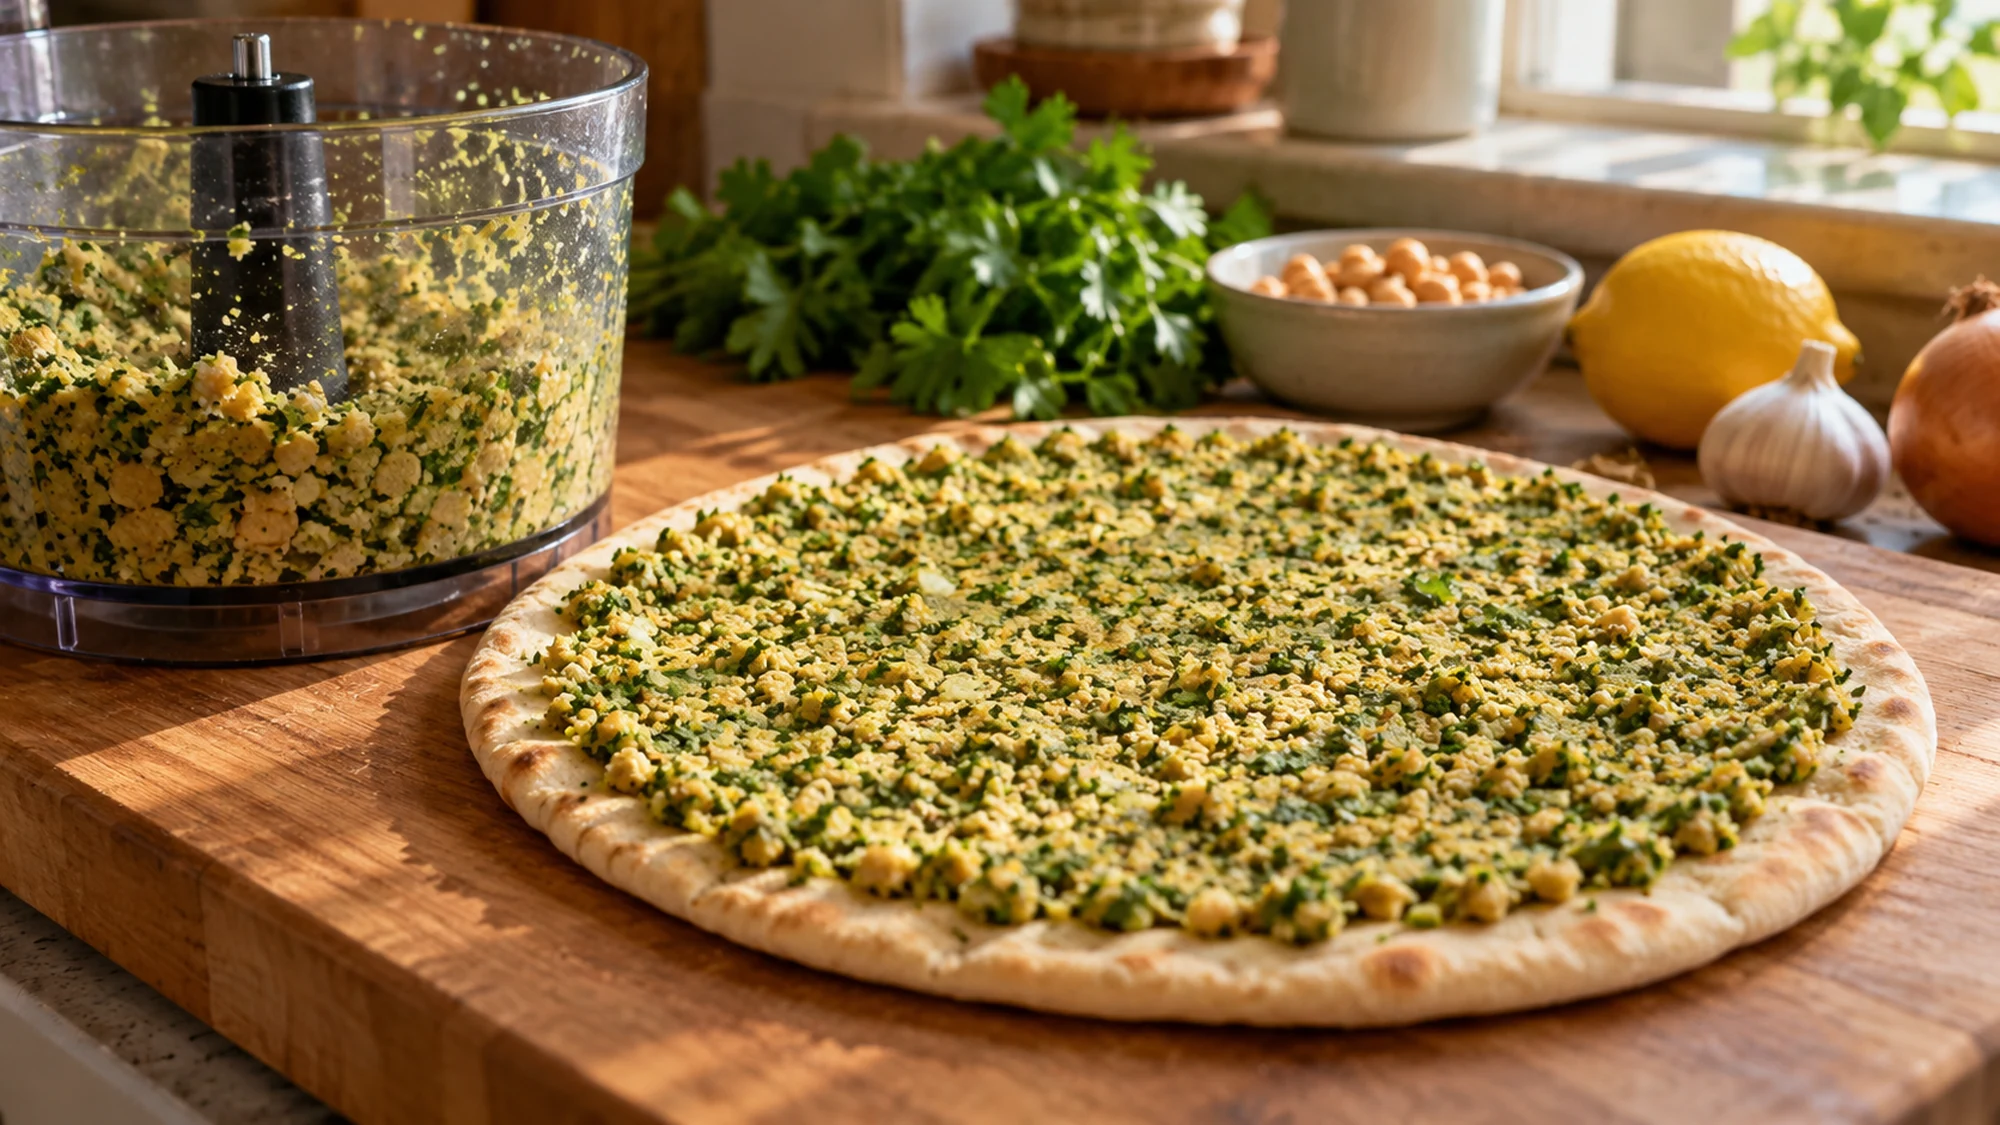
- Pulse soaked chickpeas, onion, parsley, cilantro, garlic, cumin, coriander, pepper and salt in the food processor, scraping down the sides. Stop at a fine moist crumb that holds together when pressed, rather than a smooth puree. Keep refrigerated until cooking; do not taste the uncooked mixture.
- Stir tahini with lemon juice, then gradually whisk in water until pourable. Prepare cucumber and tomato. Divide all the chickpea mixture evenly among four pitas and press firmly into a thin even layer, about 1/8–3/16 inch (3–4 mm), across each surface.
- Heat a quarter of the measured olive oil in the skillet over medium heat. Place one pita chickpea-side down and press gently for full contact. Cook for 5–7 minutes until the filling is well browned, hot and tender throughout. Inspect an edge: if the inside remains hard or gritty, reduce the heat and continue cooking before serving.
- Flip carefully with the wide spatula and toast the bread side for 30–60 seconds, keeping it flexible. Repeat with remaining pitas and oil, adjusting heat between batches. Top each cooked pita with one-quarter of the cucumber, tomato and sauce. Fold loosely or cut into wedges and serve promptly.
Nutrition
Video
Notes
Tried this recipe?
Let us know how it turned out!Hi, I’m Emily Pocker! I share recipes and food guides here at Recipes360 to help you find everyday meal inspiration and feel more confident in the kitchen. My goal is to make cooking approachable, enjoyable, and full of flavor.